• Blog
MYSTERIOUS BILL'S GAMING BLOG

GASLIGHT at Heroicon

7/5/2018

0 Comments

 
GEARSON'S RAID
THE AMERICAN CIVIL WAR BY GASLIGHT

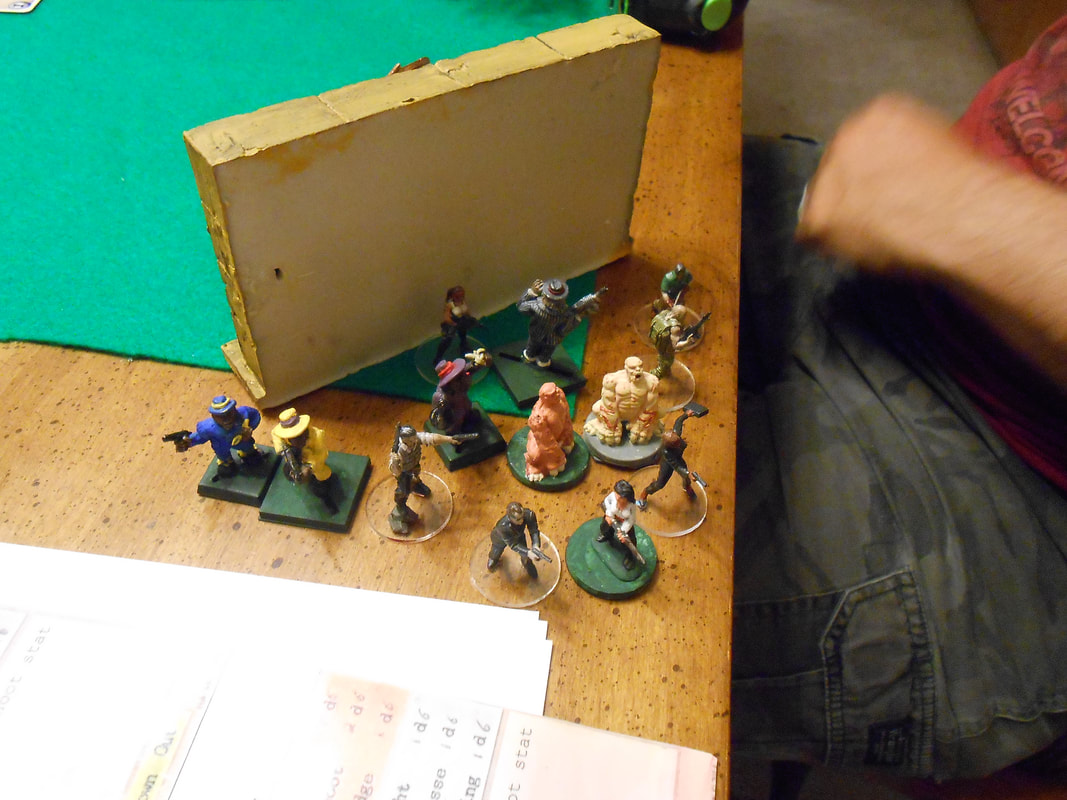
At Heroicon this year I ran the same scenario as I did at Winter War. The Union had to set fire to most of the freight yard and gathered supplies before a large group of Rebel reinforcements arrived (i.e. we ran out of time to play the game). The Rebs started off badly outnumbered (nine units to four) with several of their units handicapped for one reason or another.
Picture
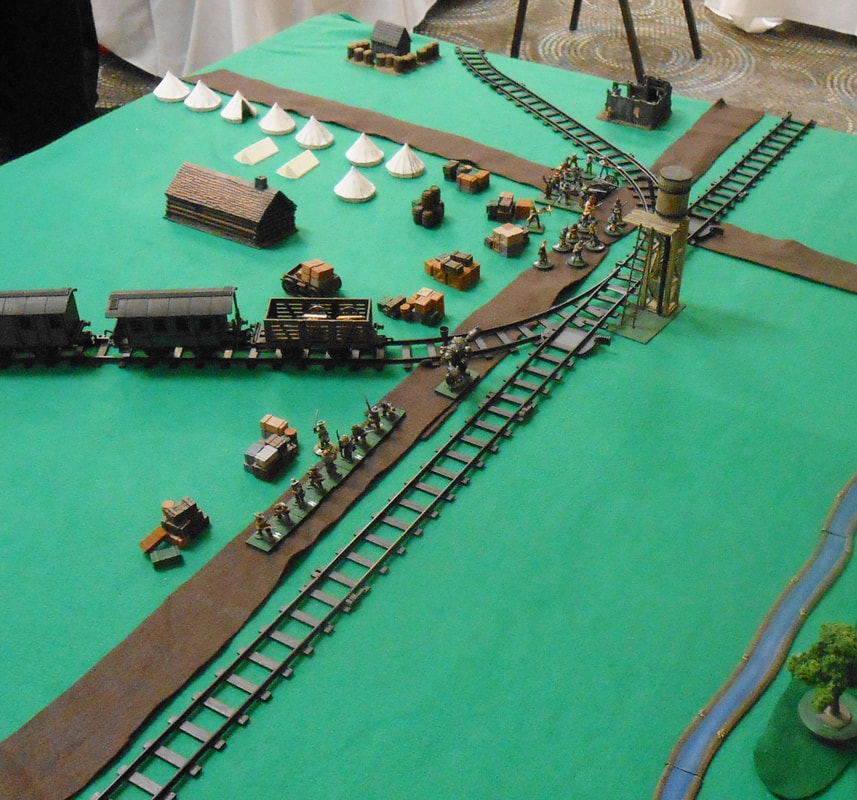
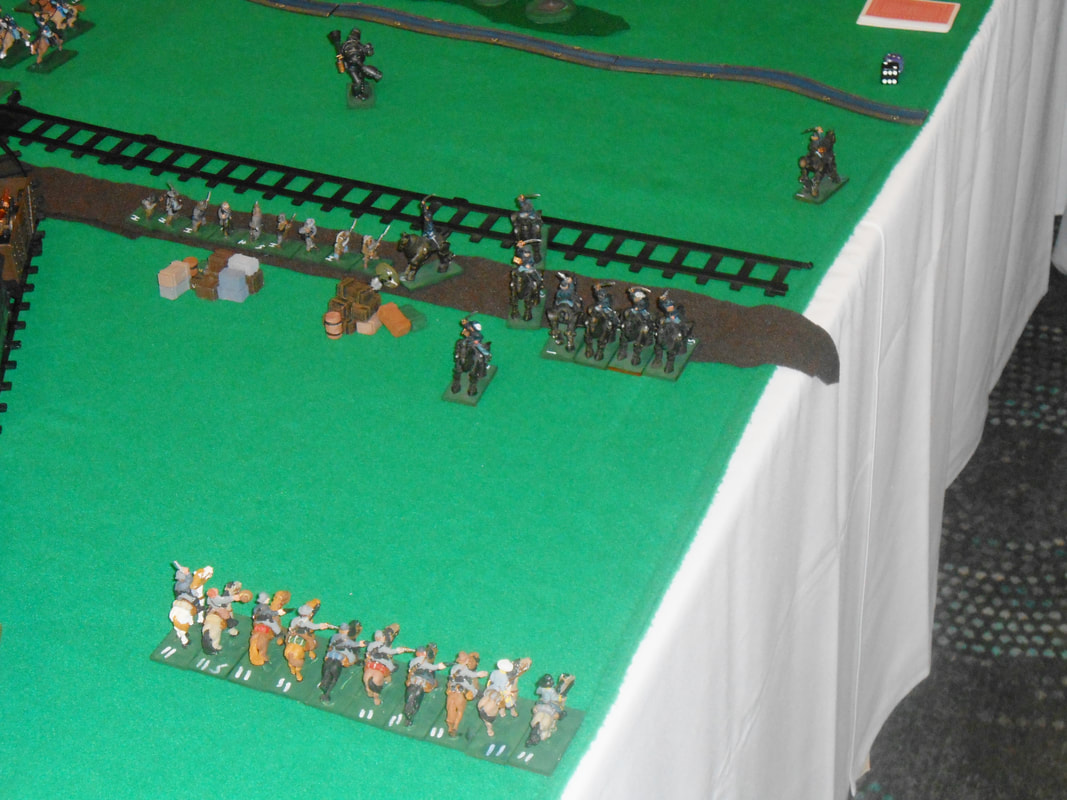
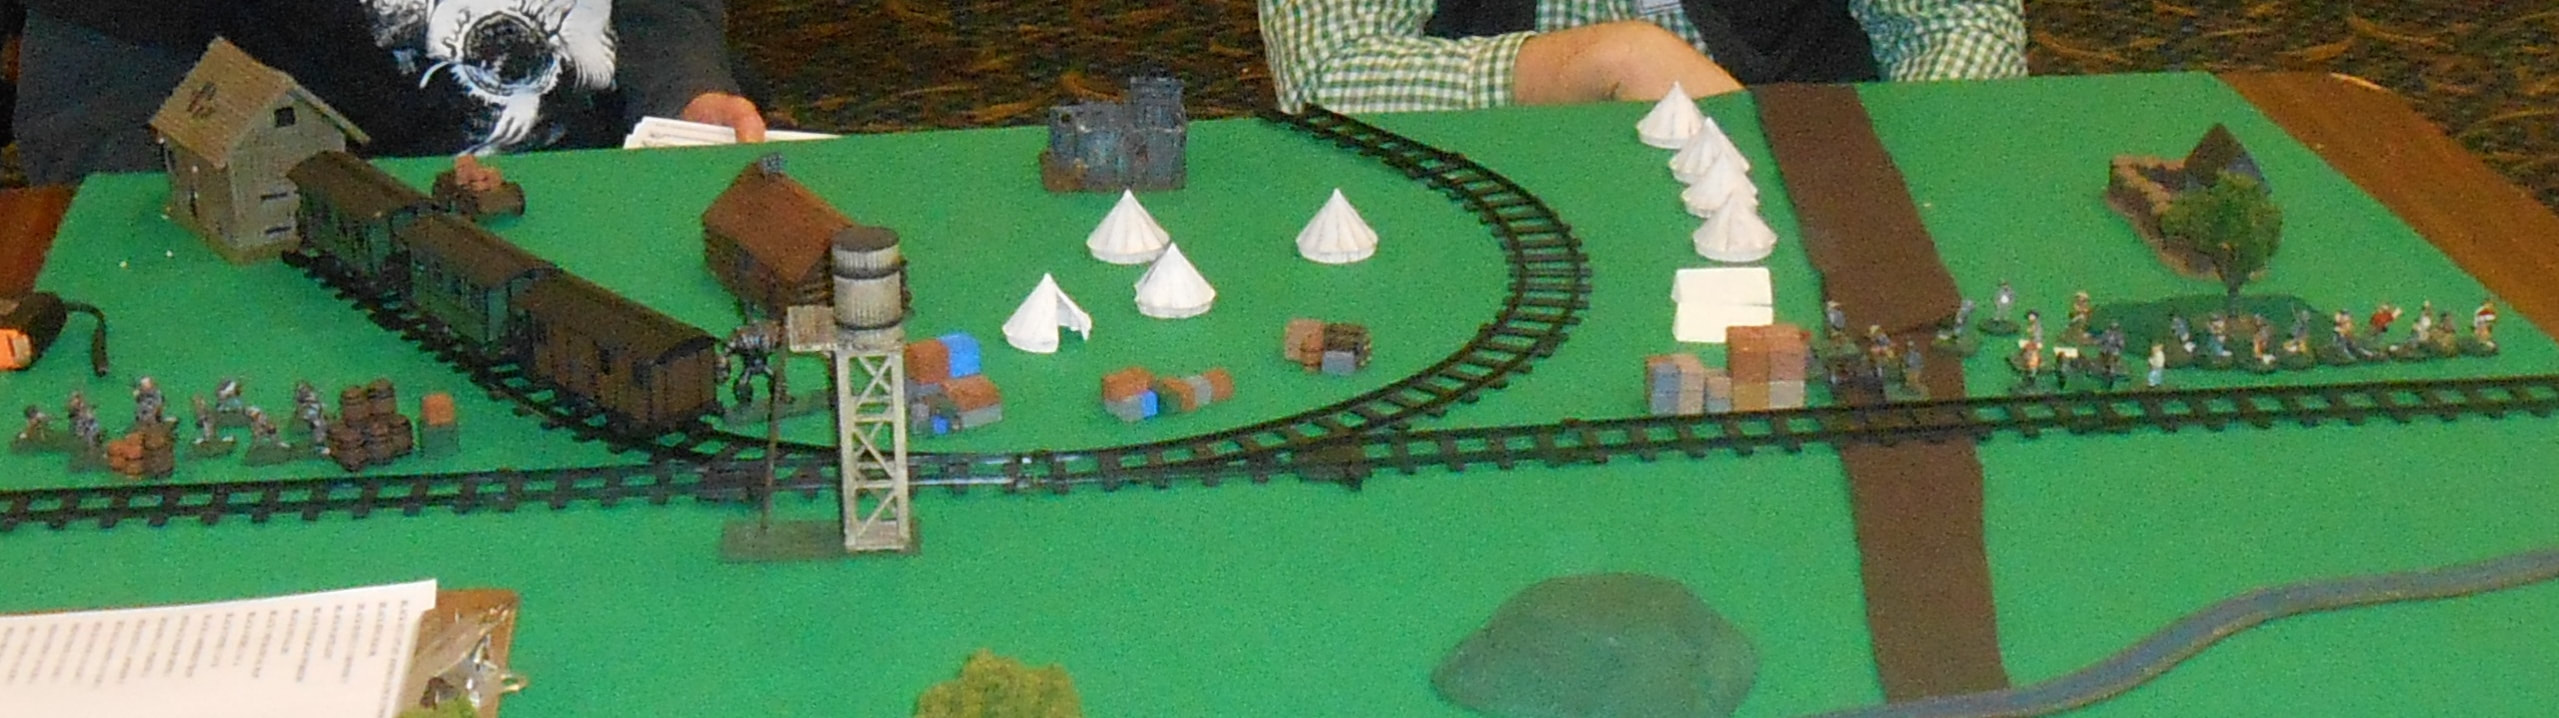
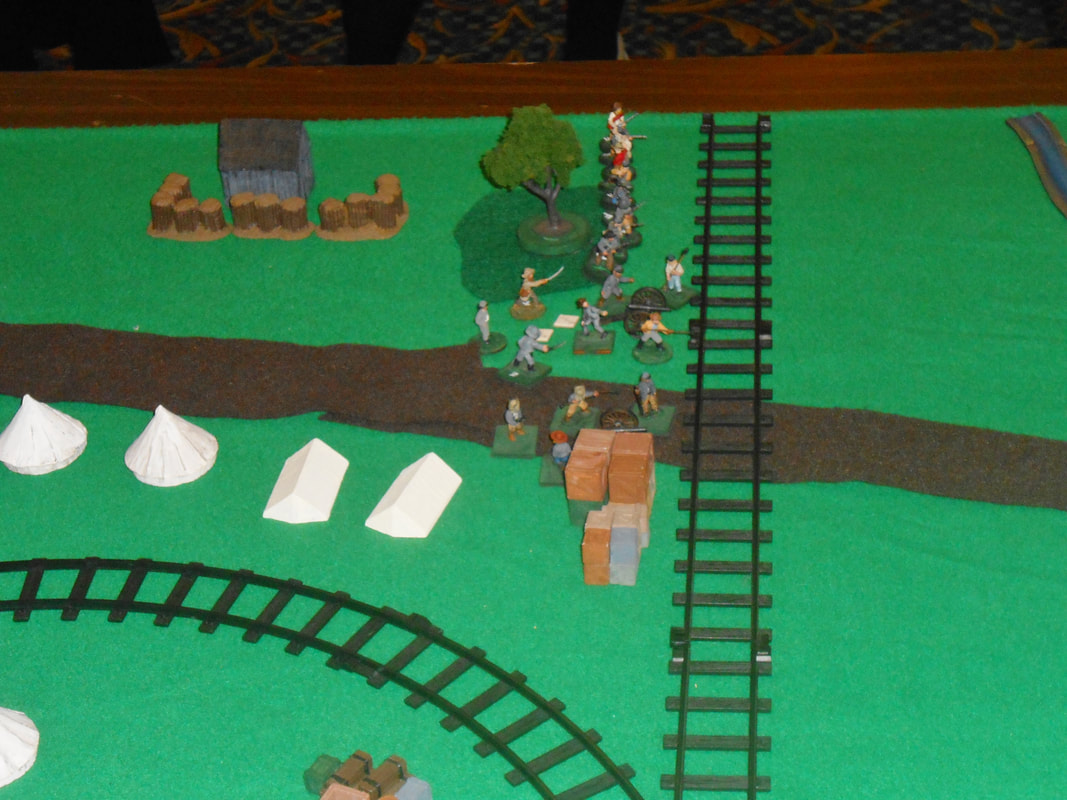
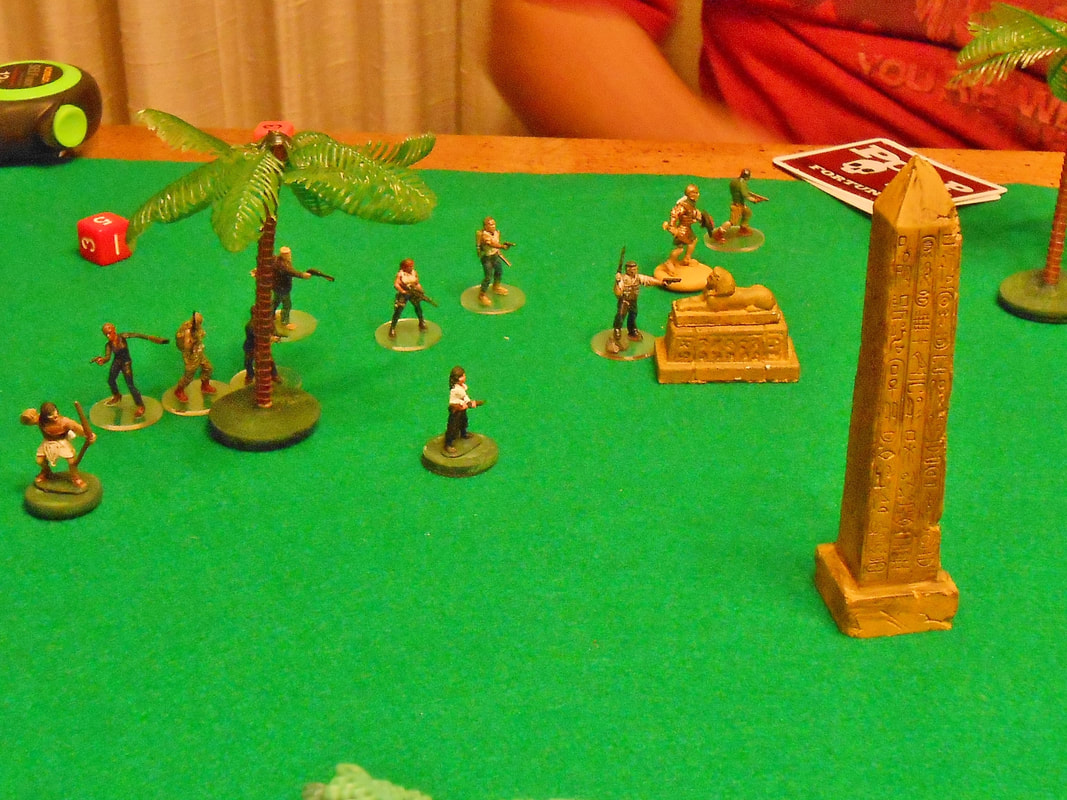
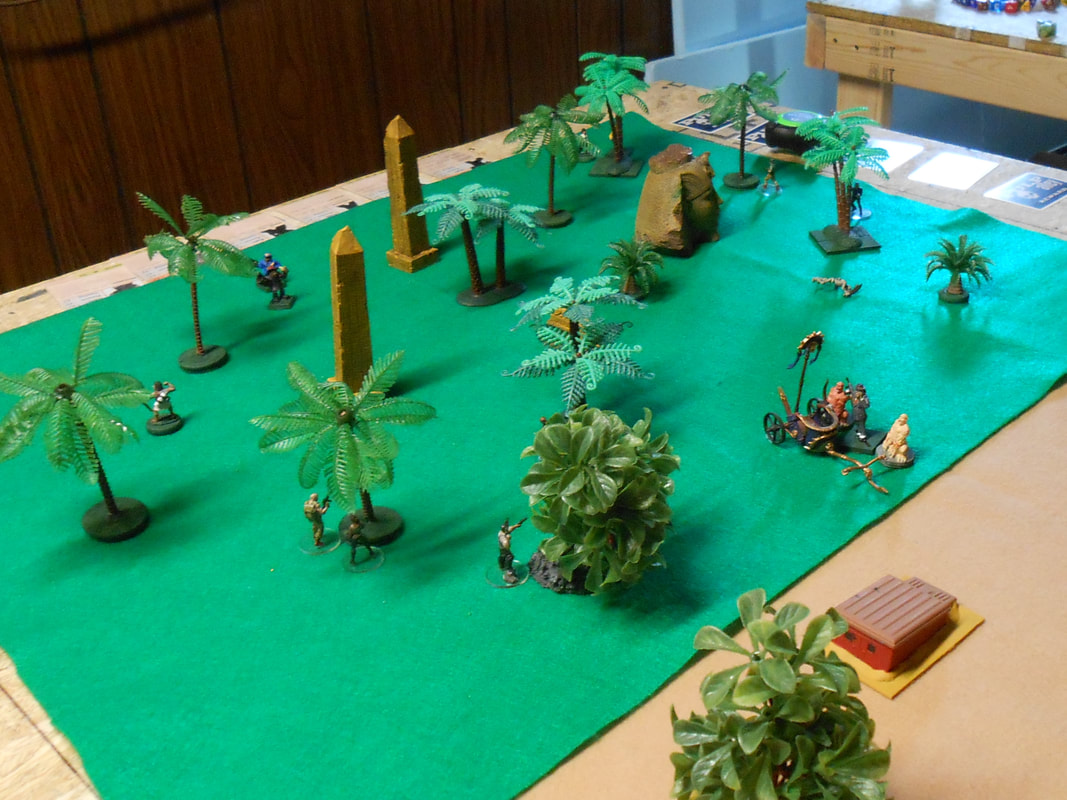
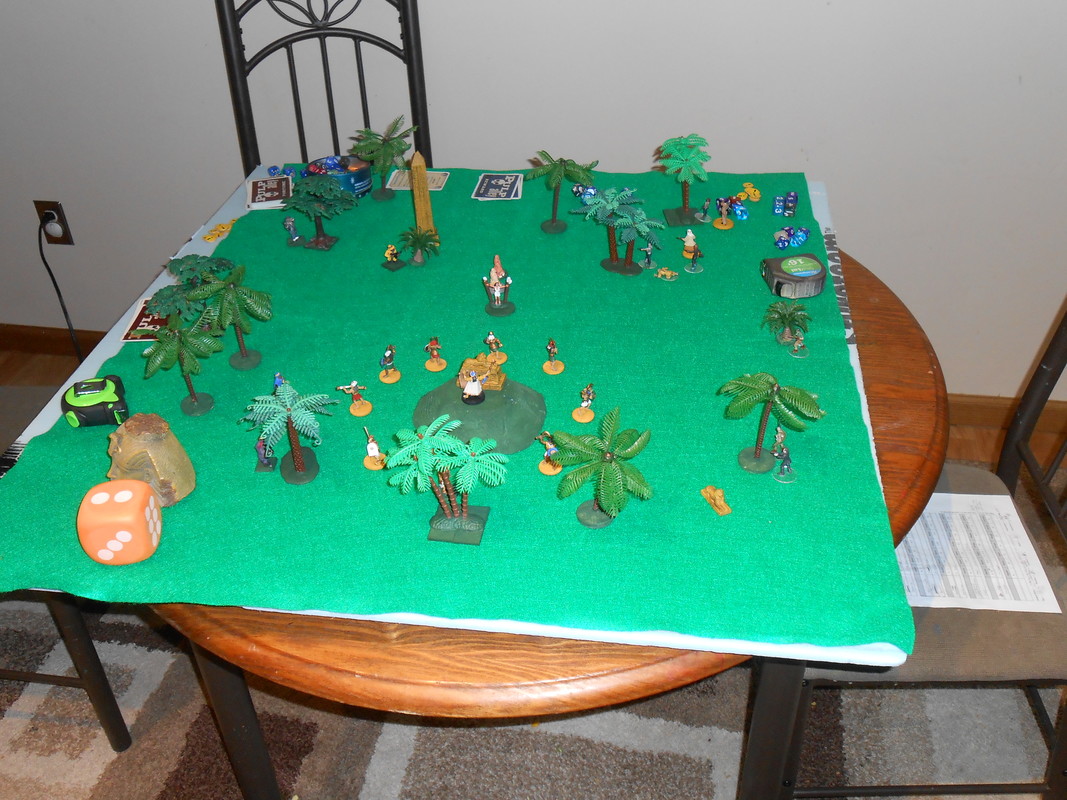
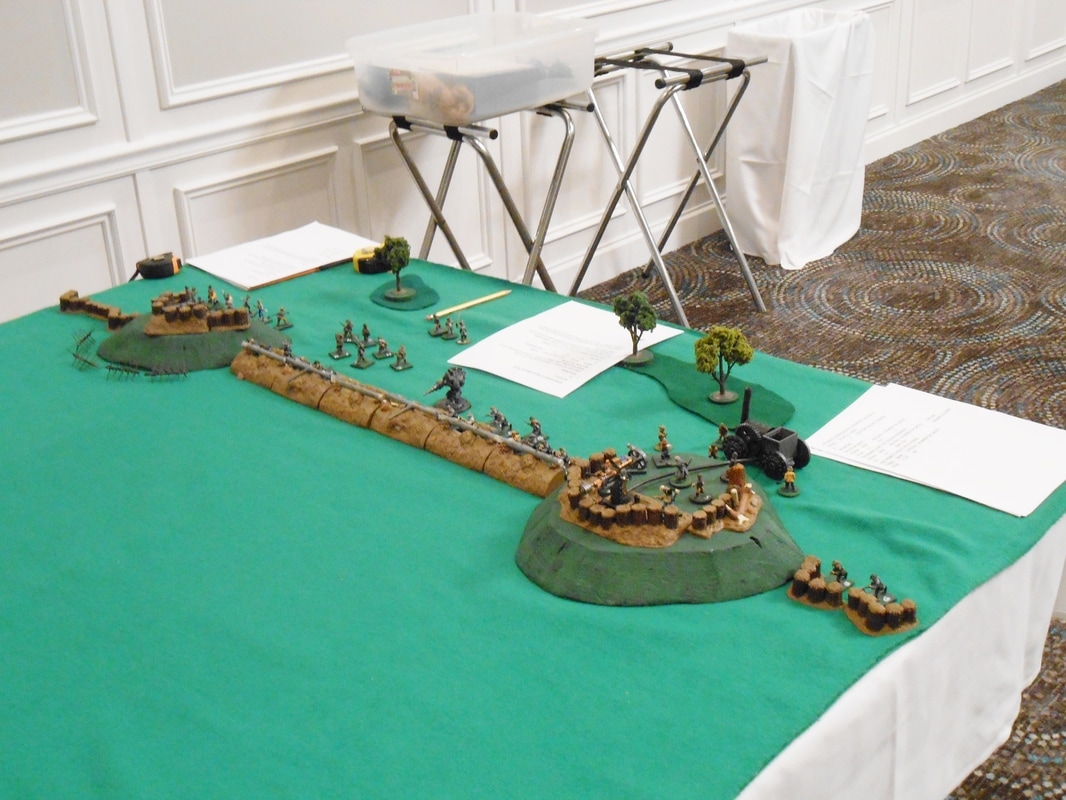
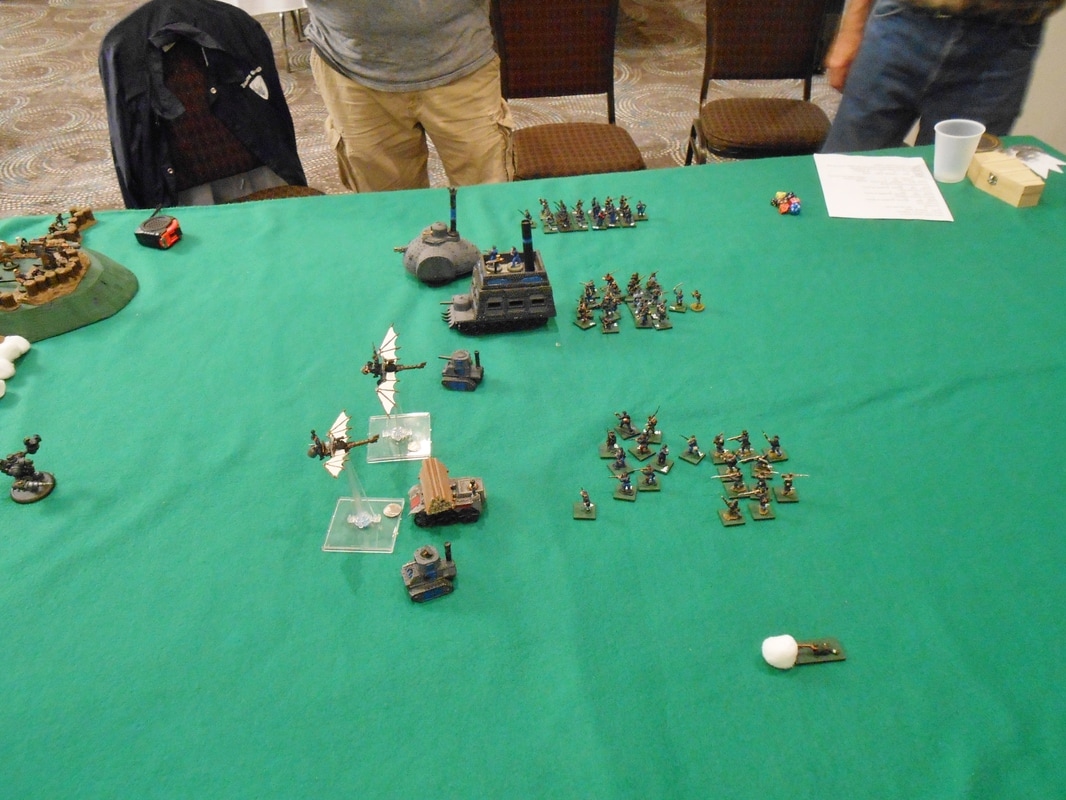
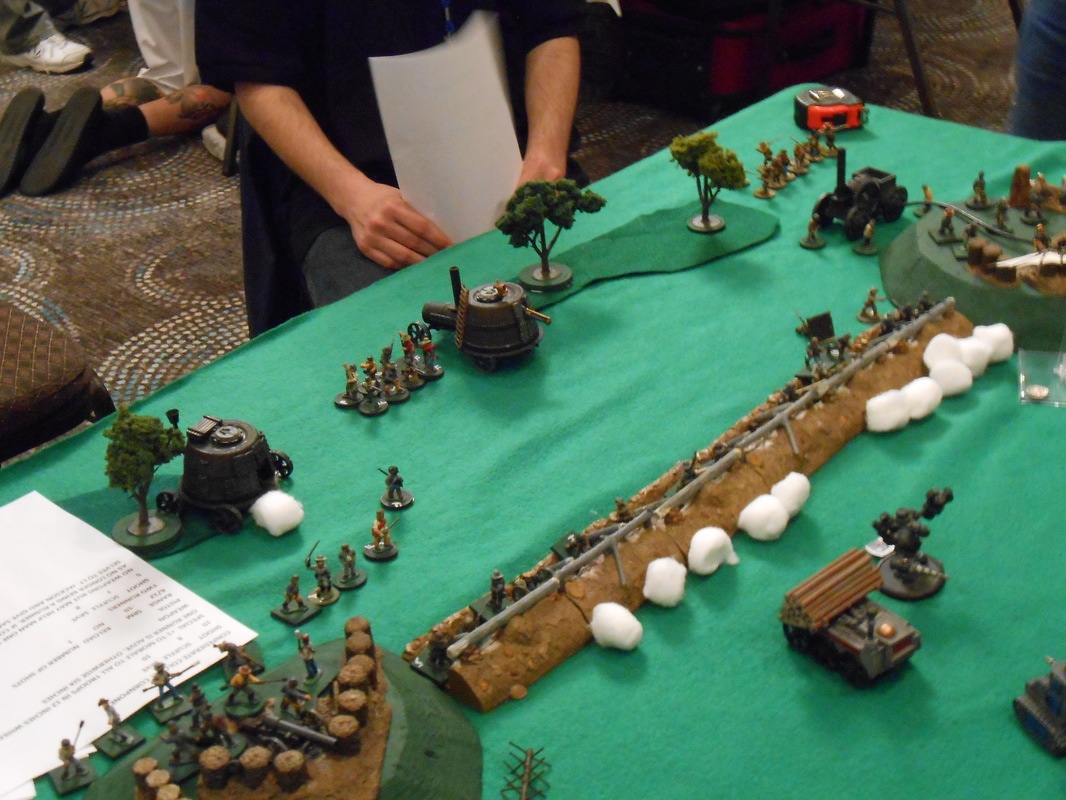
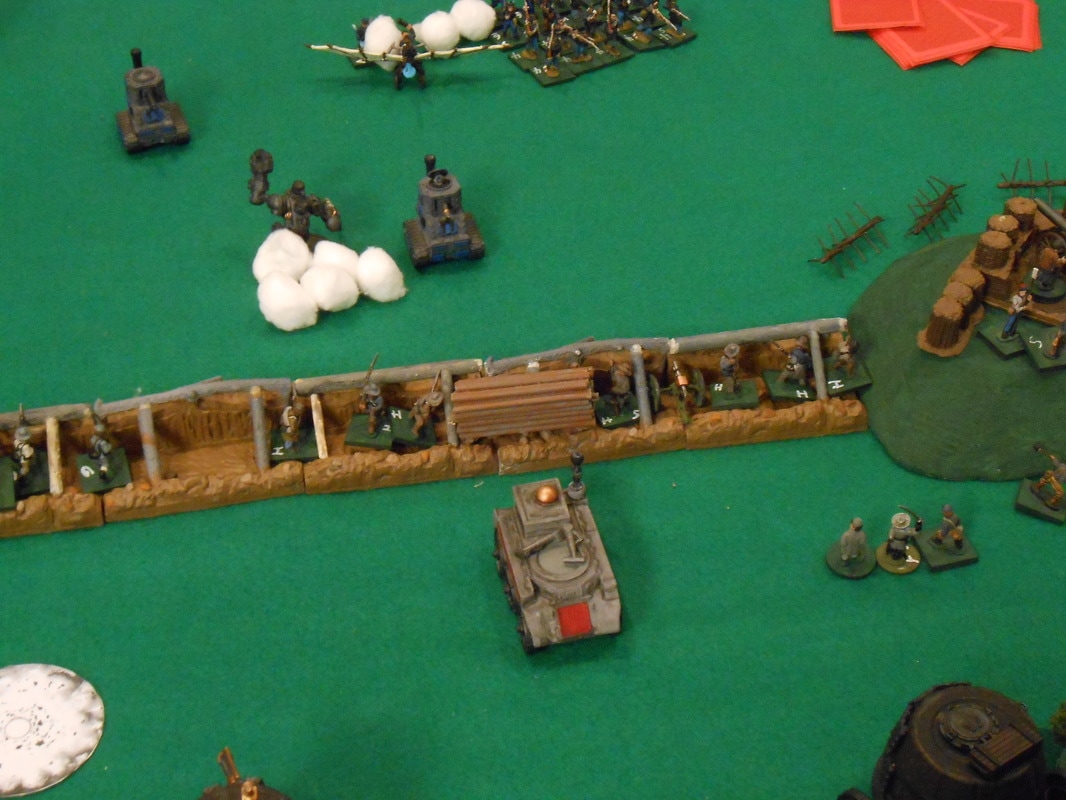
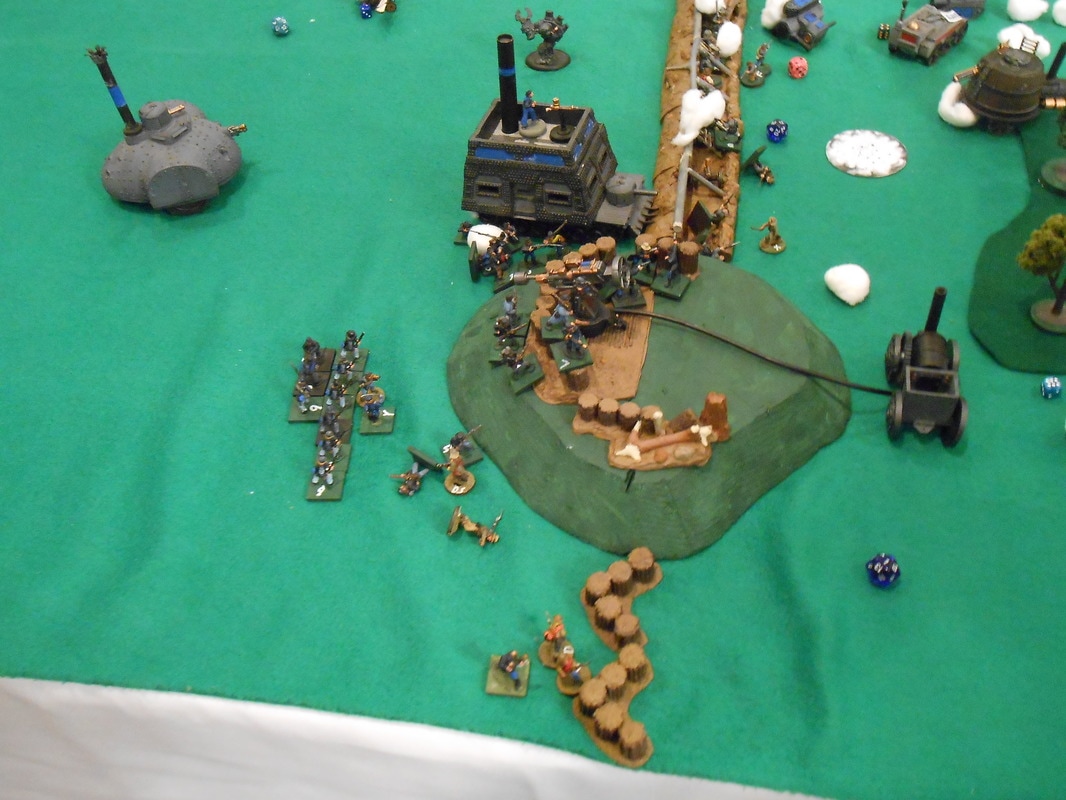
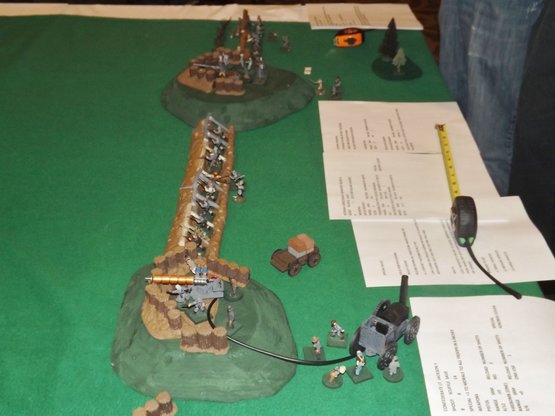
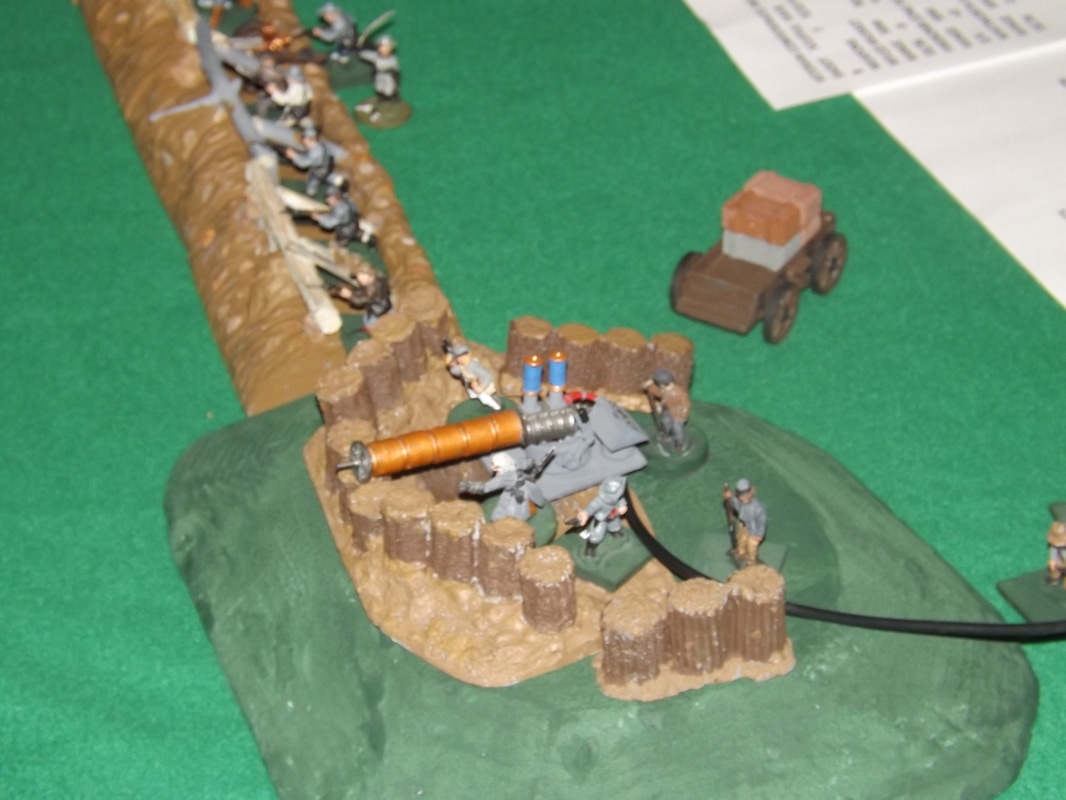
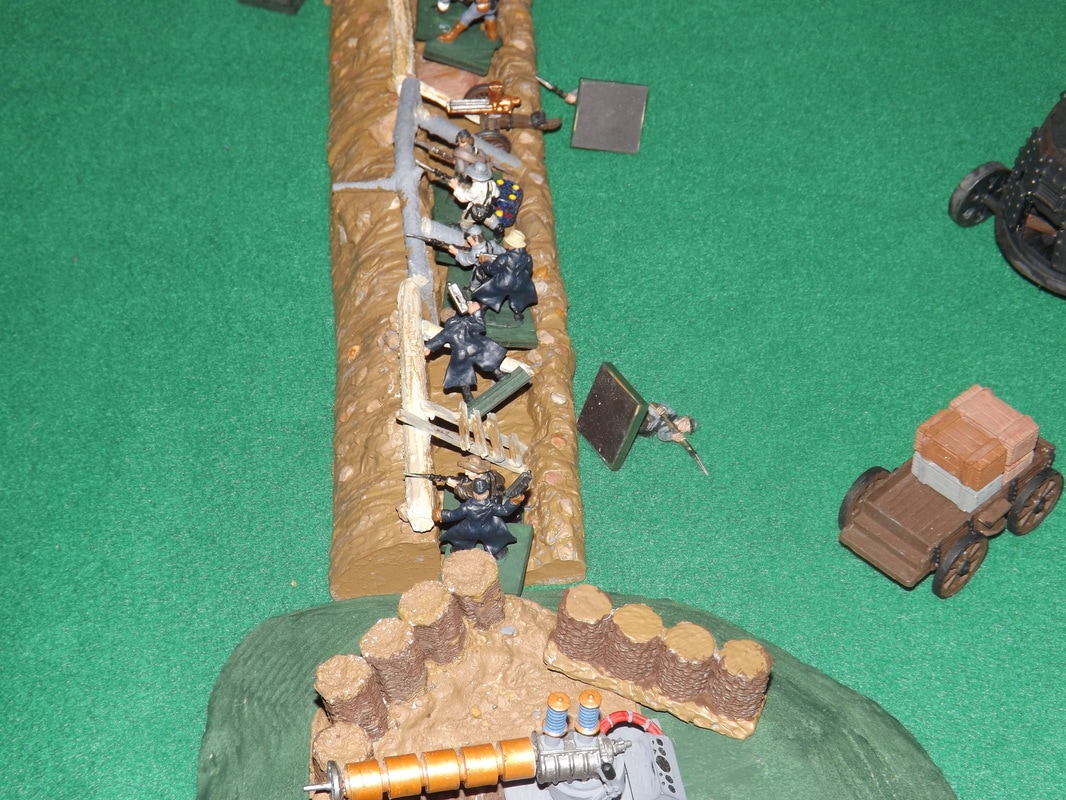
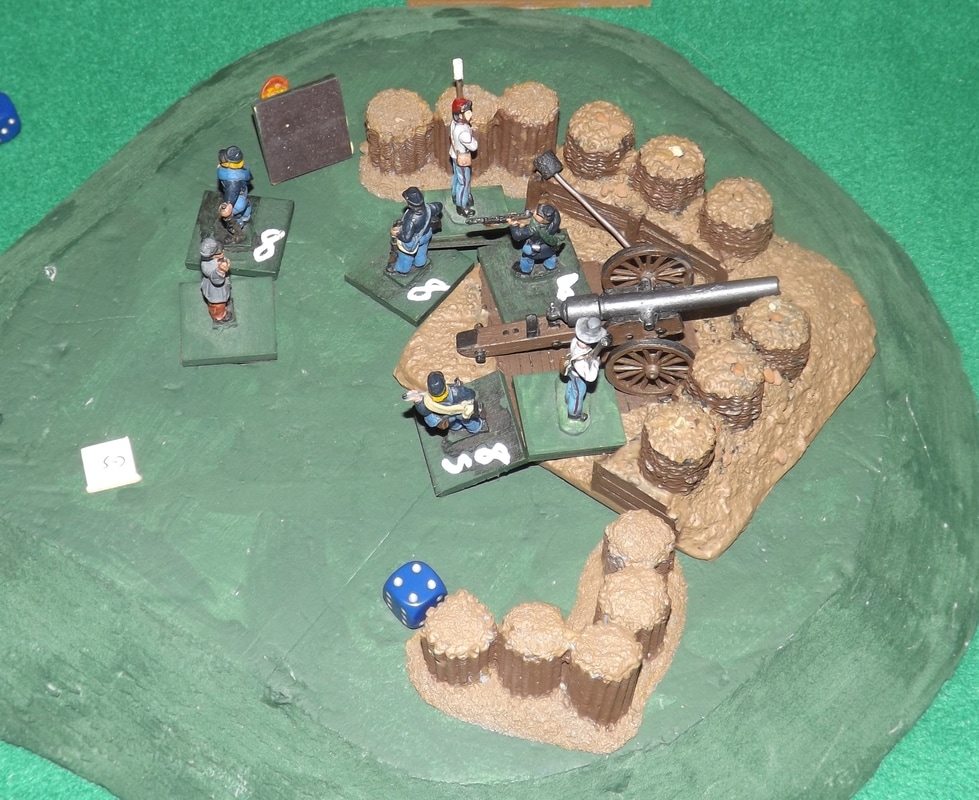
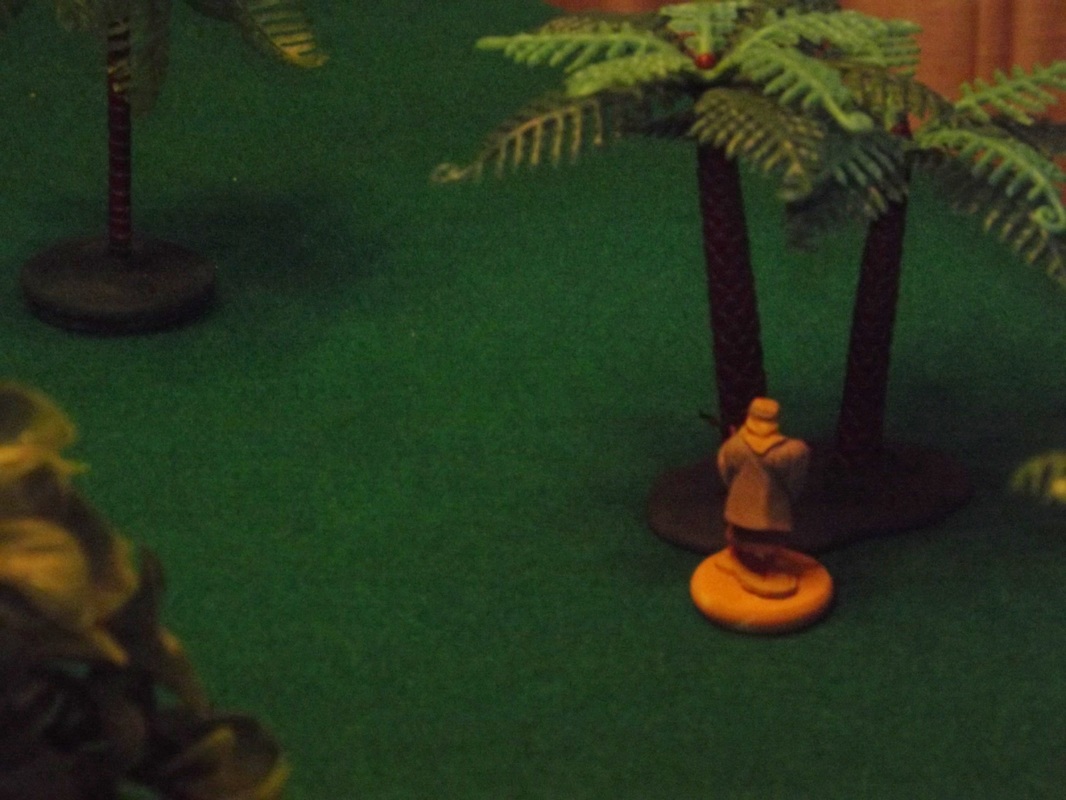
The Confederate set up.
Picture
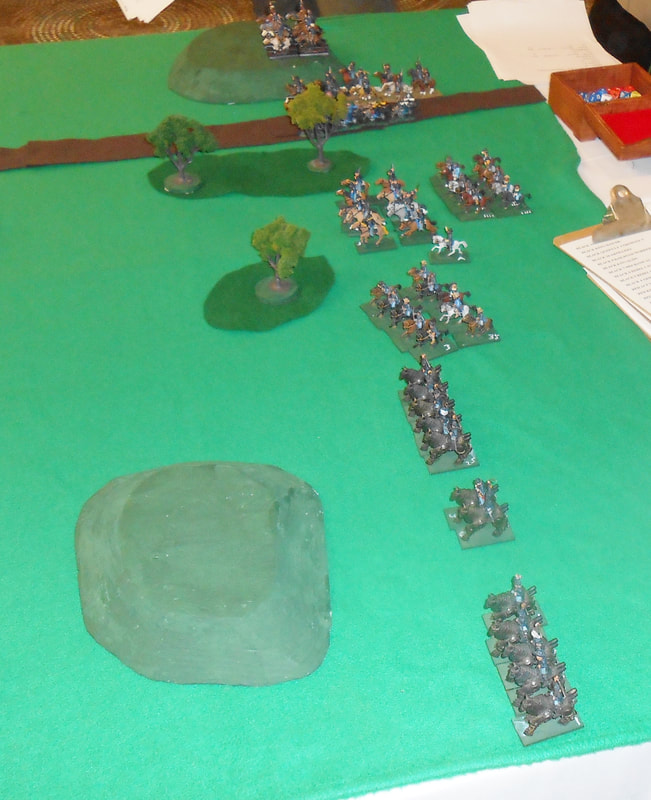
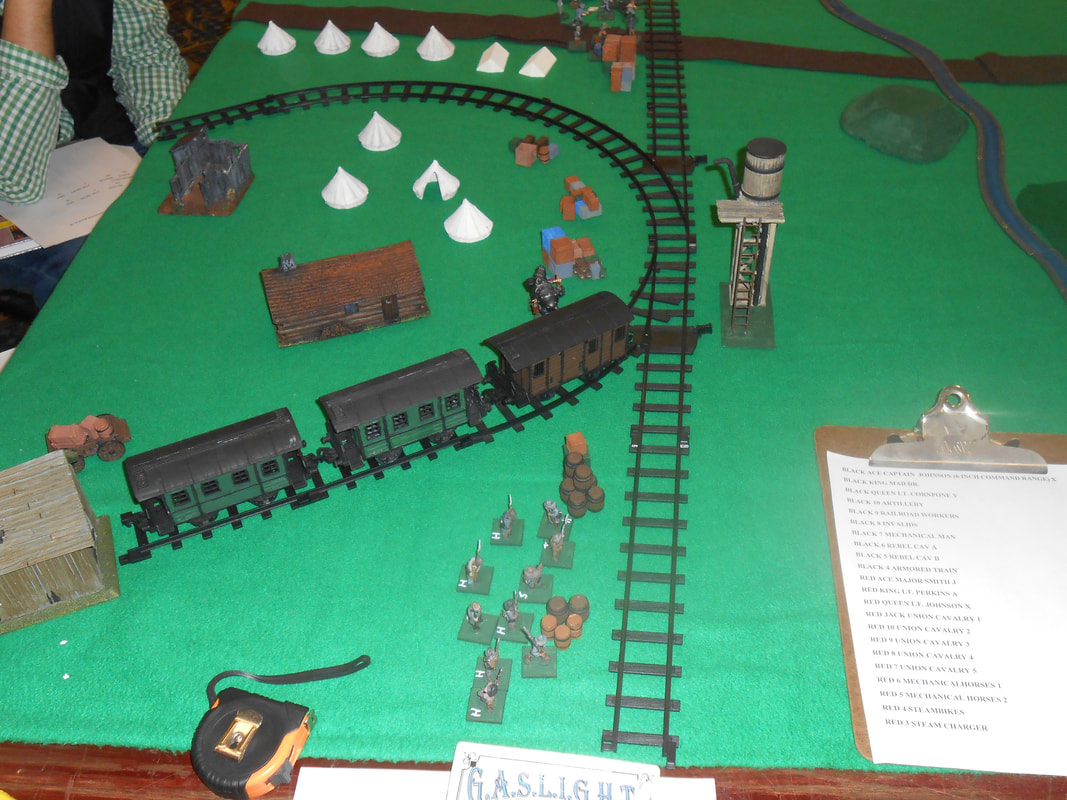
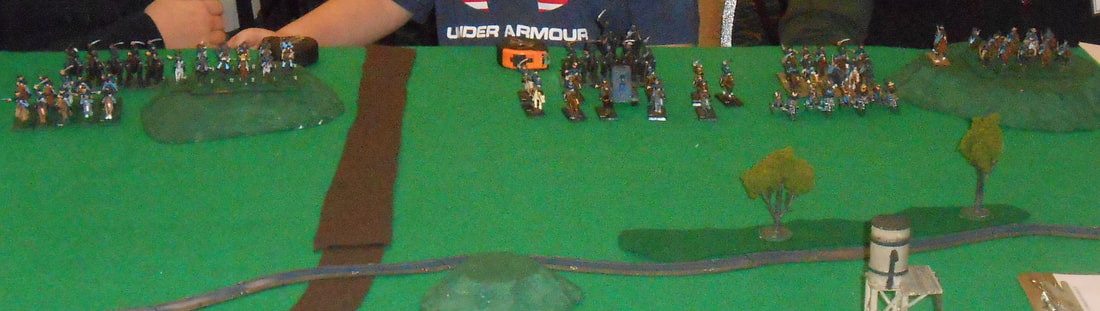
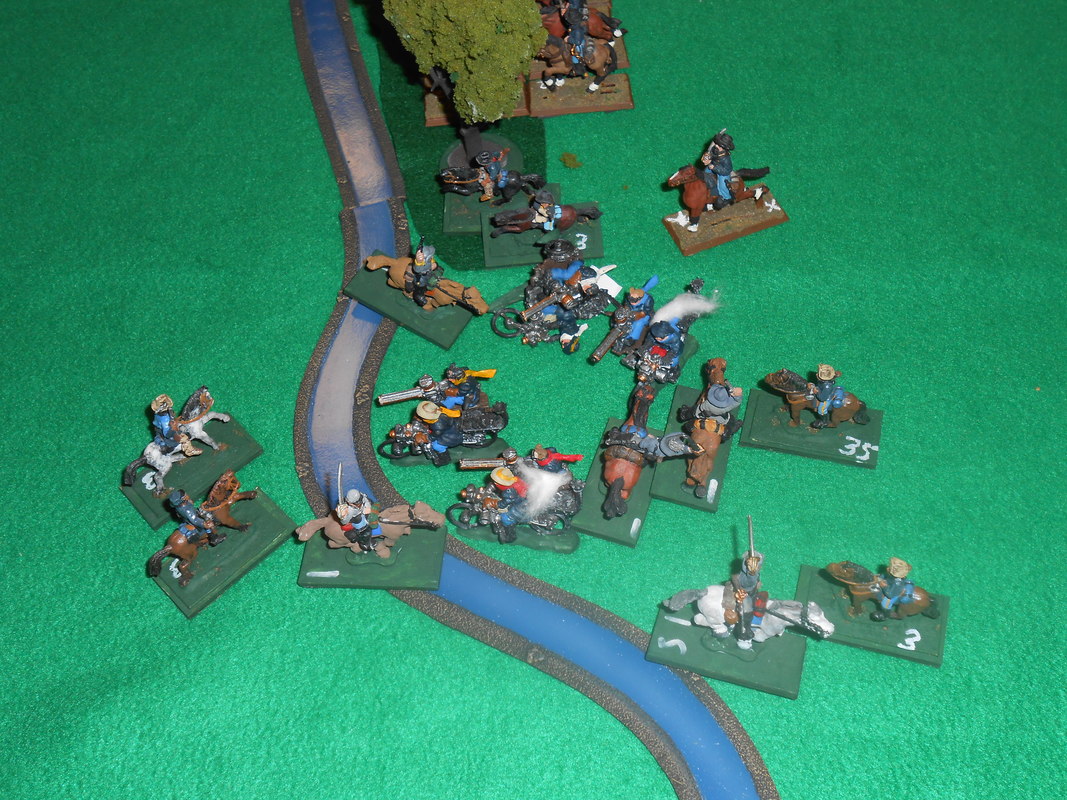
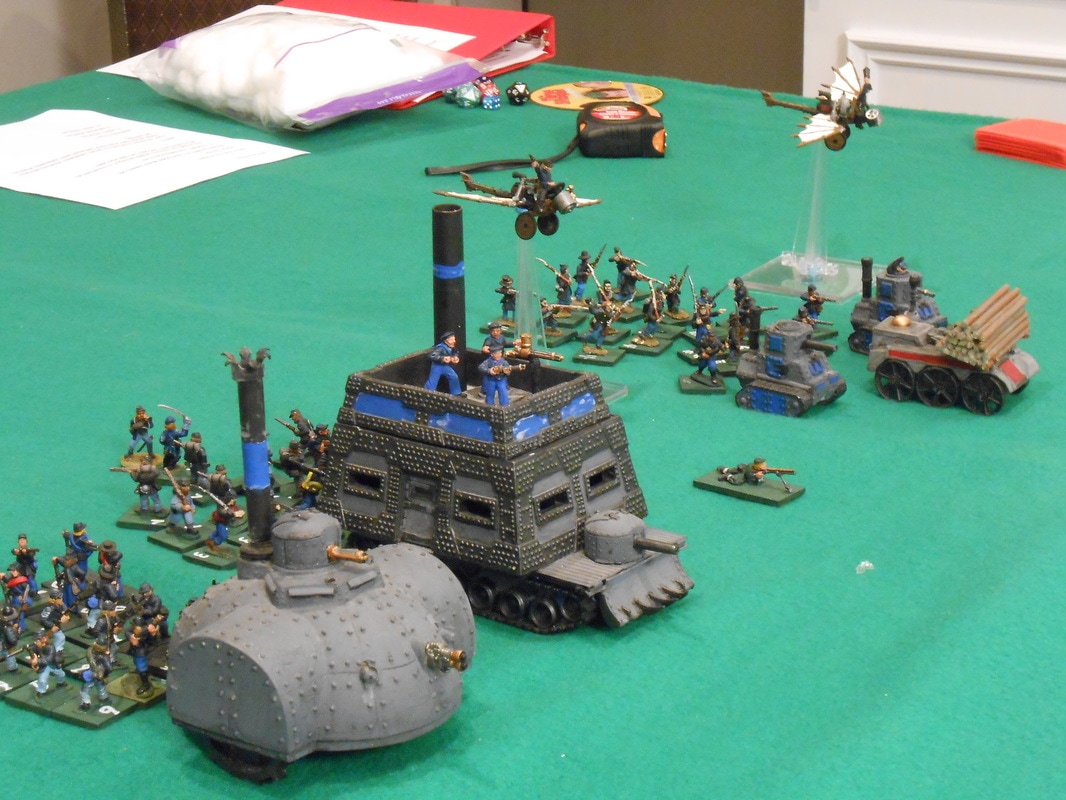
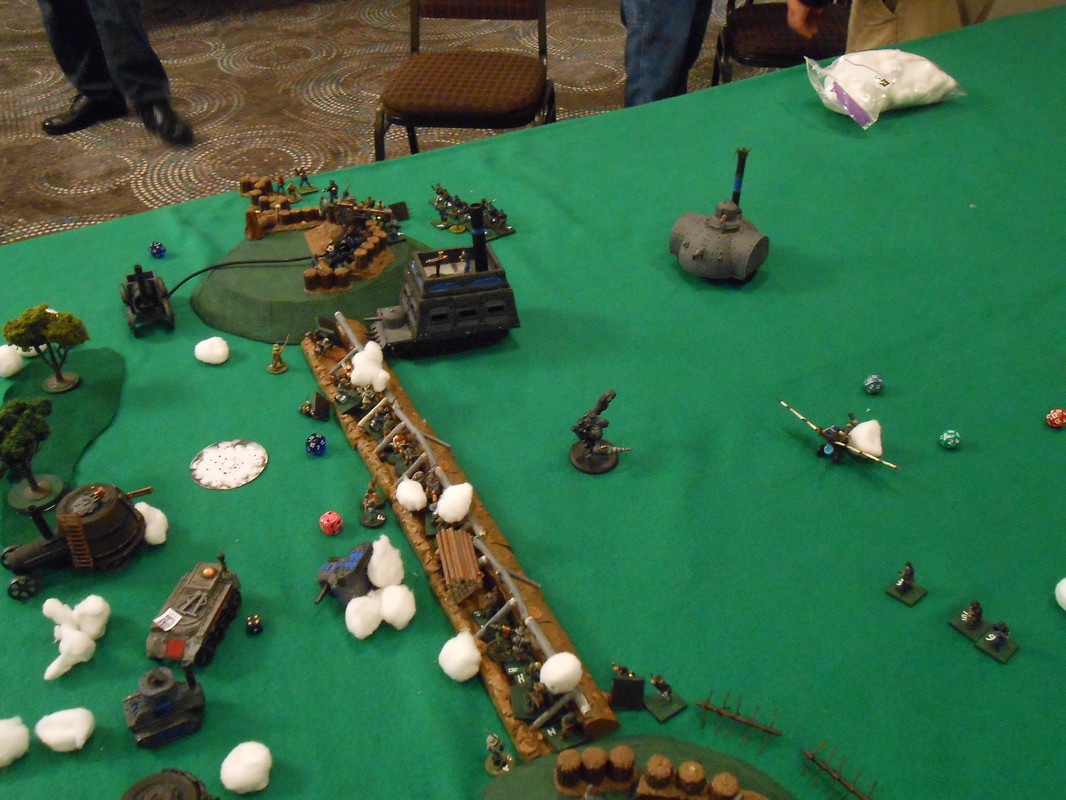
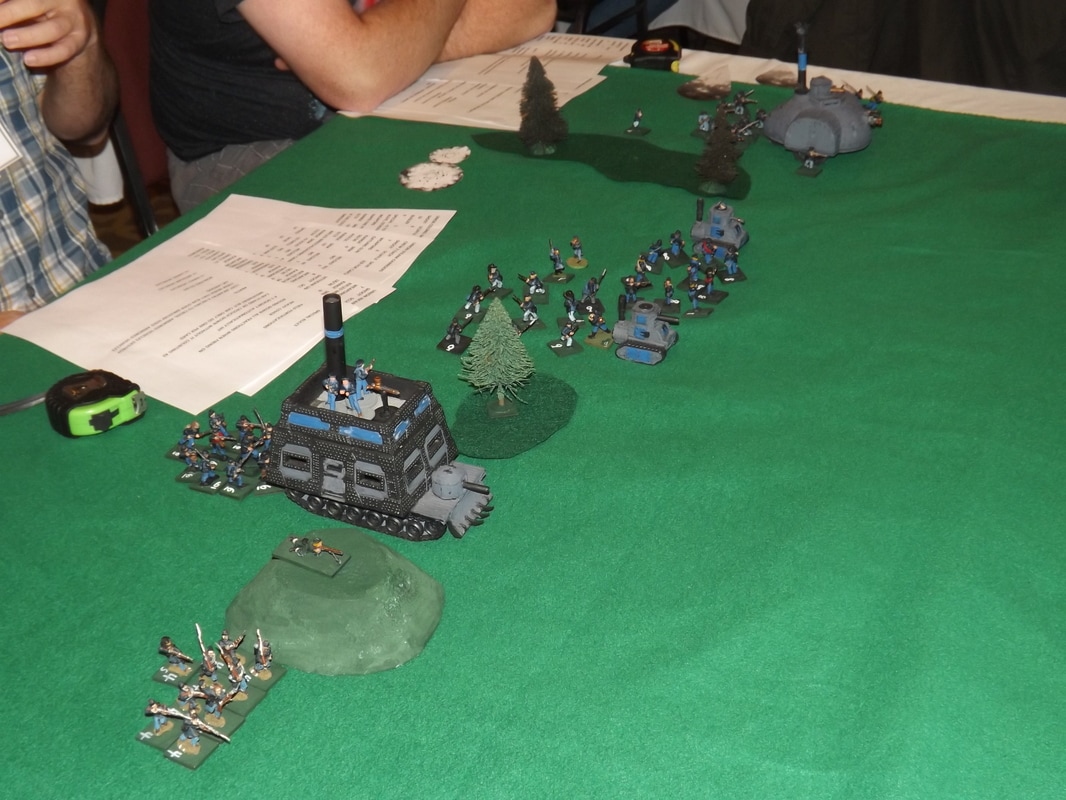
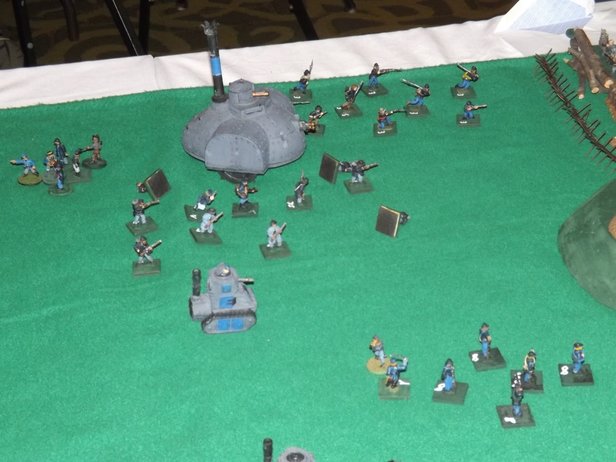
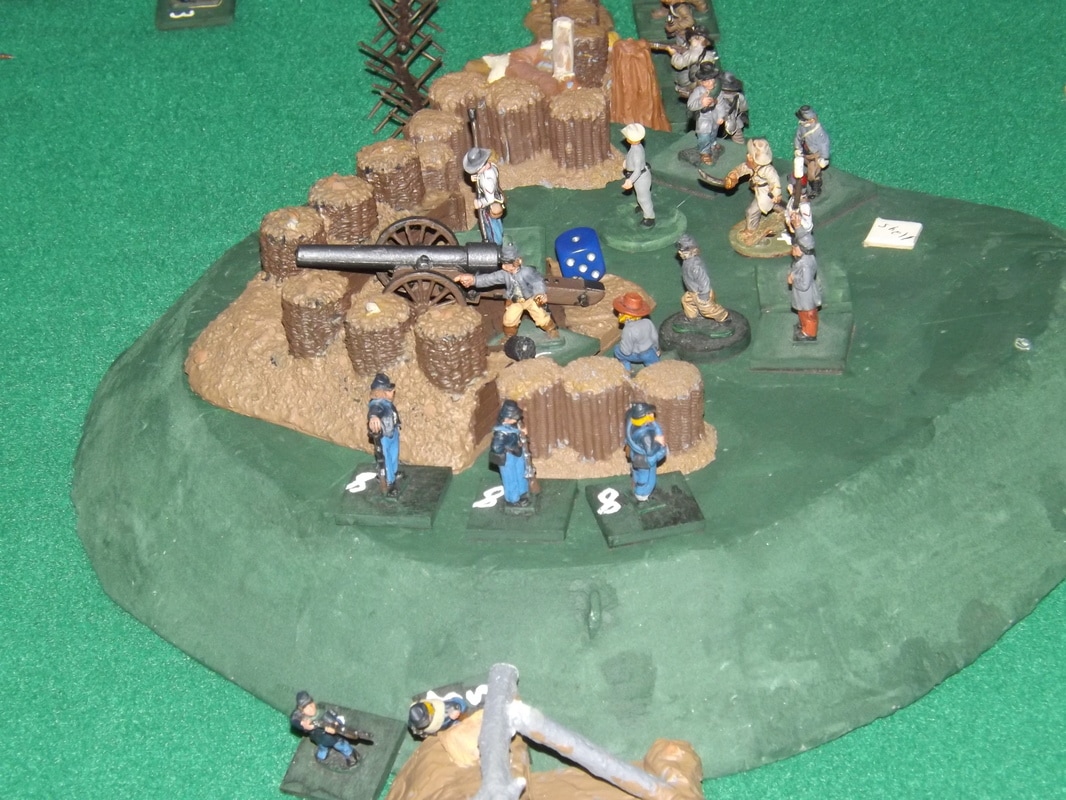
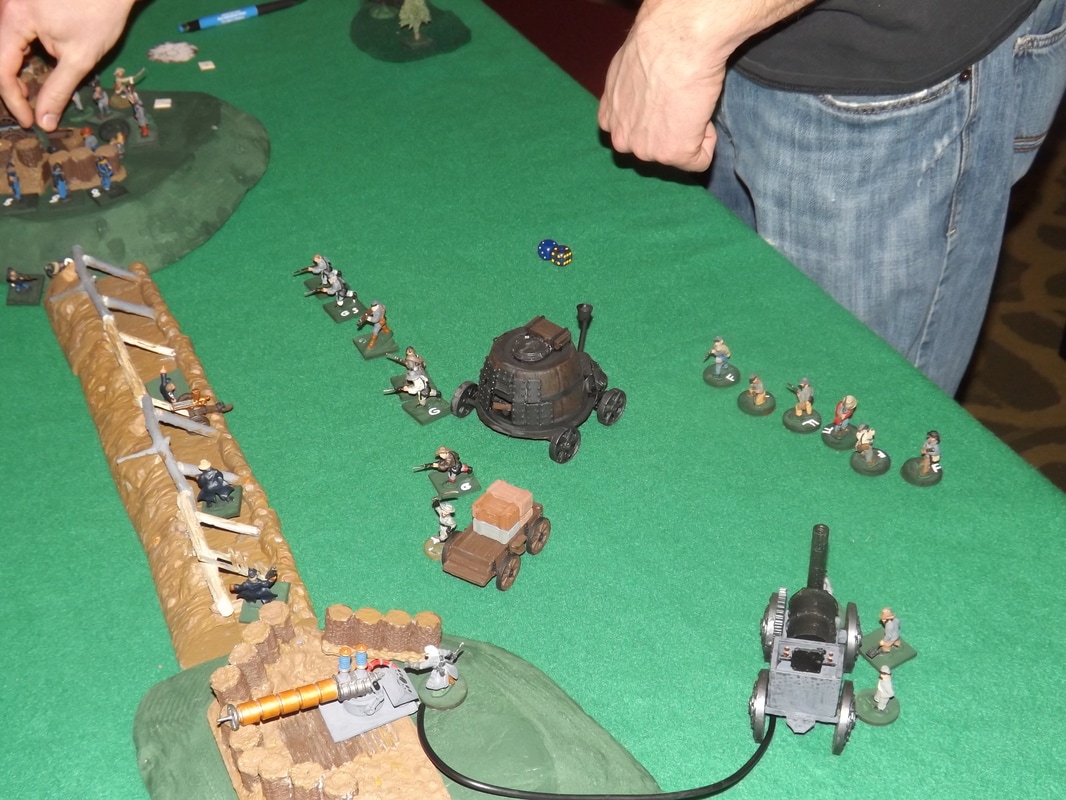
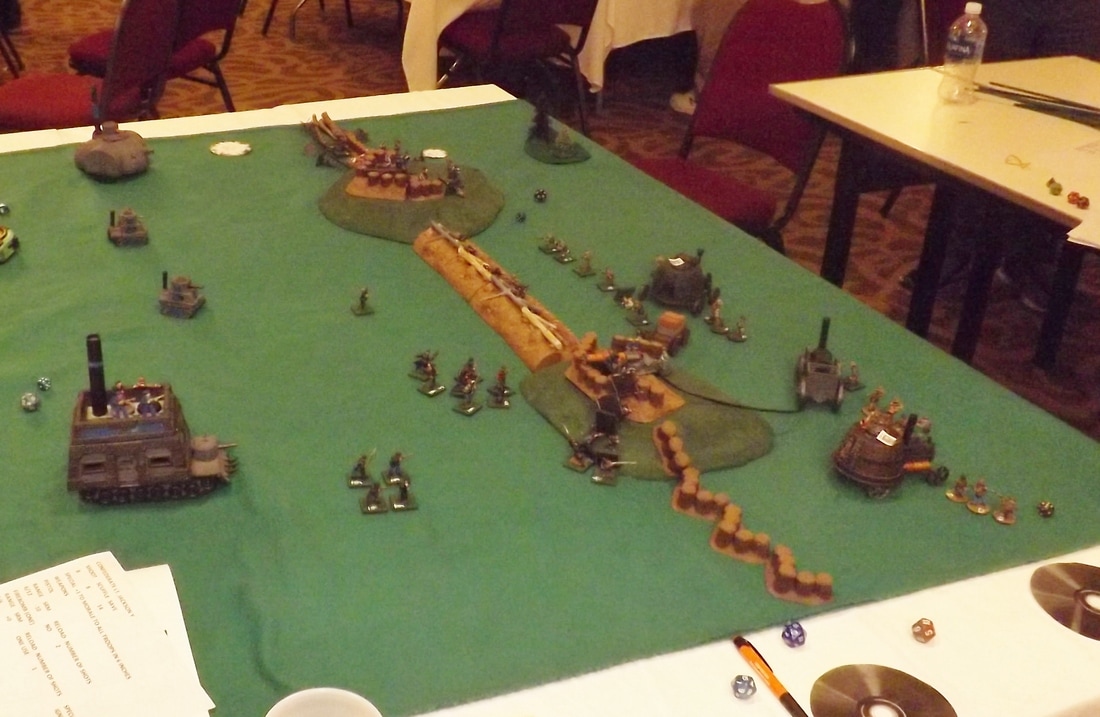
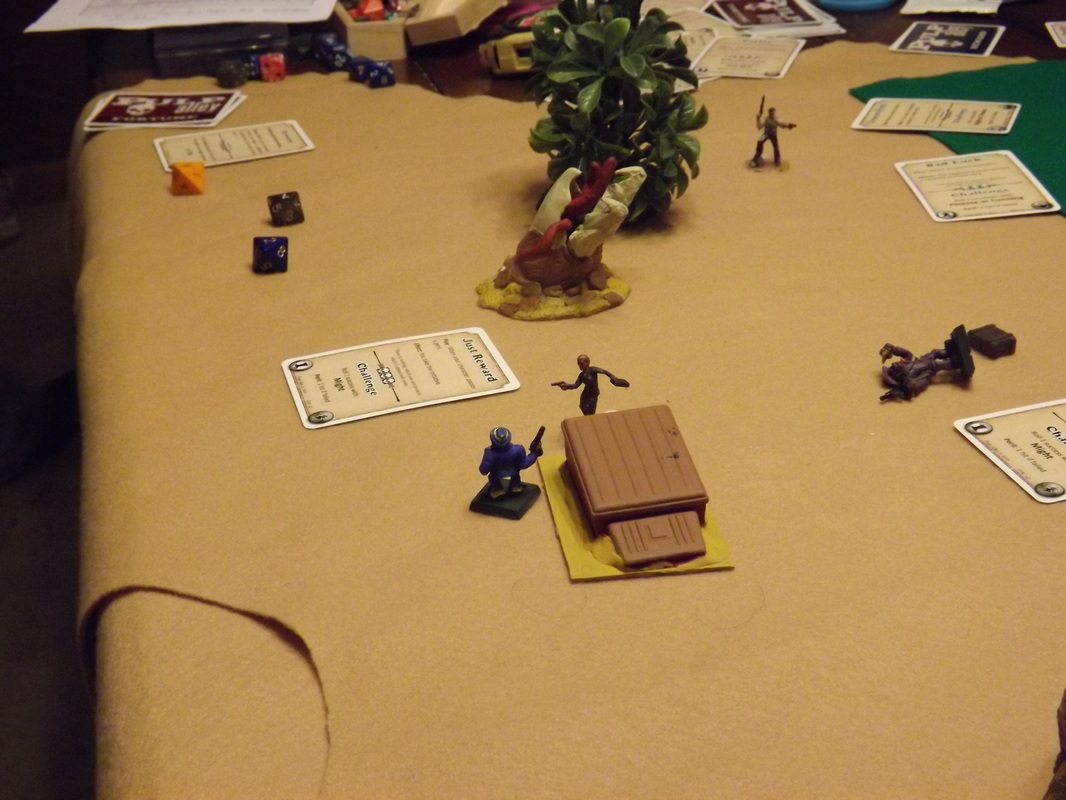
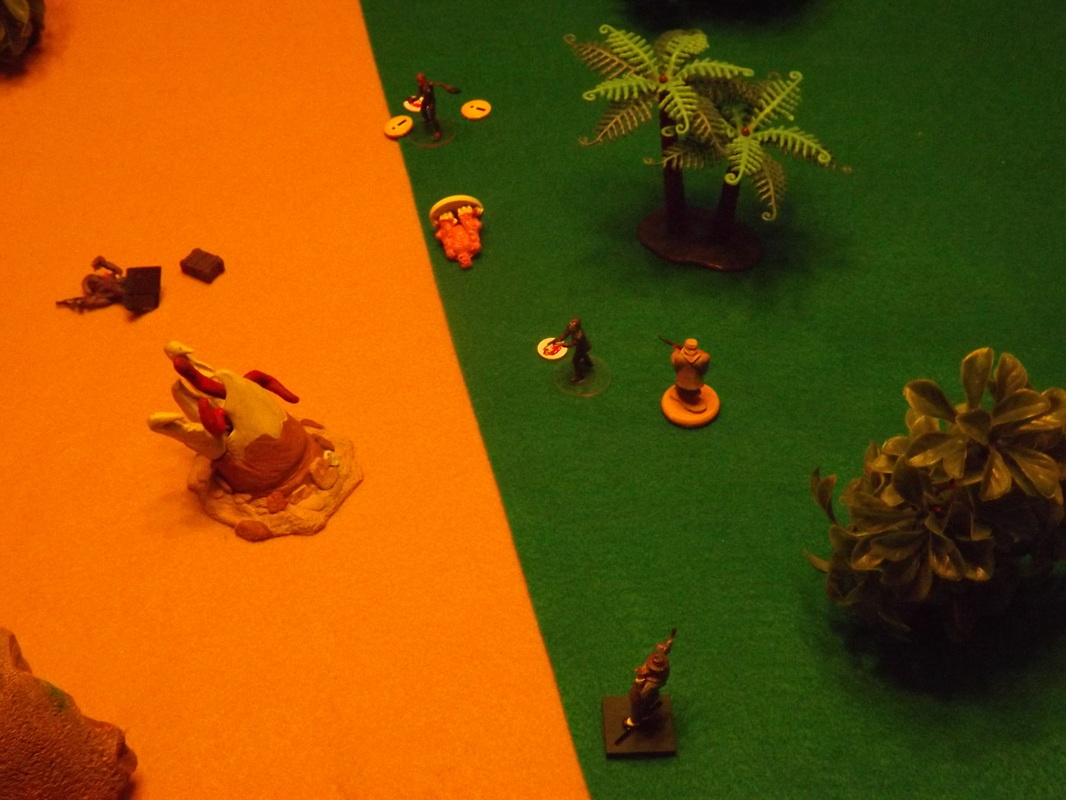
Union setup. Notice that they put all of the Mechanical Horses on one side of the line. I let both sides arrange their forces however they want, as long as they are behind the start line.
Picture
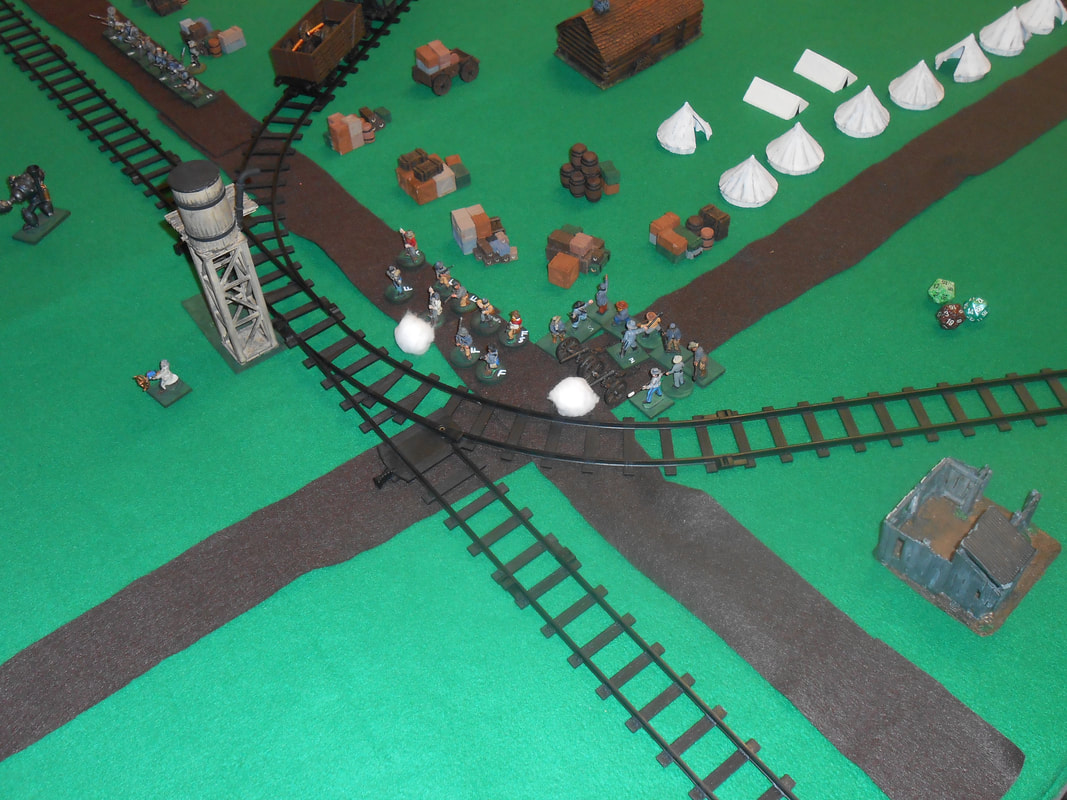
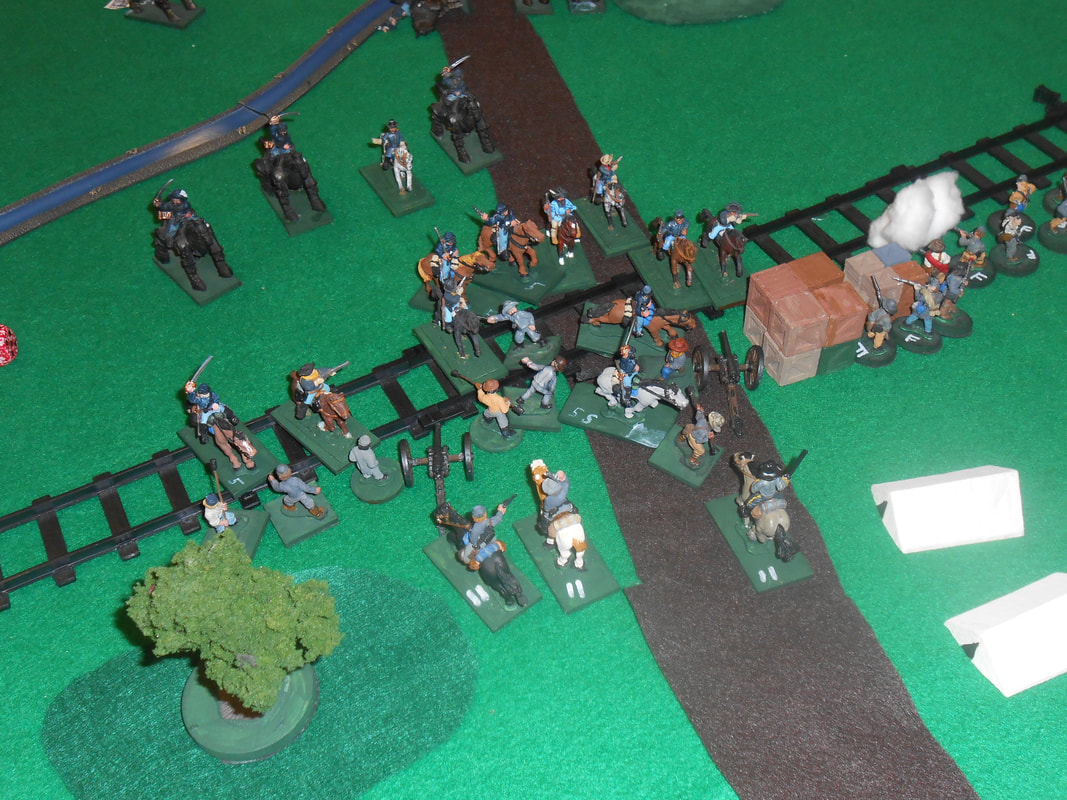
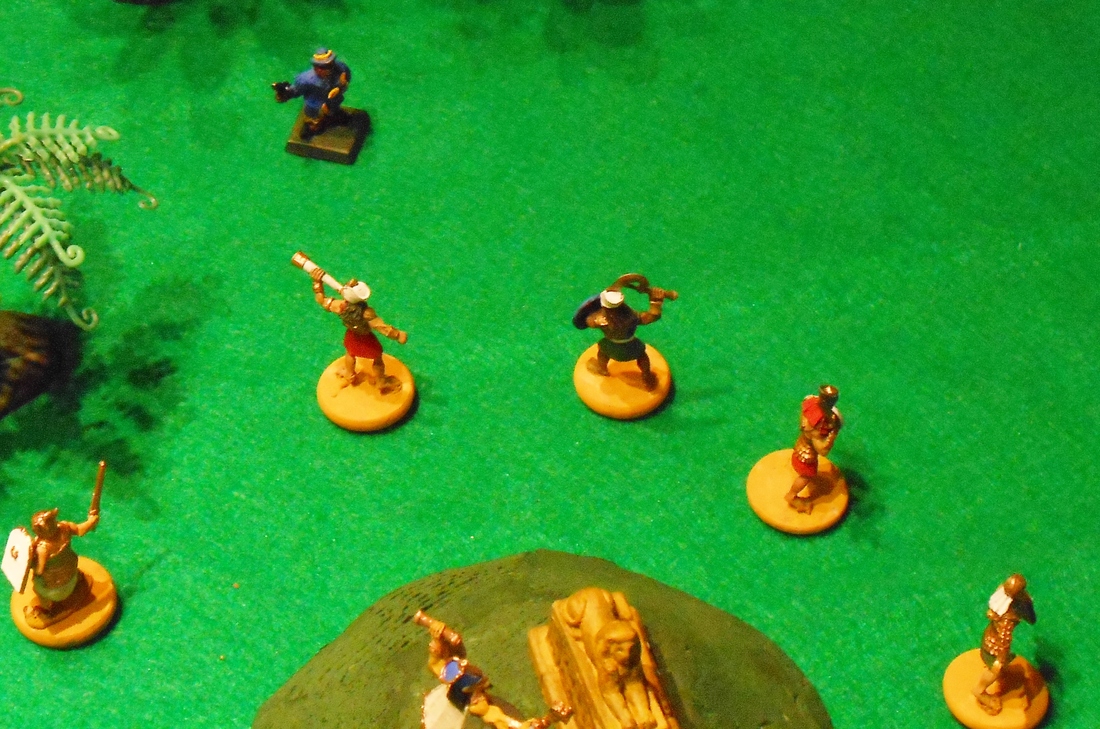
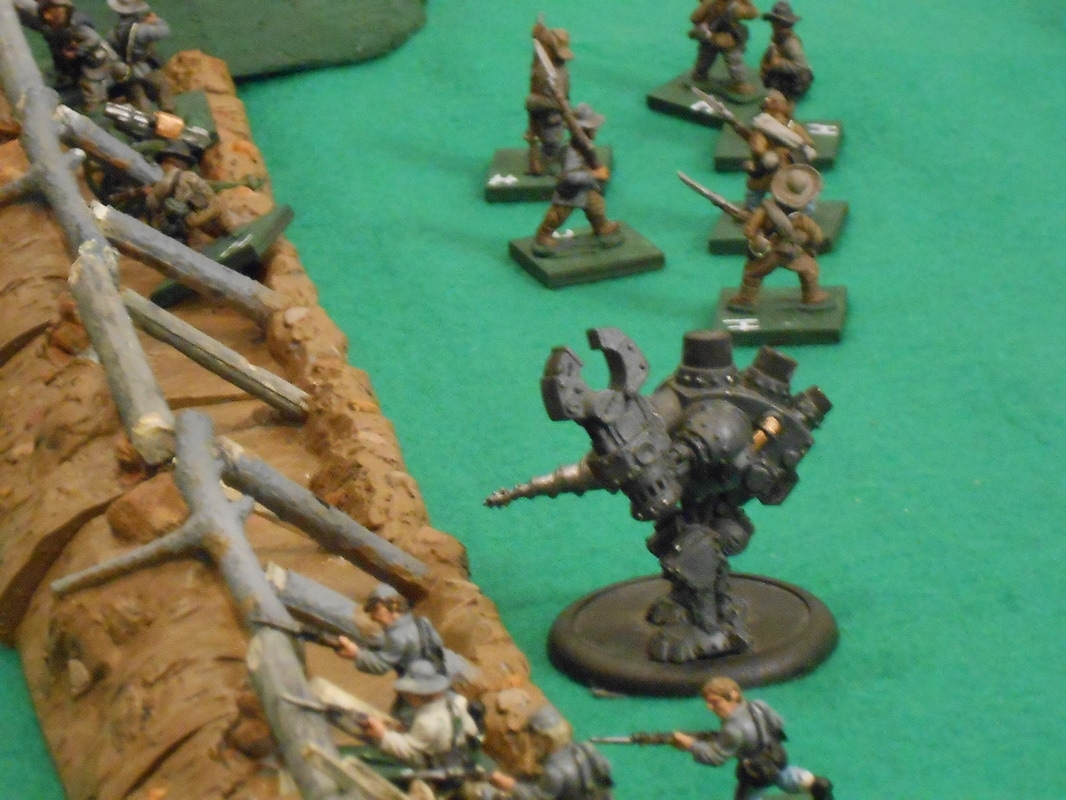
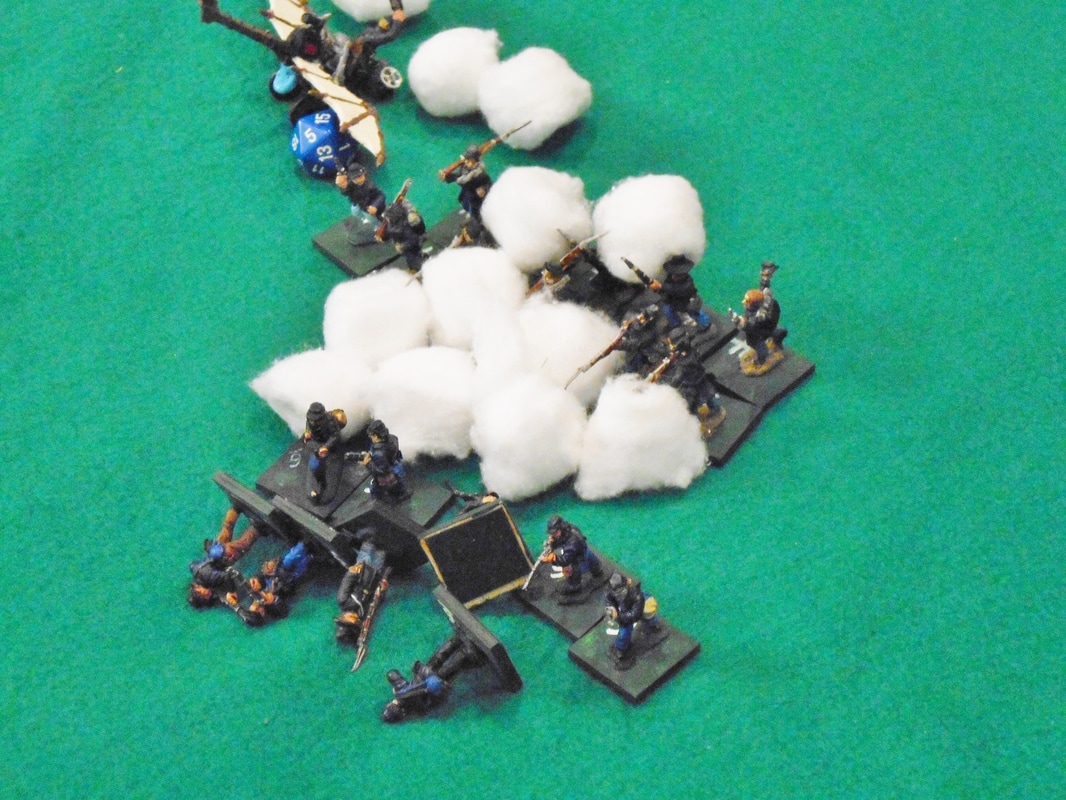
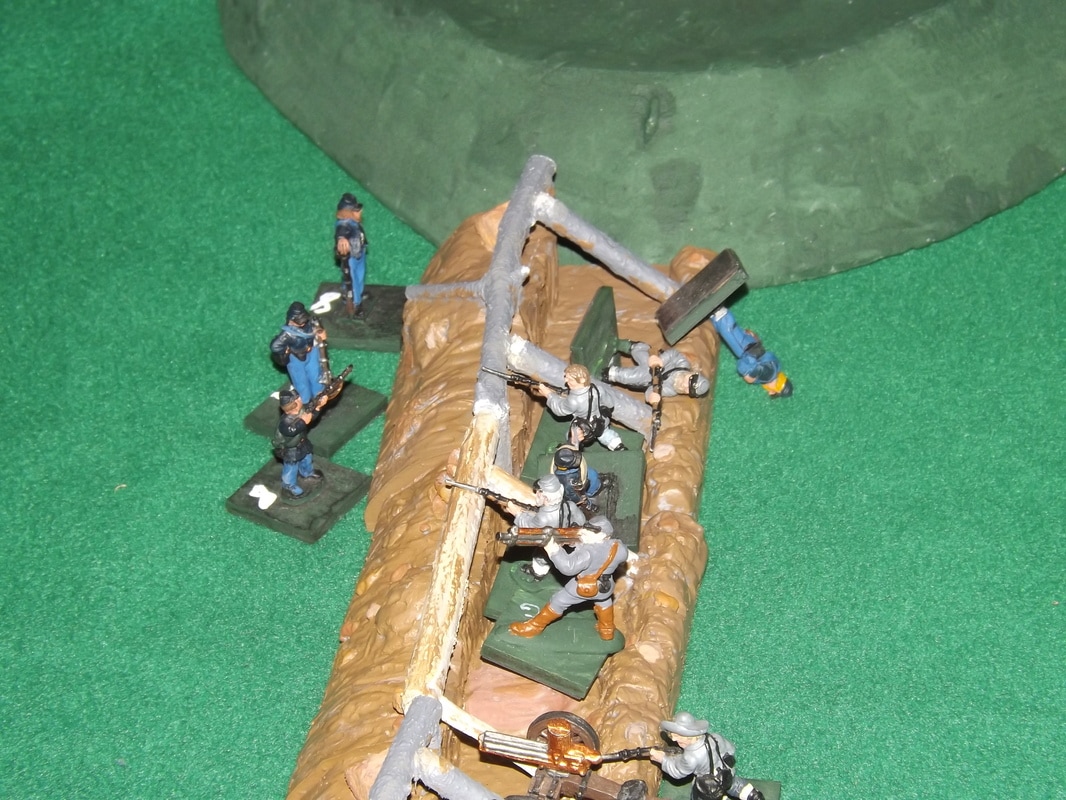
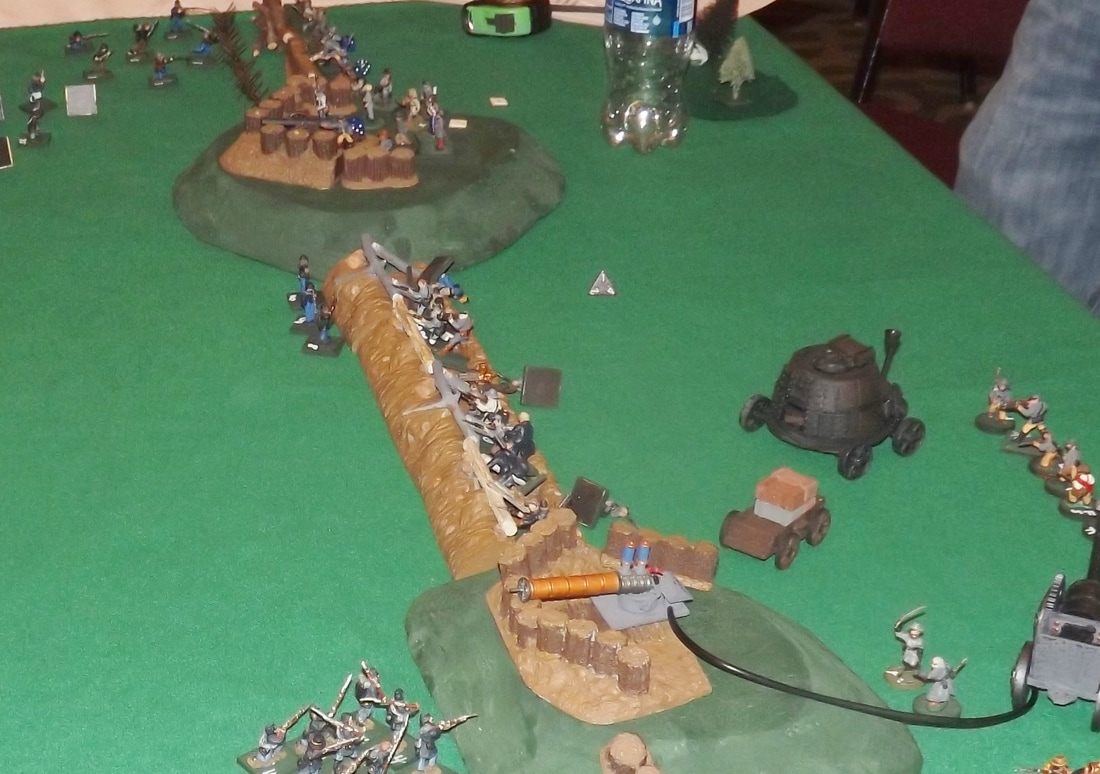
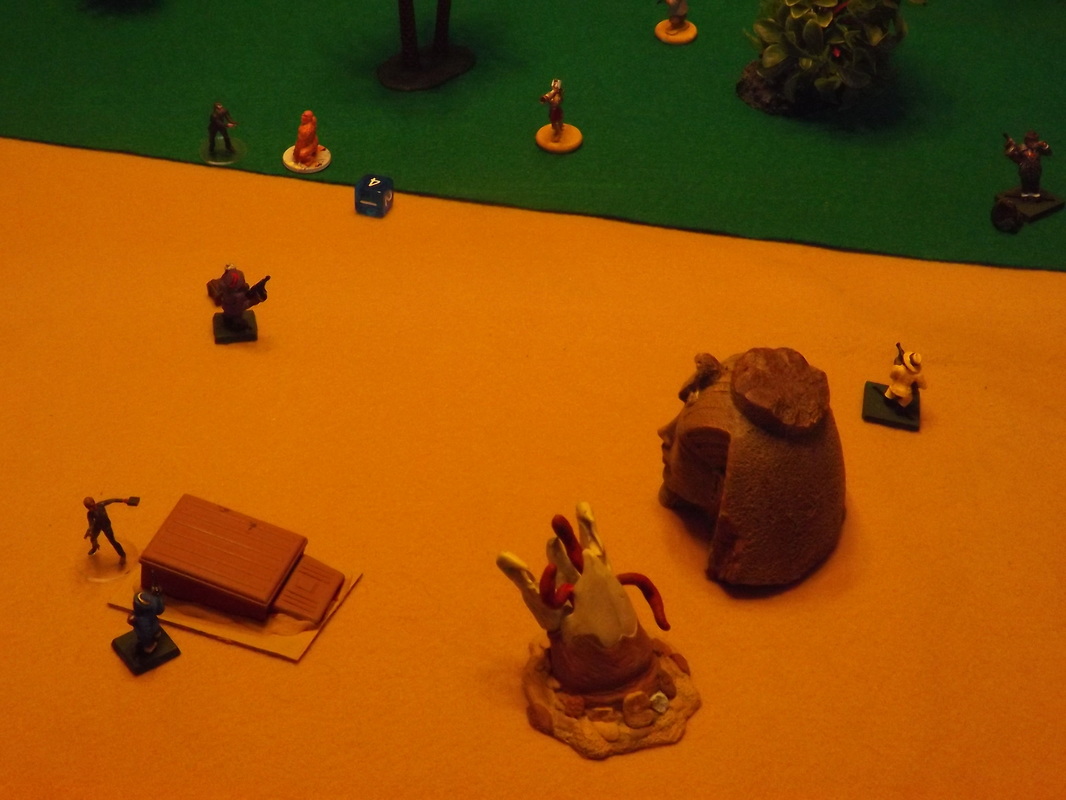
But the Rebs stand and fire.
Picture
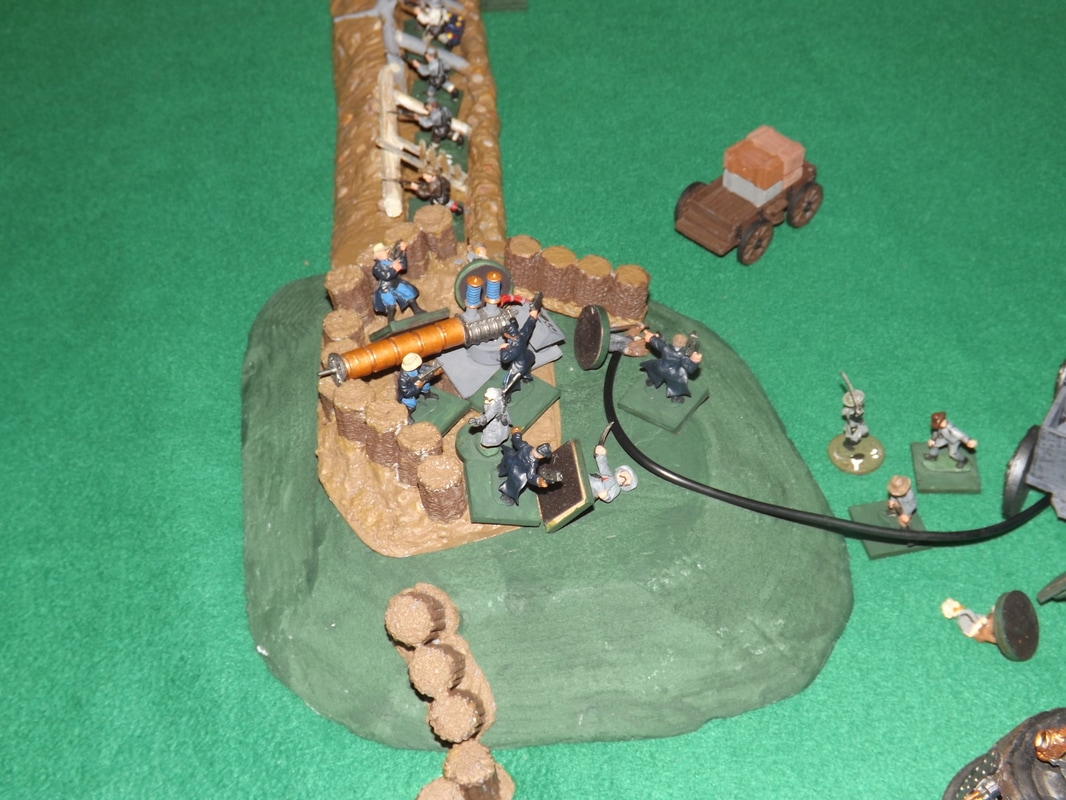
The Railroad Workers, being terrible shots, only hit one Cavalry Trooper, but a cannon shot kills the driver of the Steam Charger, forcing the commander to try to run the landship by himself. 
Picture
That one hit was enough to send that squad fleeing back 12 inches (Hurrah for a natural 20). But the rest  of the Union forces advanced, with Lt. Smith being first to cross the stream.
Picture
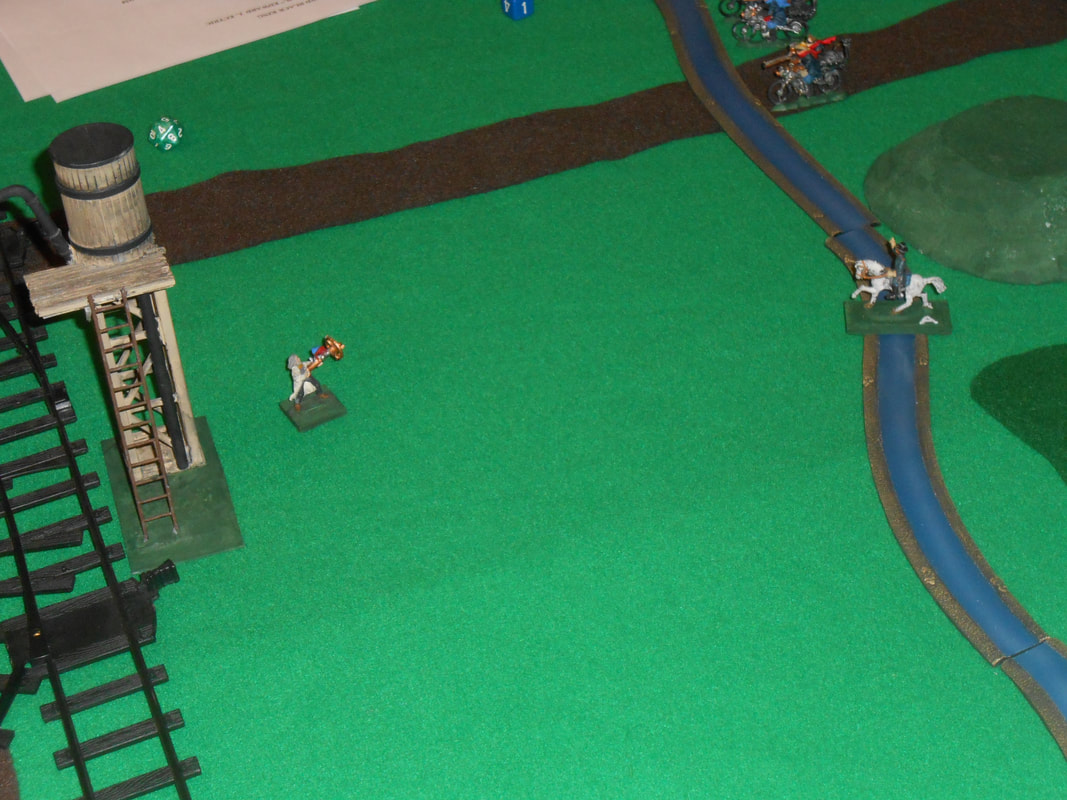
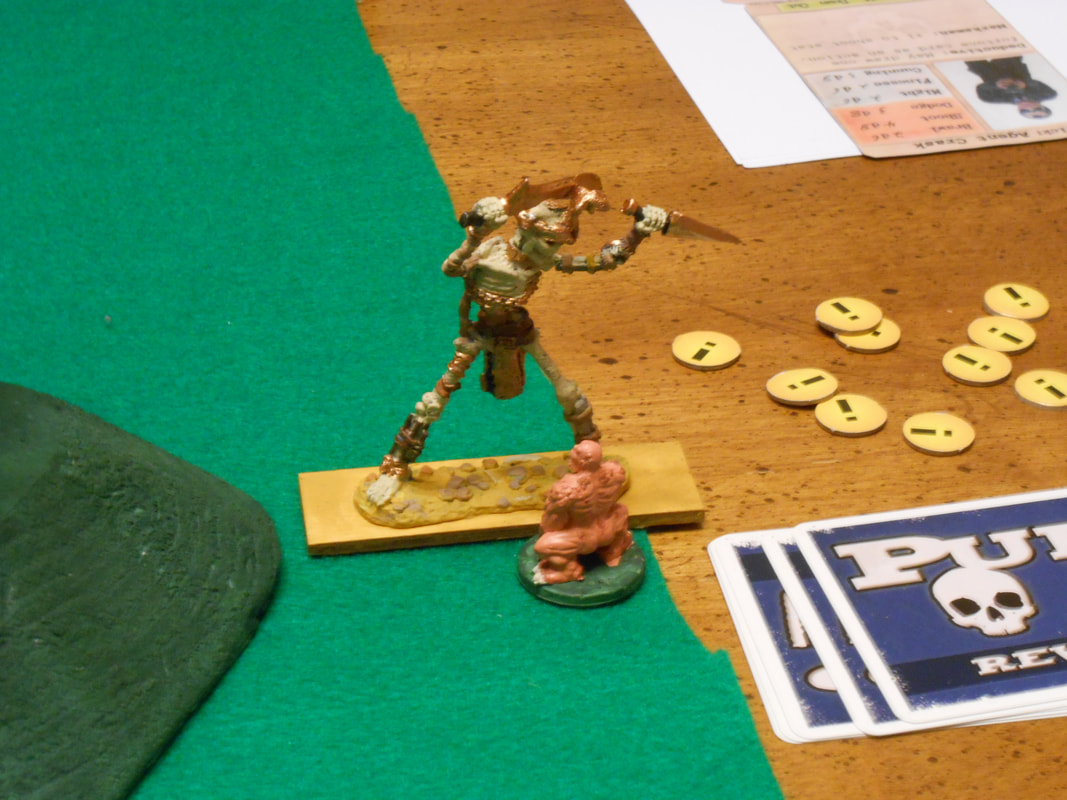
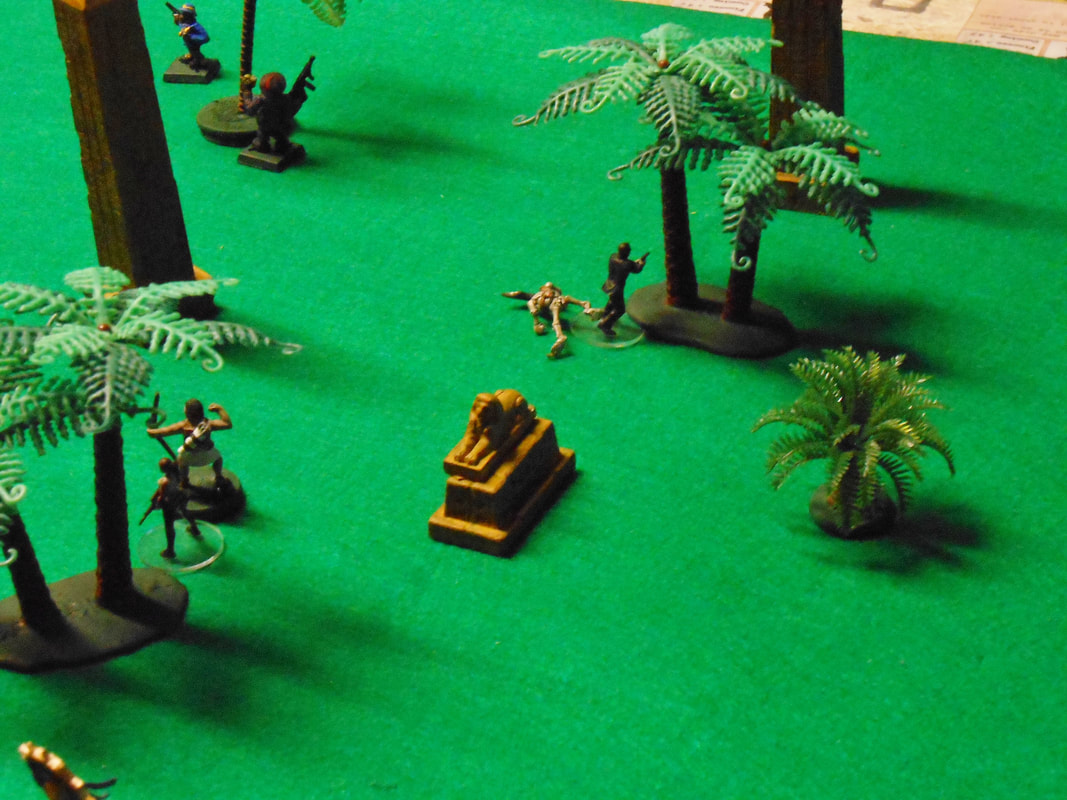
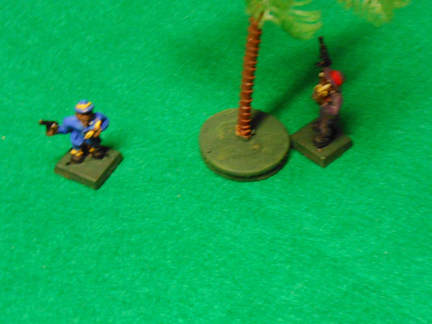
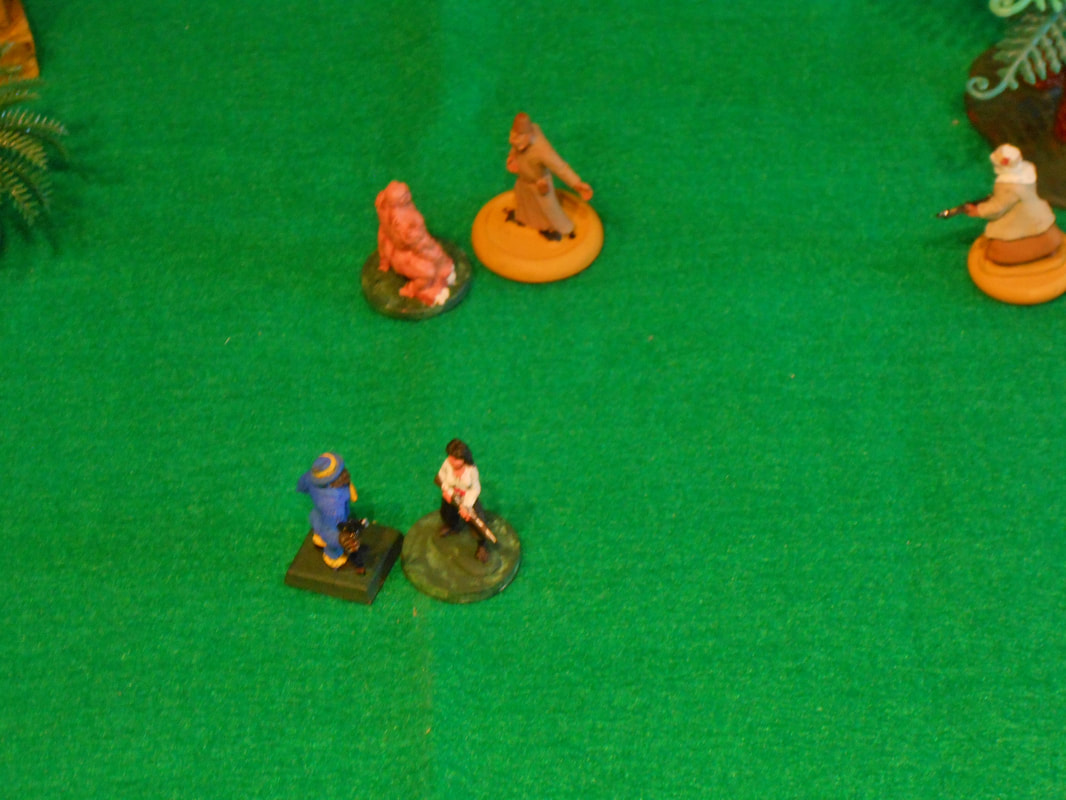
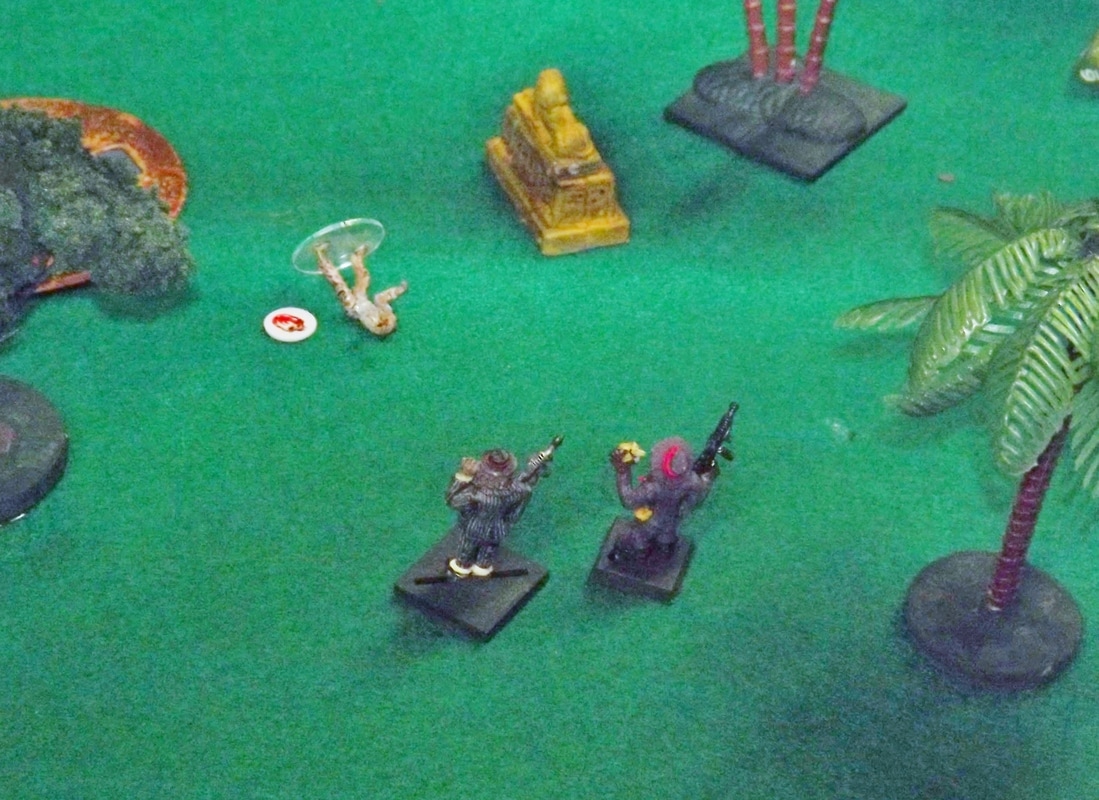
Dr. Edward l. Etric moves forward to face Lt. Smith, starting a personal battle between the two that lasts most of the game.
Picture
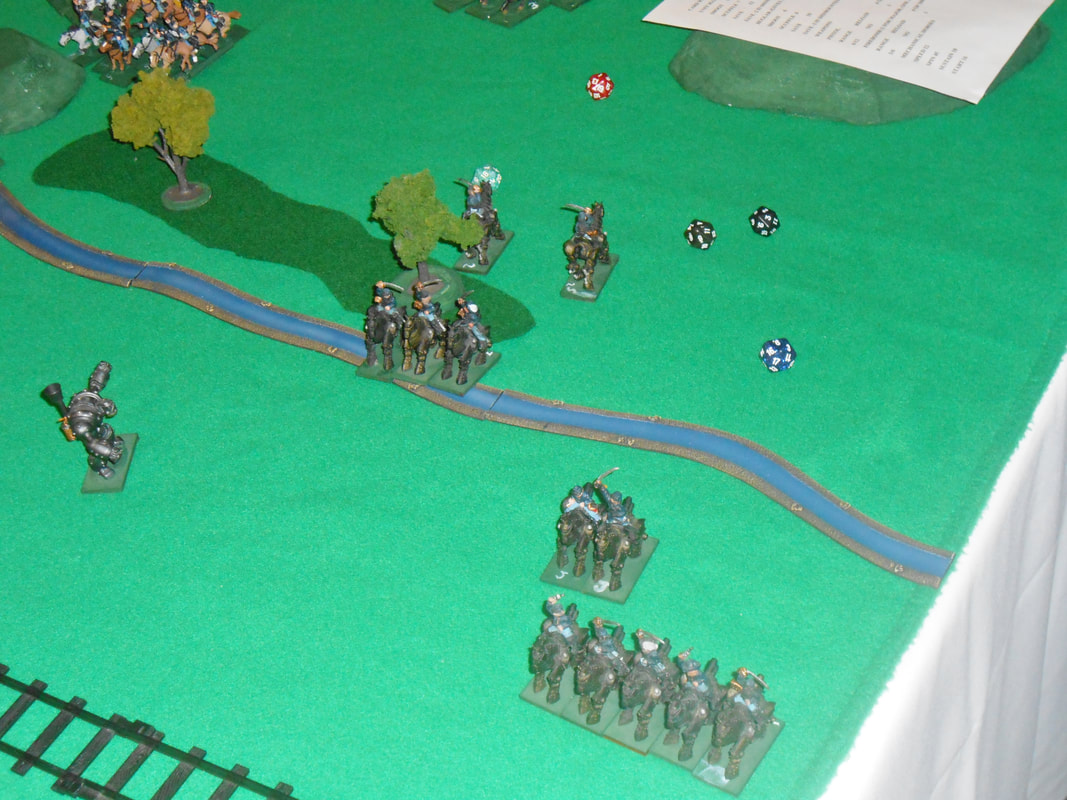
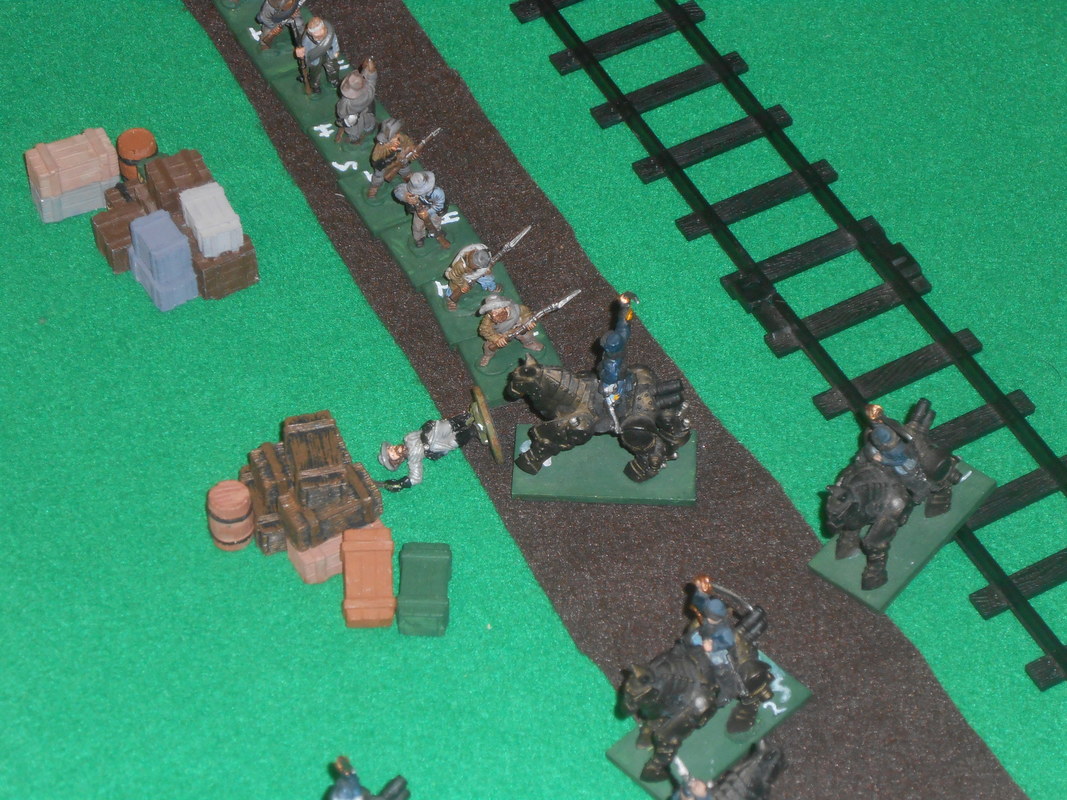
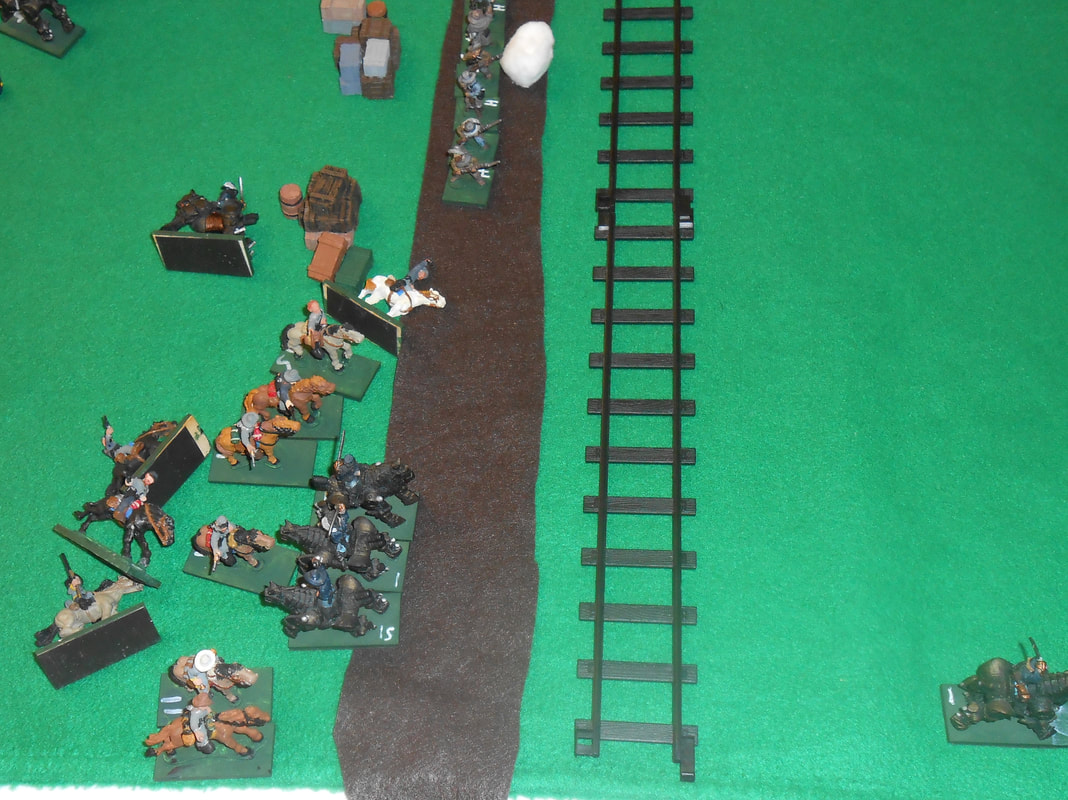
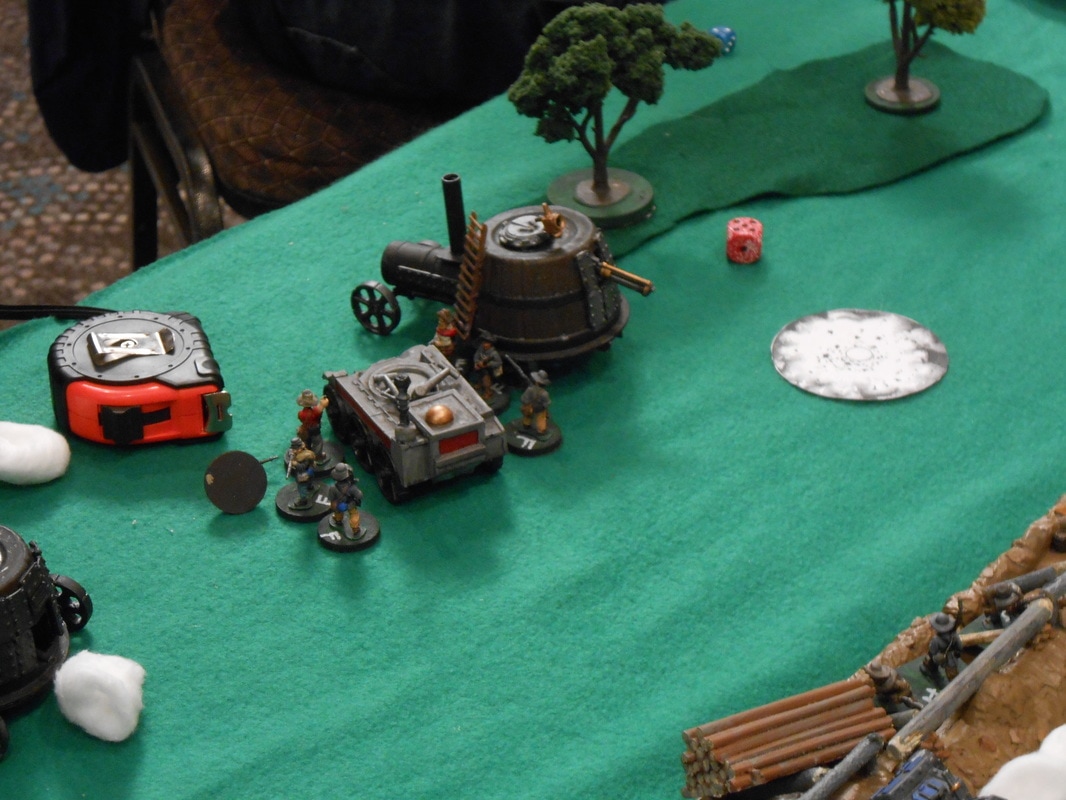
One the other wing the Union Mechanical Cavalry move forward while the Mechanical Man tries to intercept them.
Picture
The regular Cavalry in the center of the line moves to reinforce the right flank. The Mechanical Cavalry down in the right hand corner are facing the wrong way because they broke down.
Picture
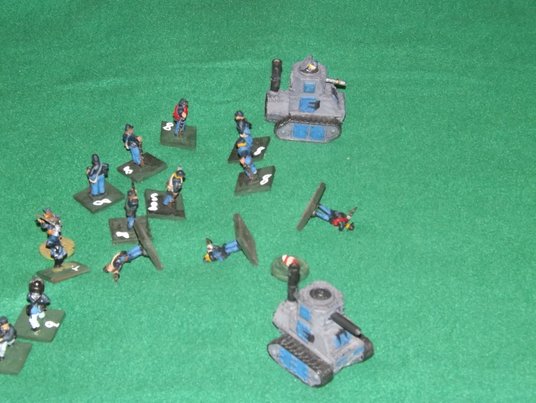
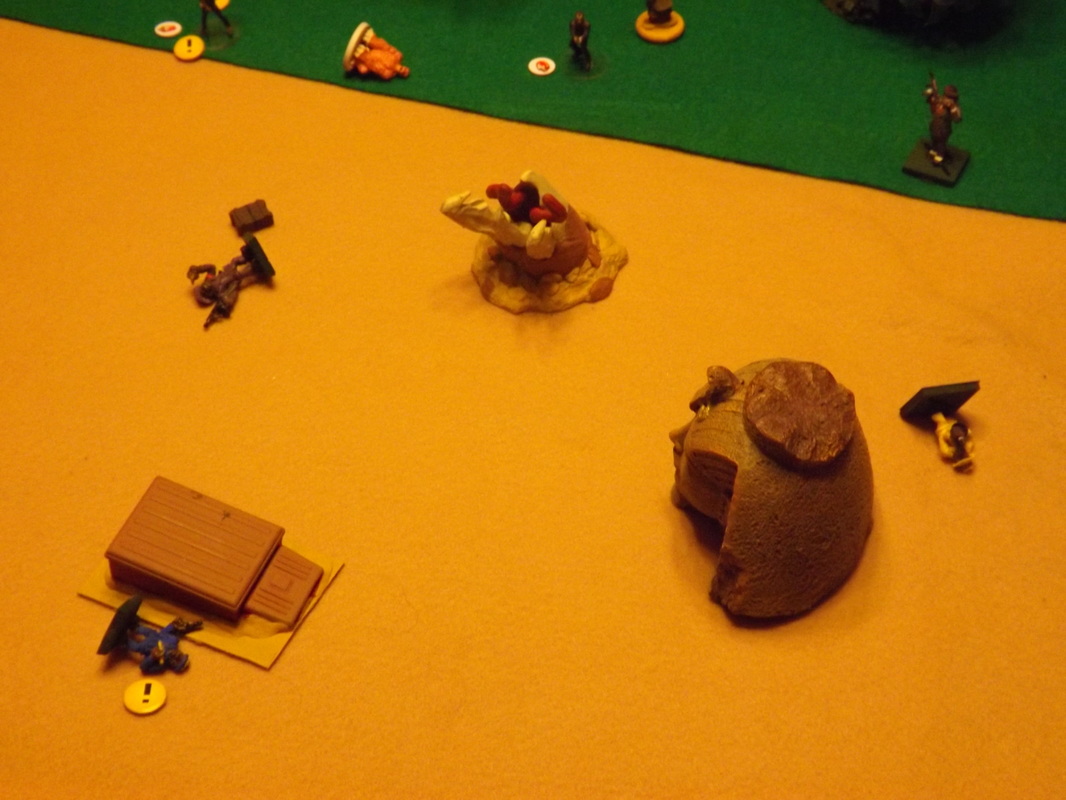
The Invalid Squad made up of veterans stuck at the junction while they try to recover from minor wounds and illnesses (mainly dysentery) fire on the Mechanical Cavalry, dropping three. The Mechanical Man chooses this time to break down.
Picture
The forward most cavalry unit takes a shell hit from the Confederate artillery. The shell scores five hits, but only kills three, because one poor trooper gets hit three times.
Picture
At the top of the picture you can see Lt. Smith chasing Dr. Ectric around the water tower. This went on for several cards (both had two cards a turn). Smith would catch Ectric, hit him, Ectric would save (with a save of only 6 he got very lucky). On Ectric's turn he'd run away, get hit by Smith (free attack for breaking combat), Ectric would save. Then it would start all over again.
Picture
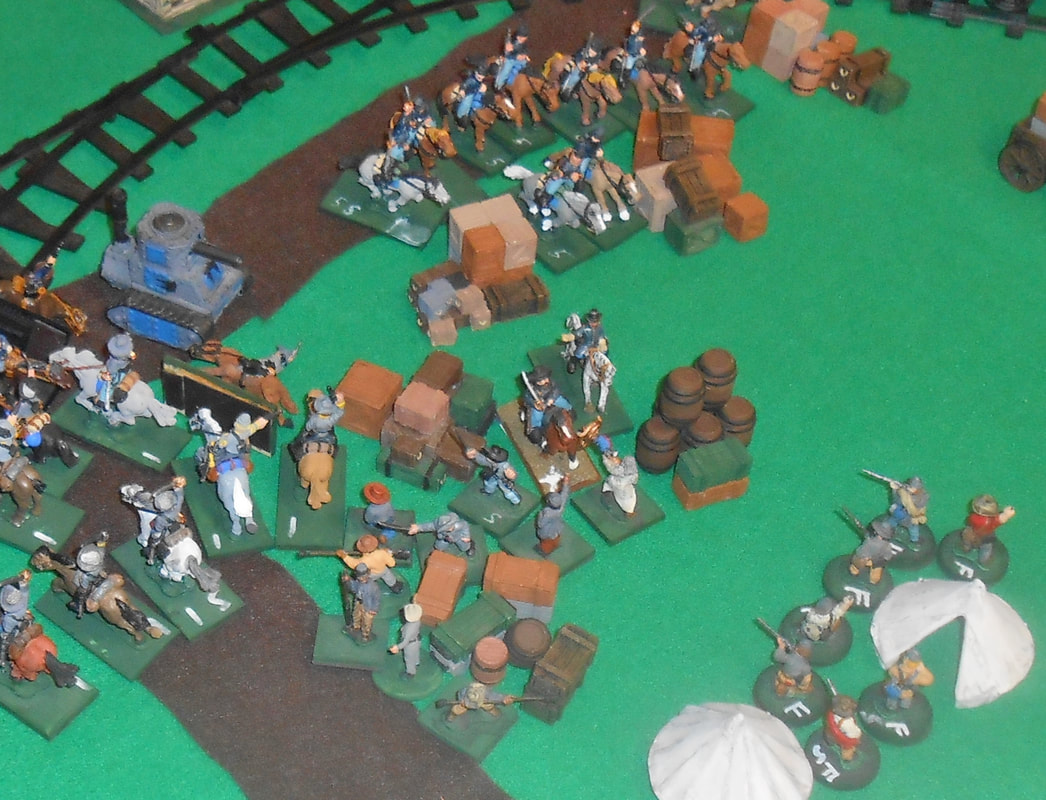
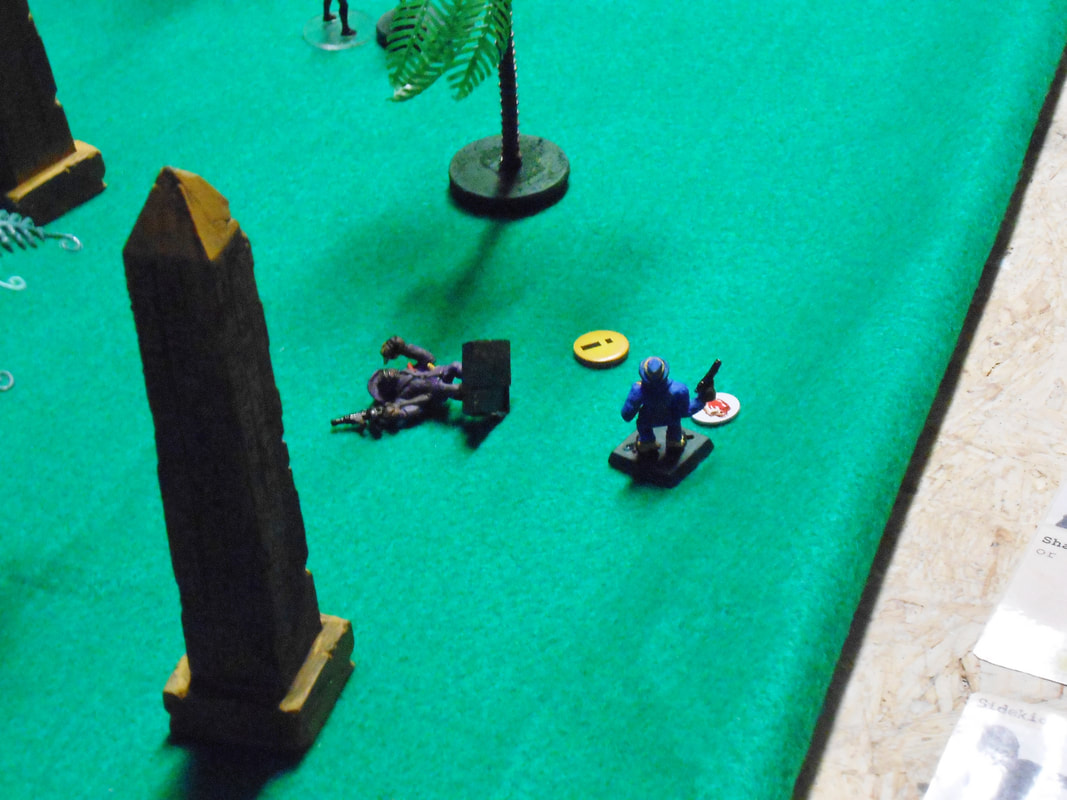
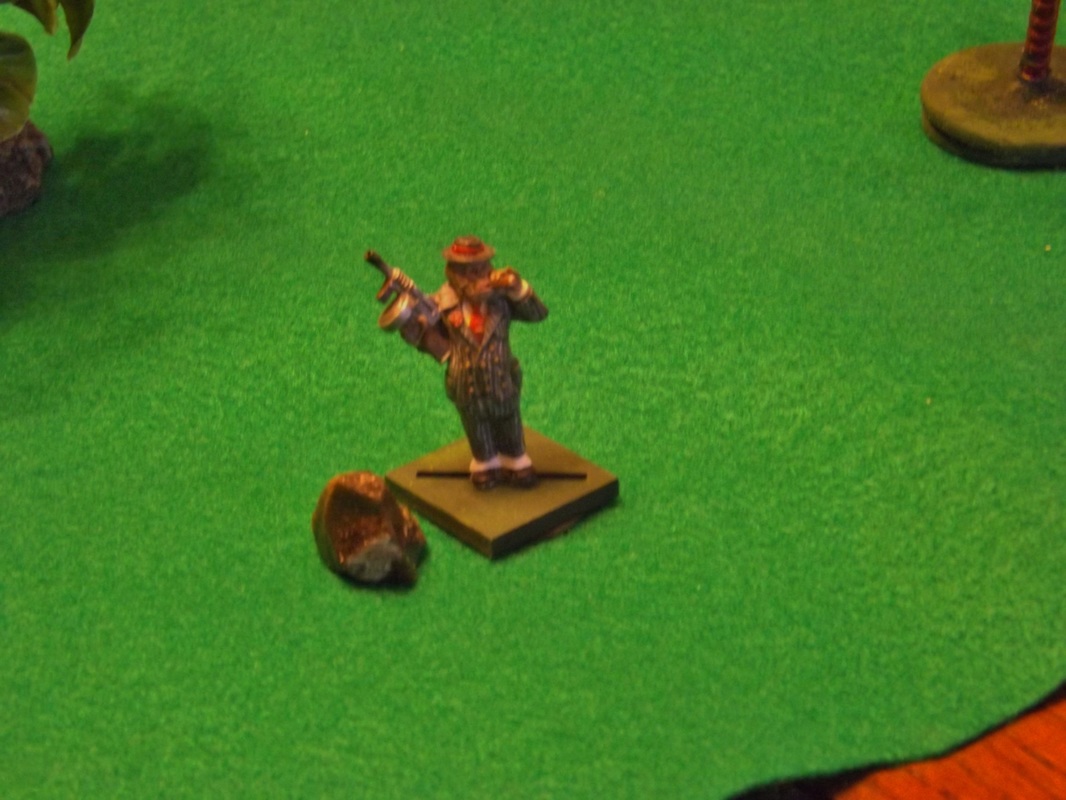
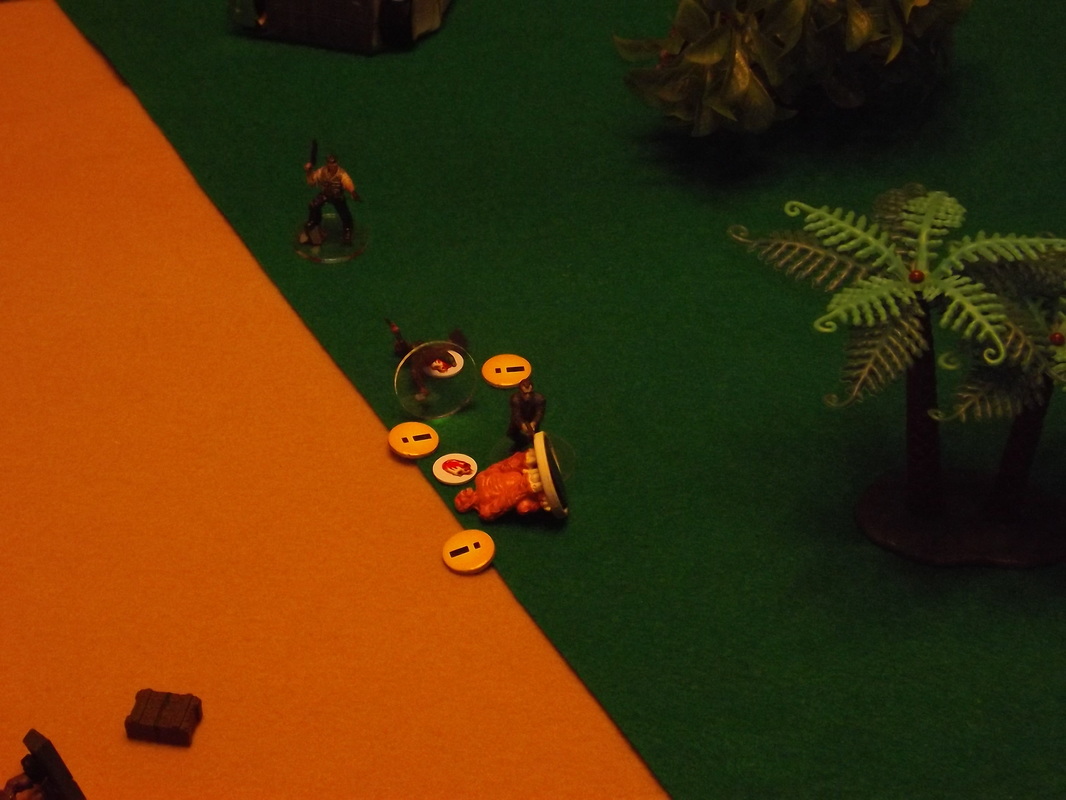
Down goes Captain Cornpone at the hands of the Mechanical Cavalry. Poor Cornpone, he was a Colonel in a previous game, demoted to Captain, stuck in a dead end job supervising a railroad junction, and still he gets taken out before he can do anything.
Picture
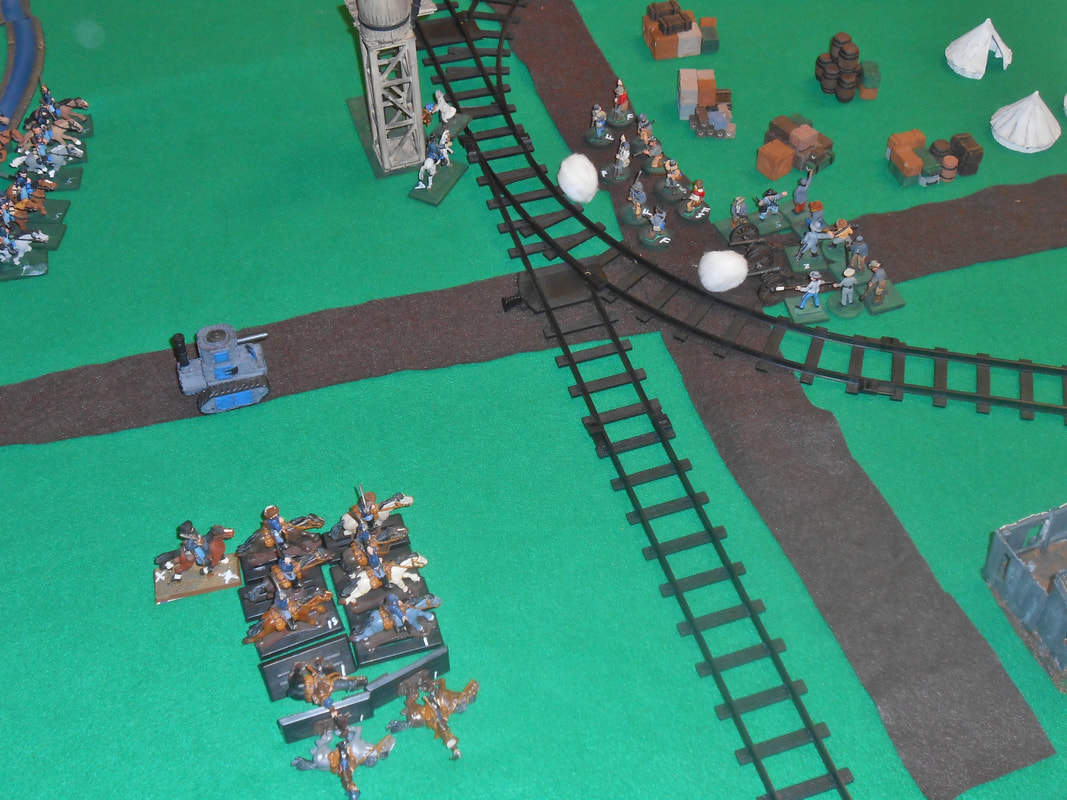
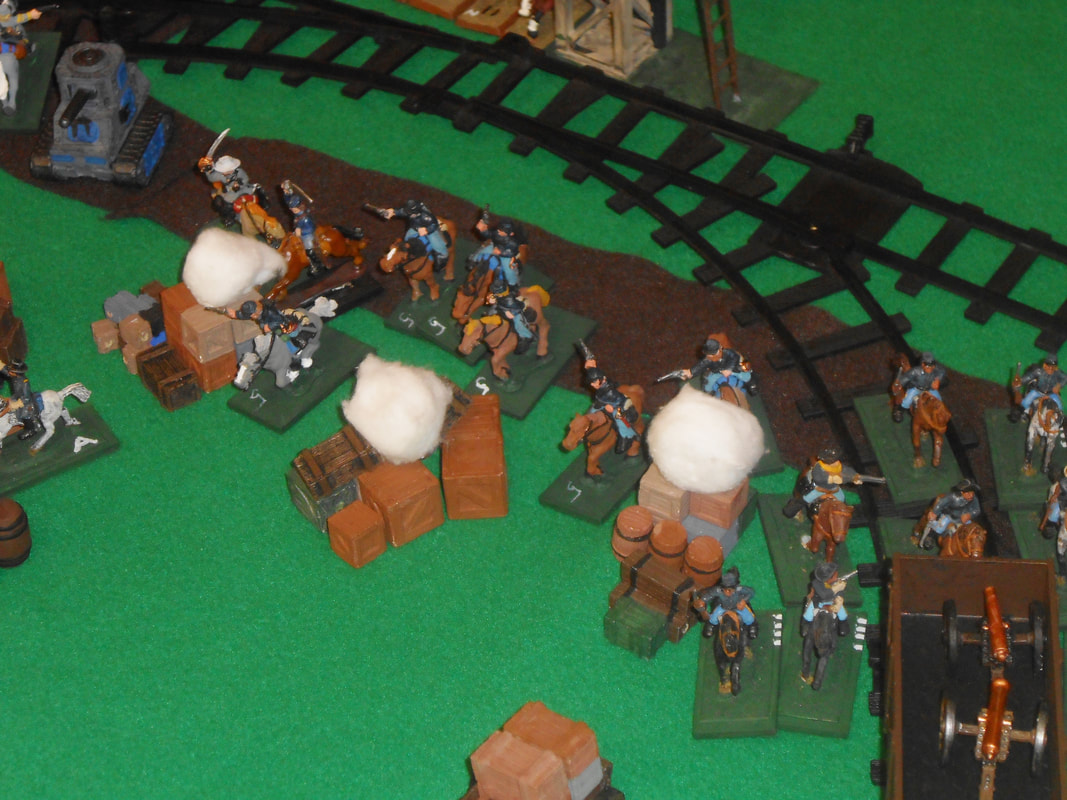
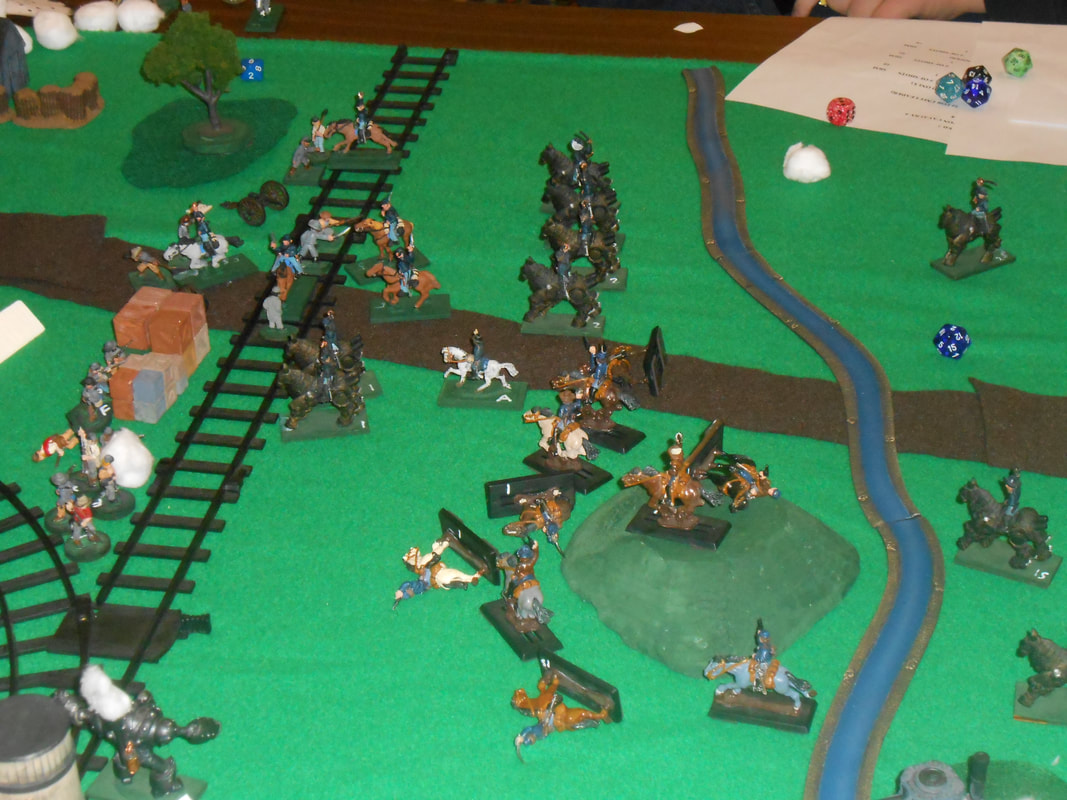
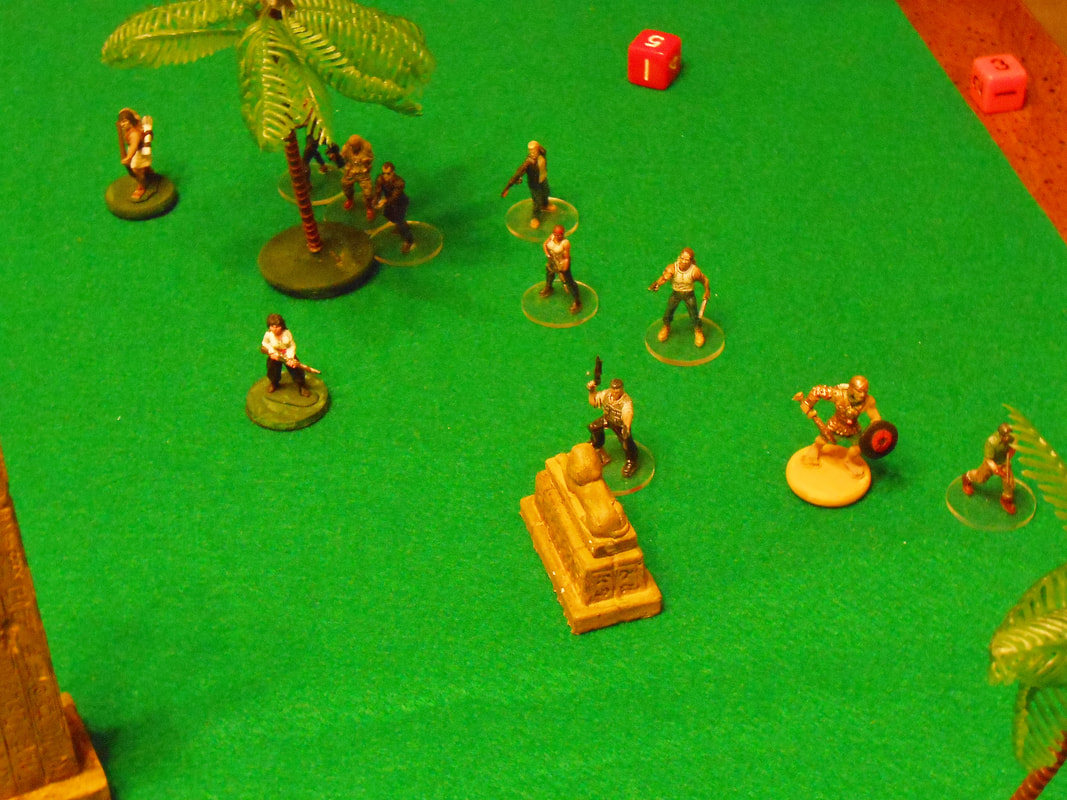
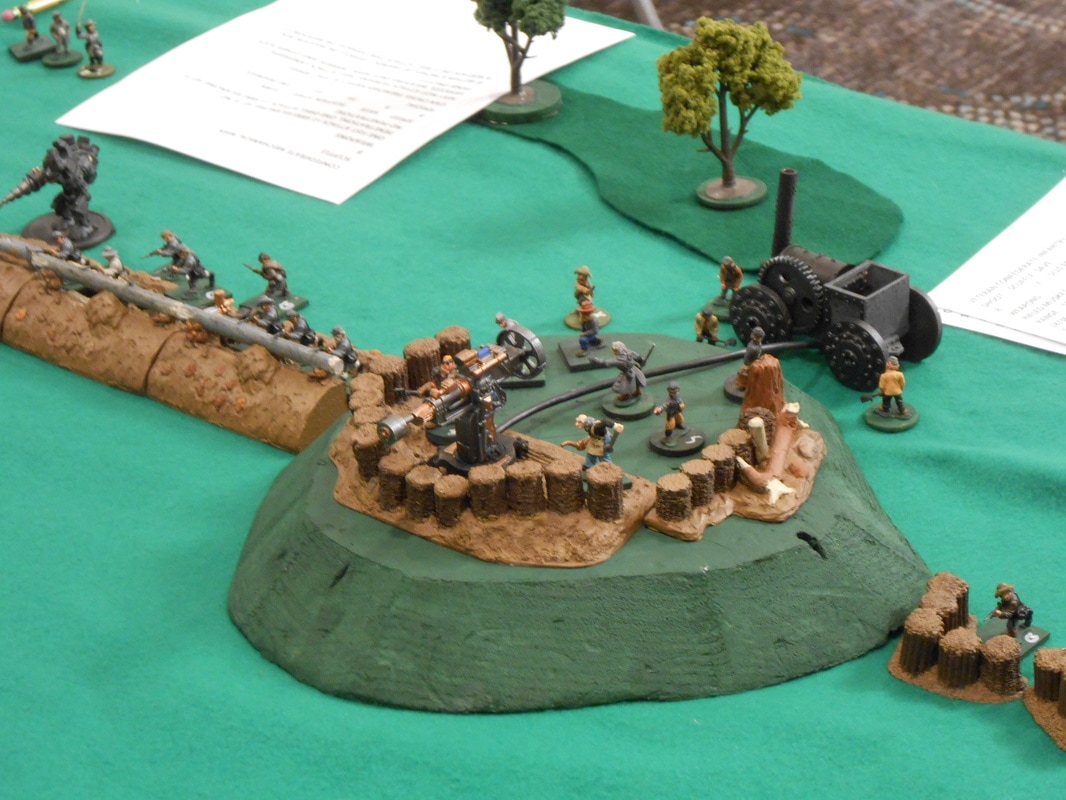
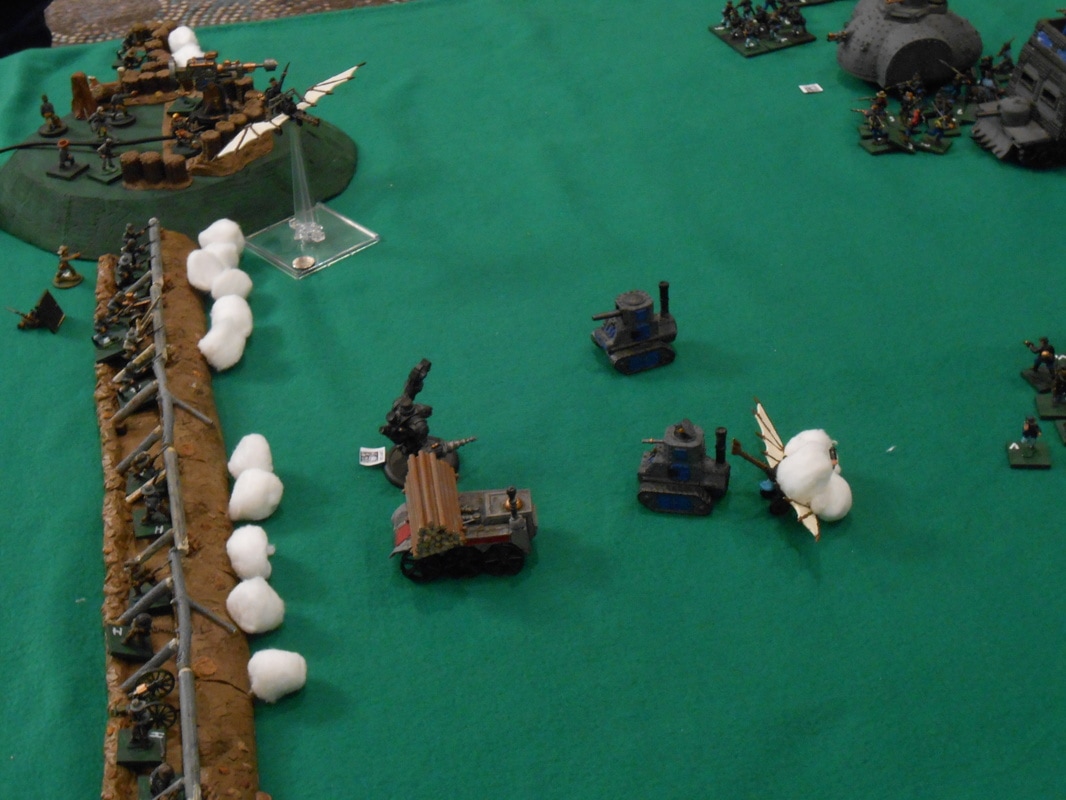
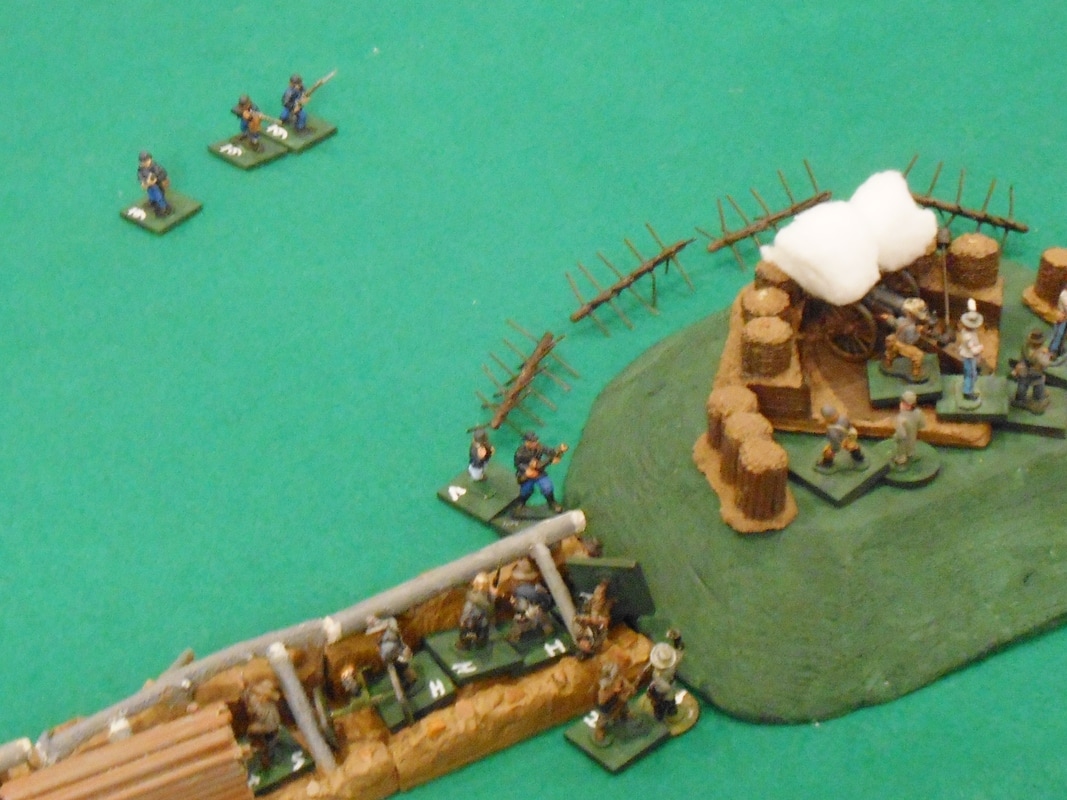
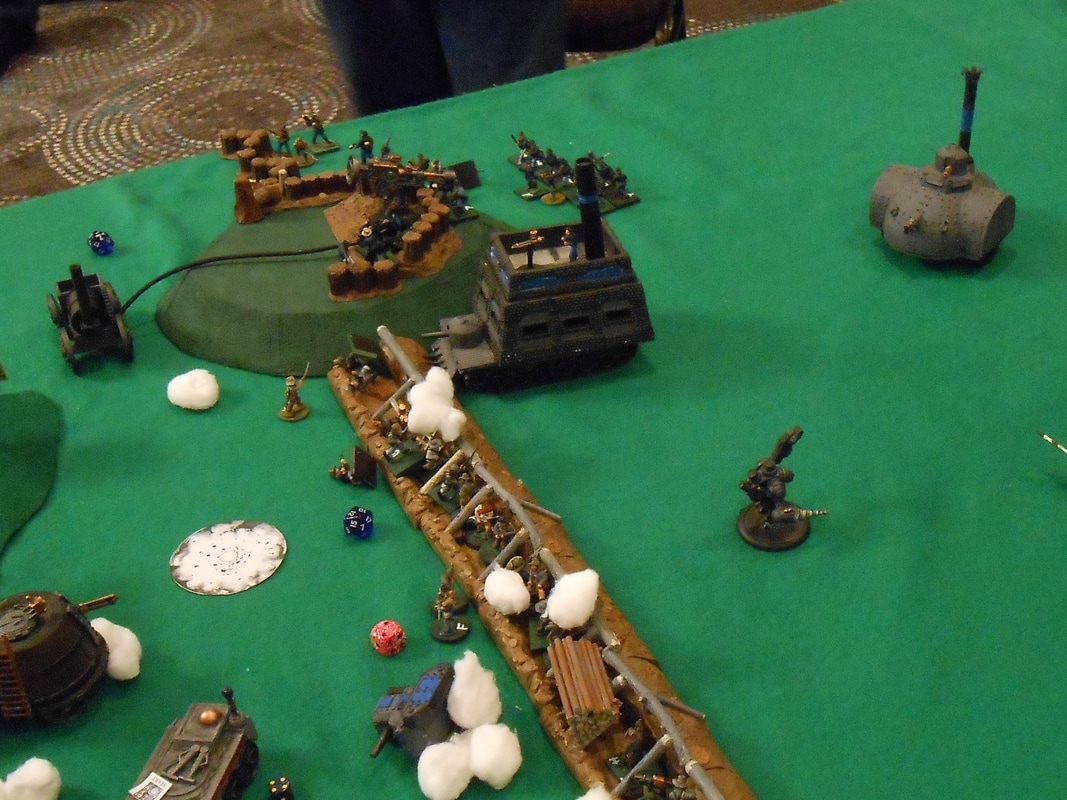
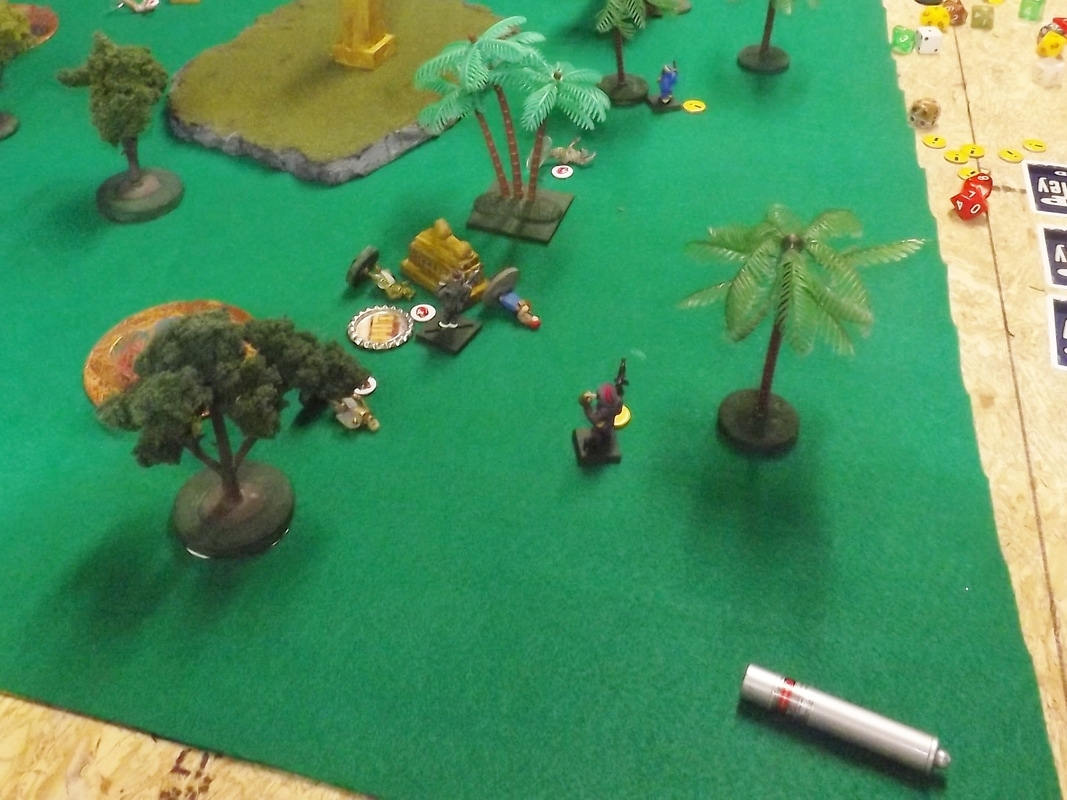
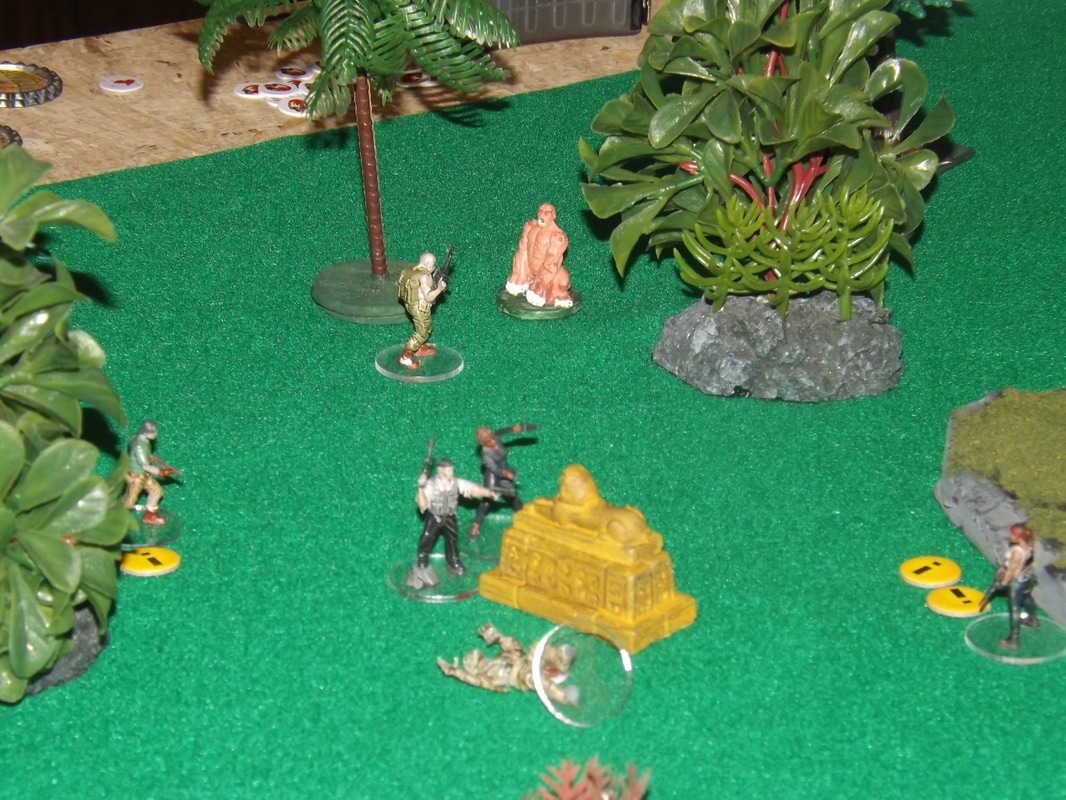
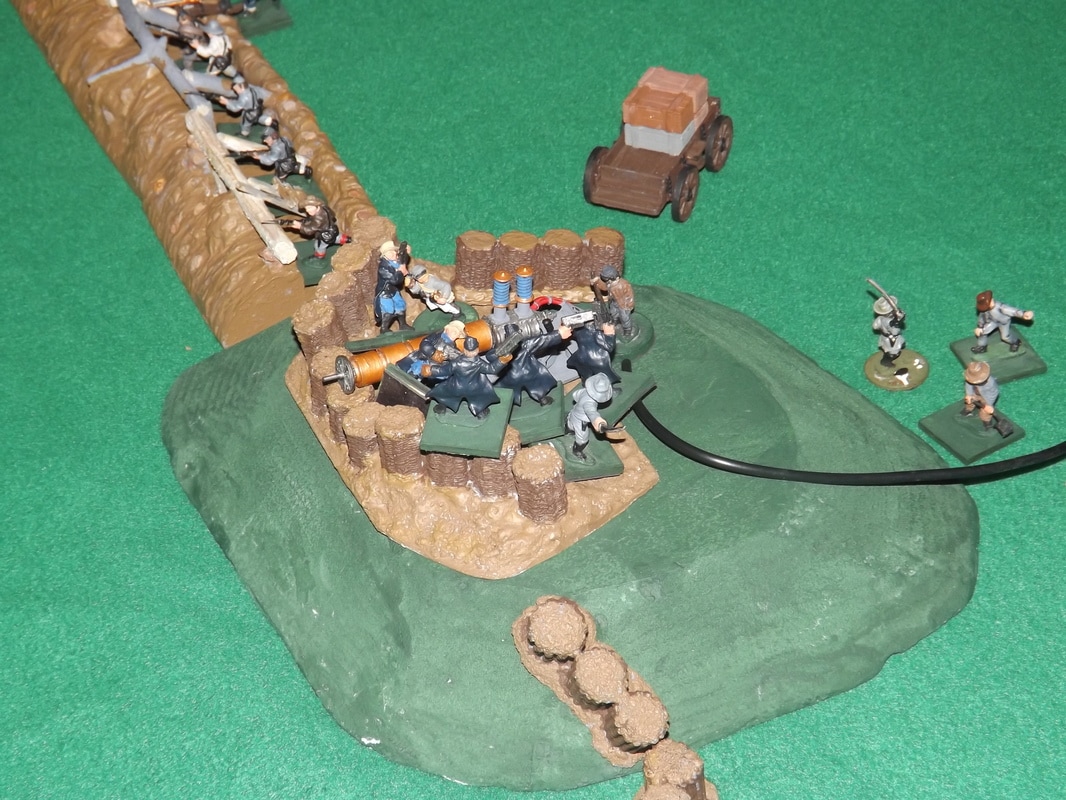
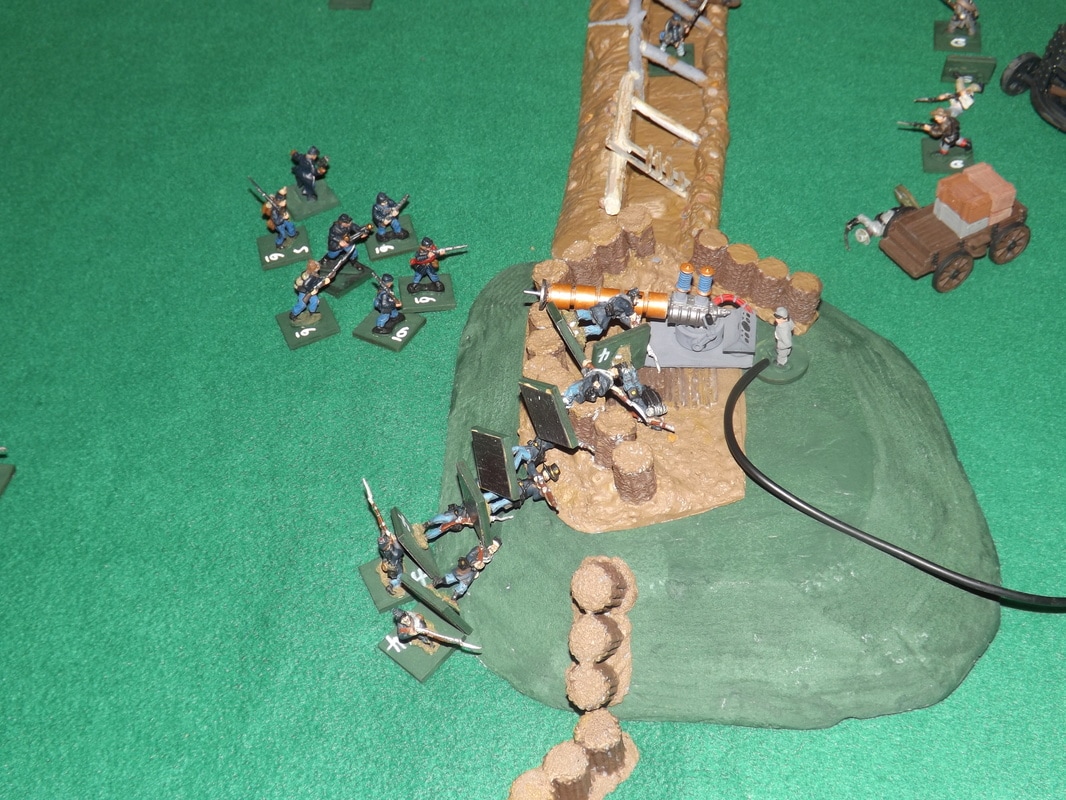
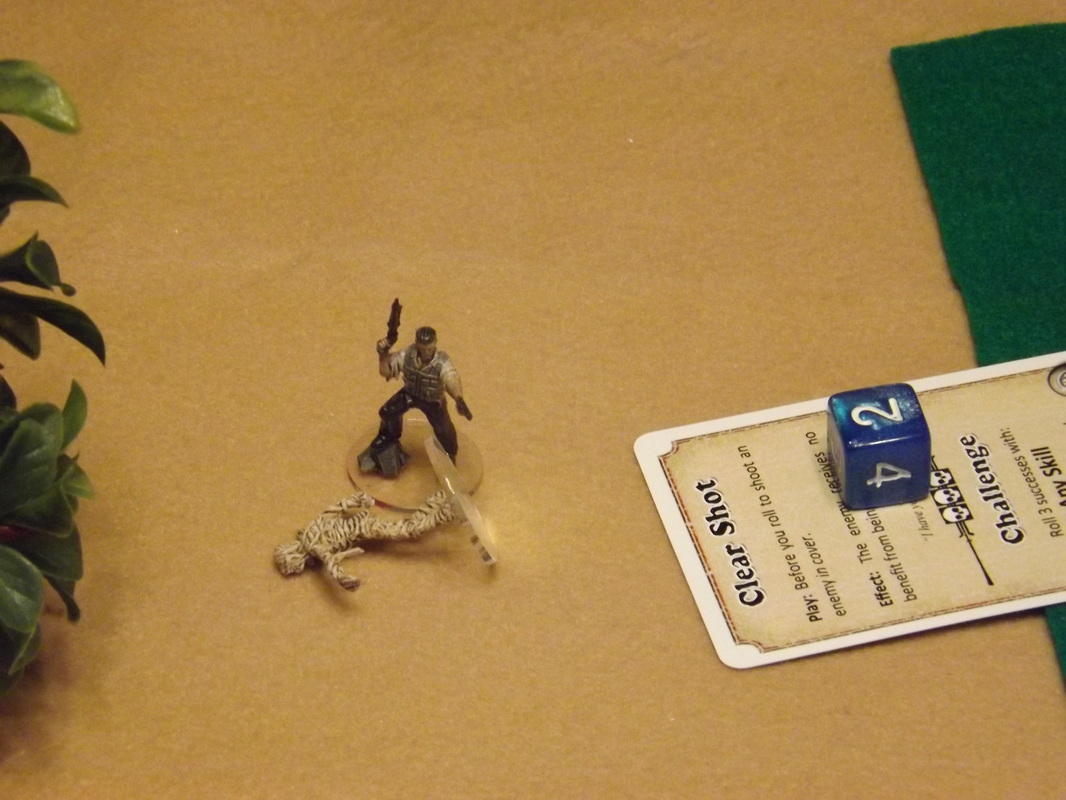
The Union Troopers charge the cannons and drive off the Artillerymen, but they face the wraith of Lt. Johnson (soon to be named Killer Johnson). His flashing blade ended up killing four (or was it five) of that cavalry unit. Lt. Smith, after setting fire to the water tower, continues his pursuit of Dr. Ectric. Ectric has meanwhile craftily hidden in the retreated artillerymen.
Picture
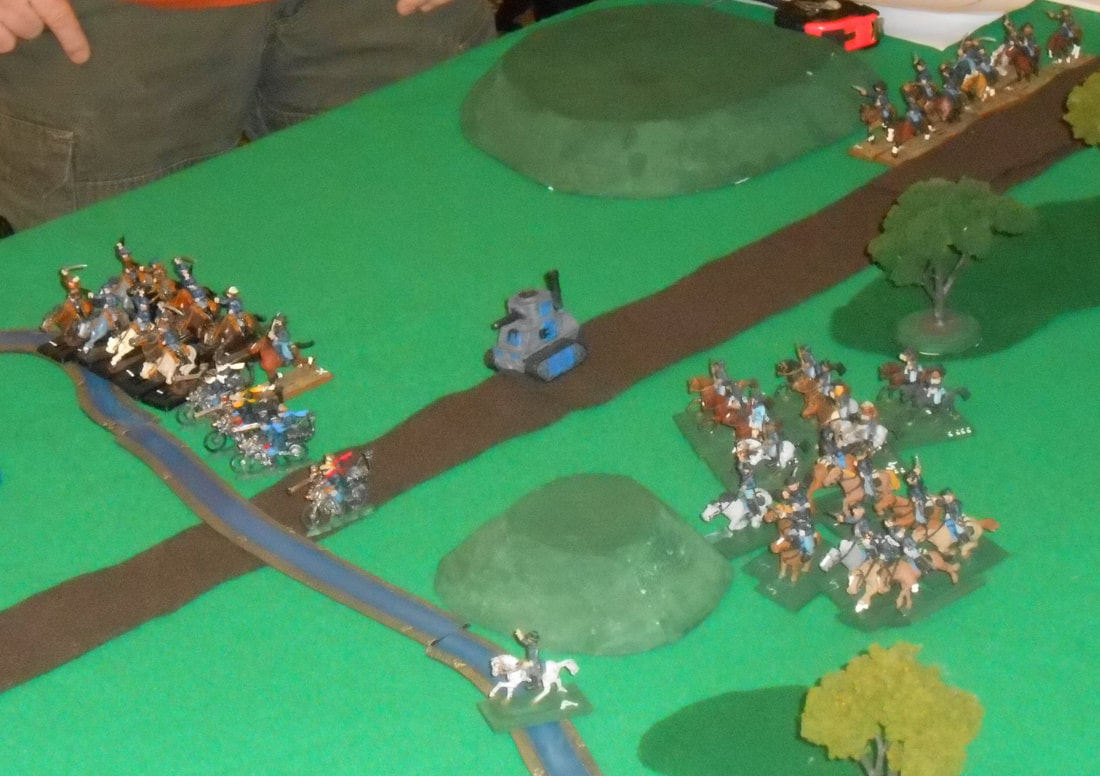
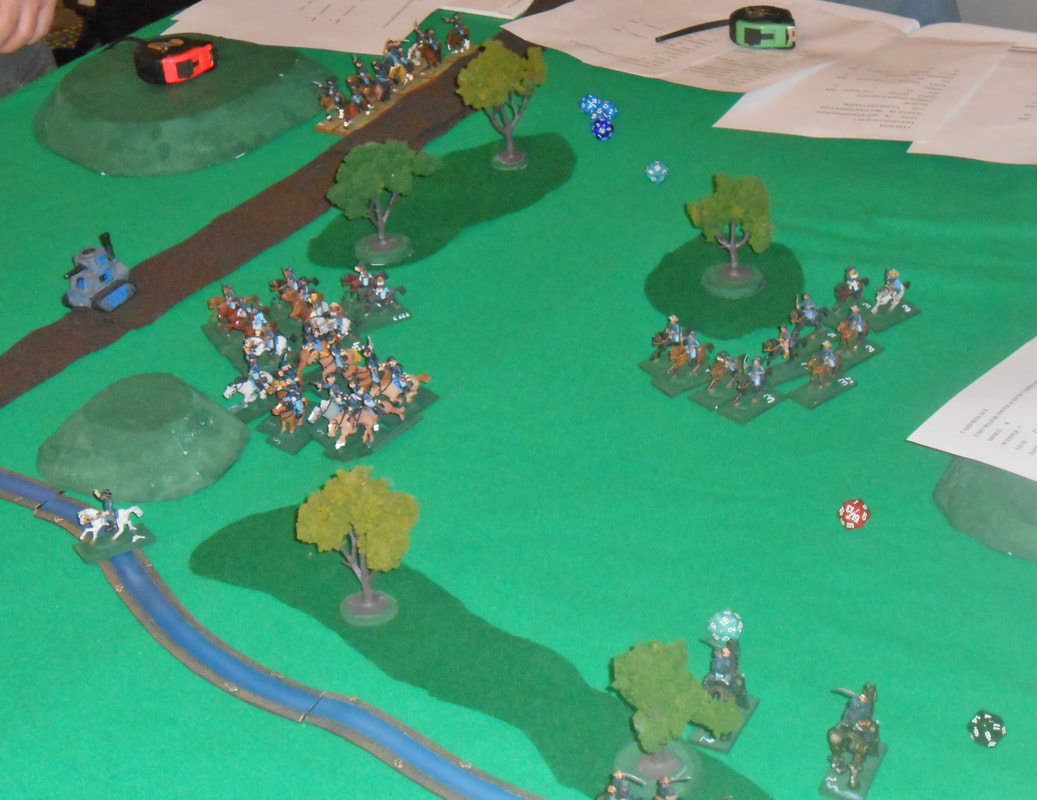
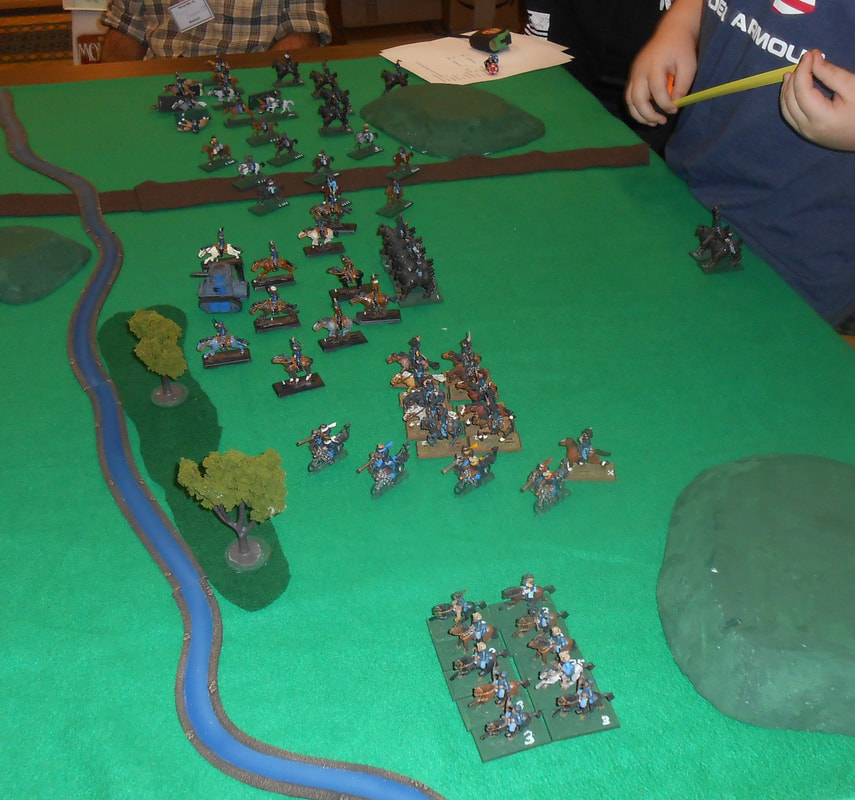
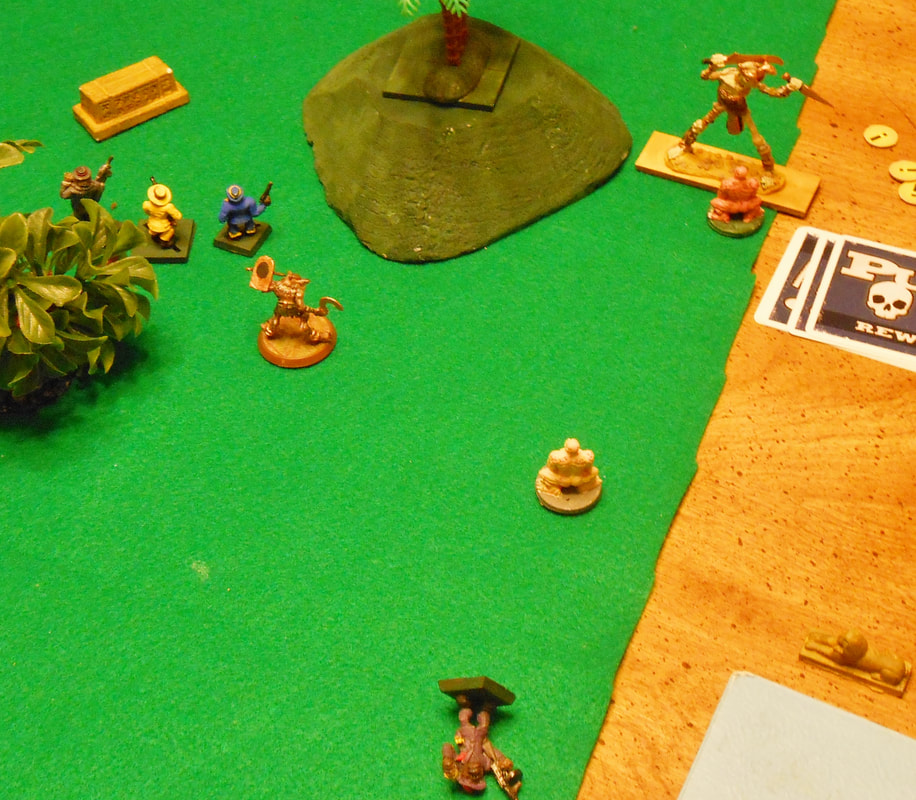
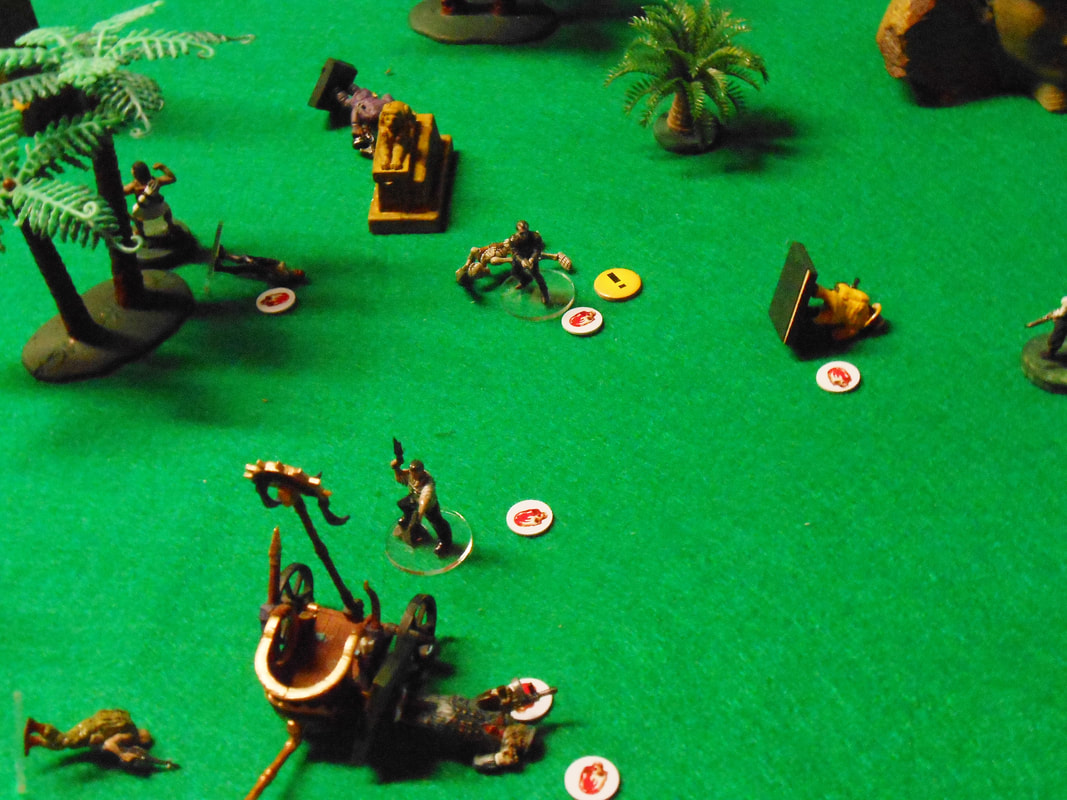
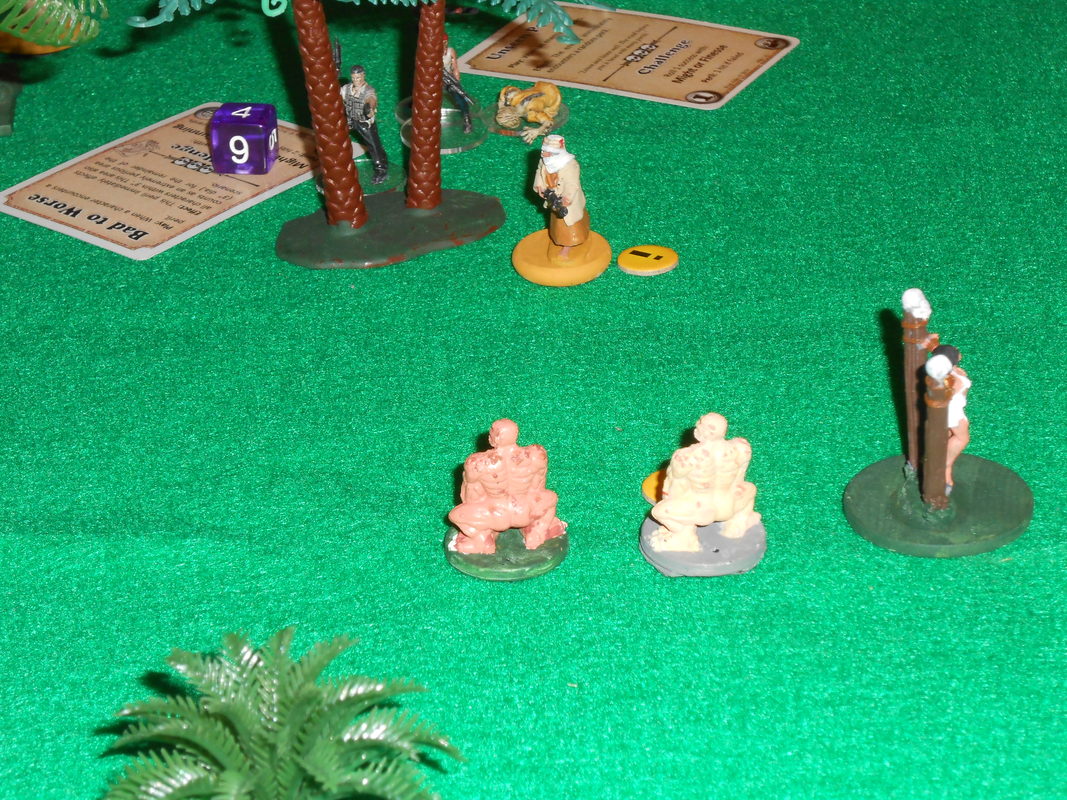
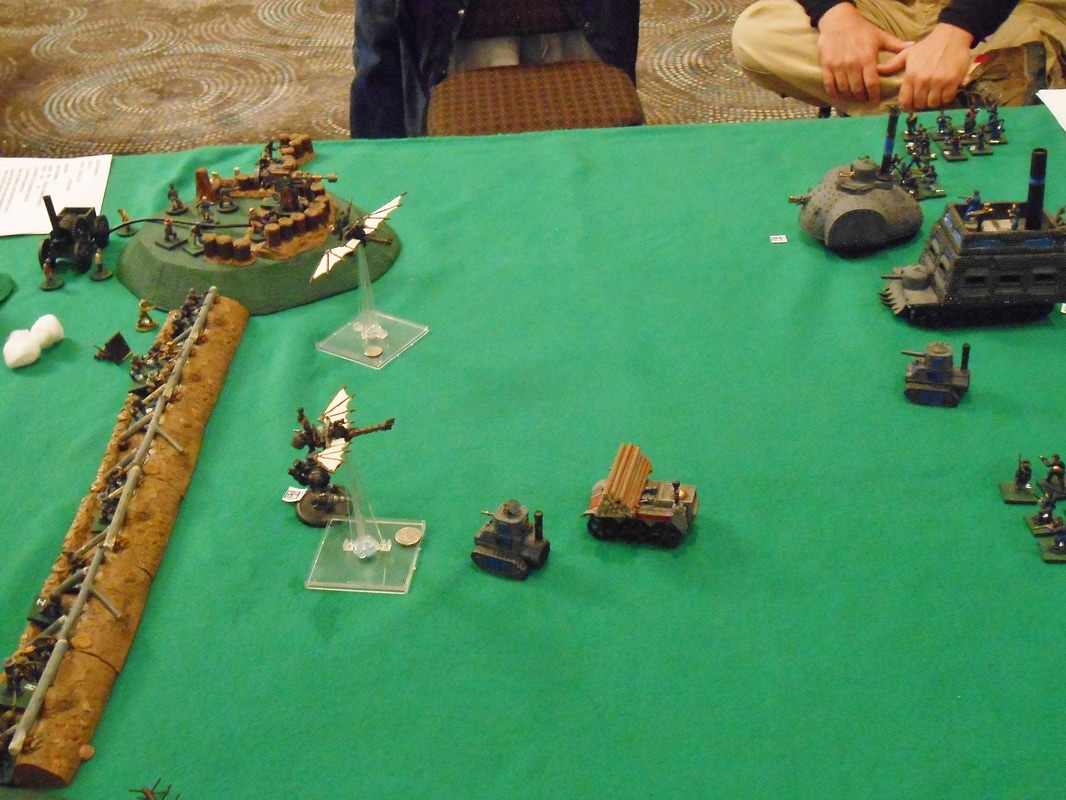
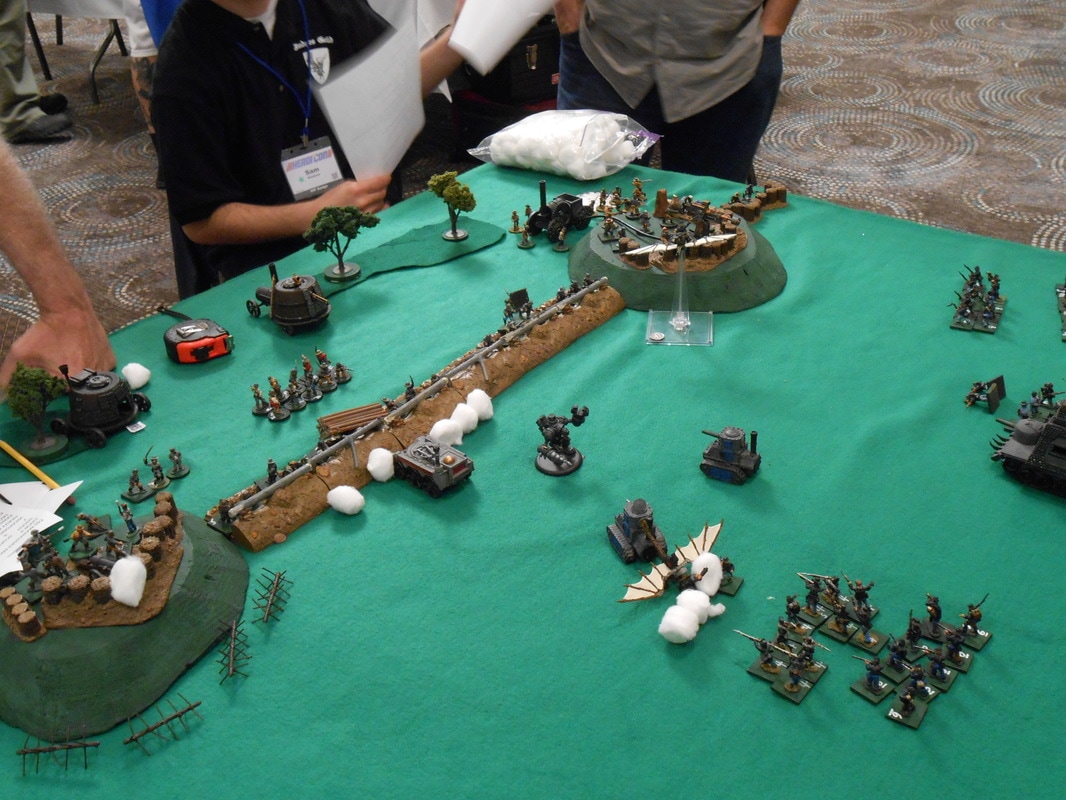
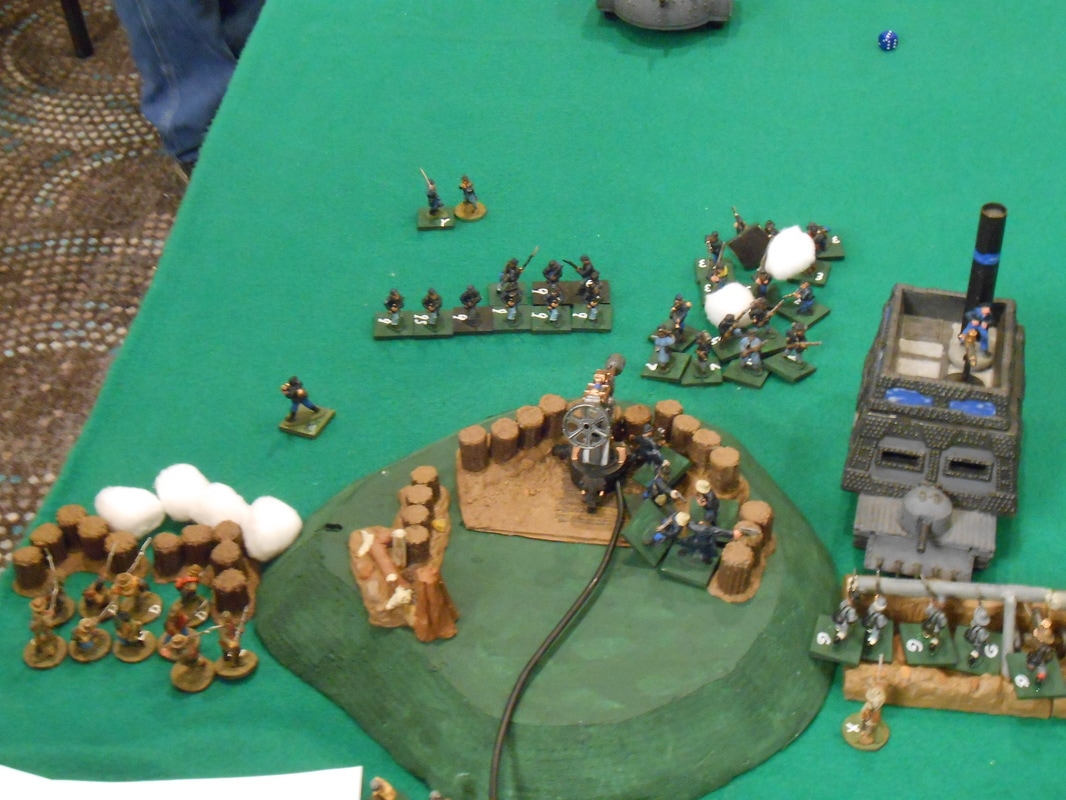
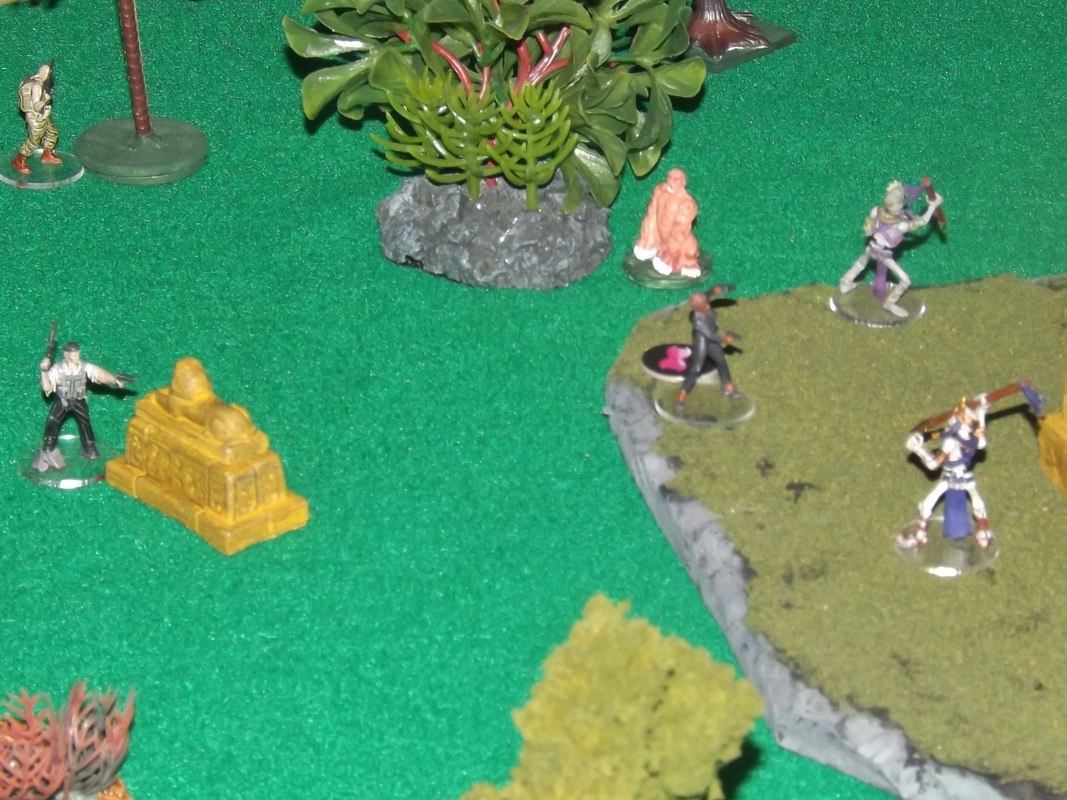
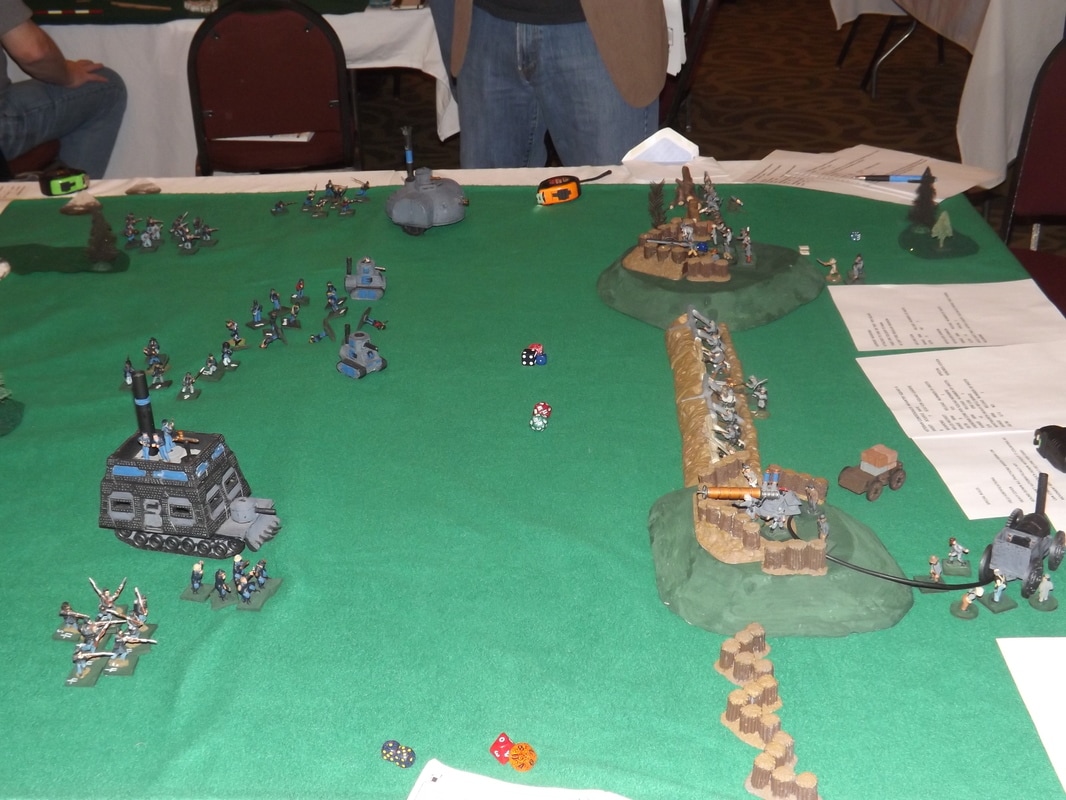
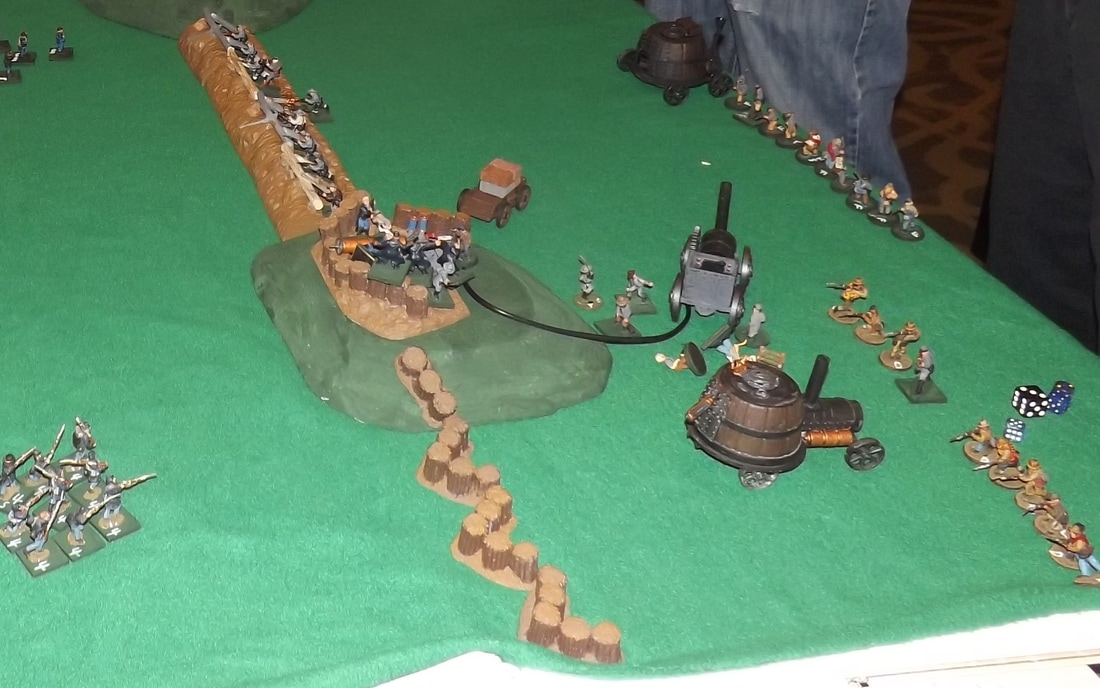
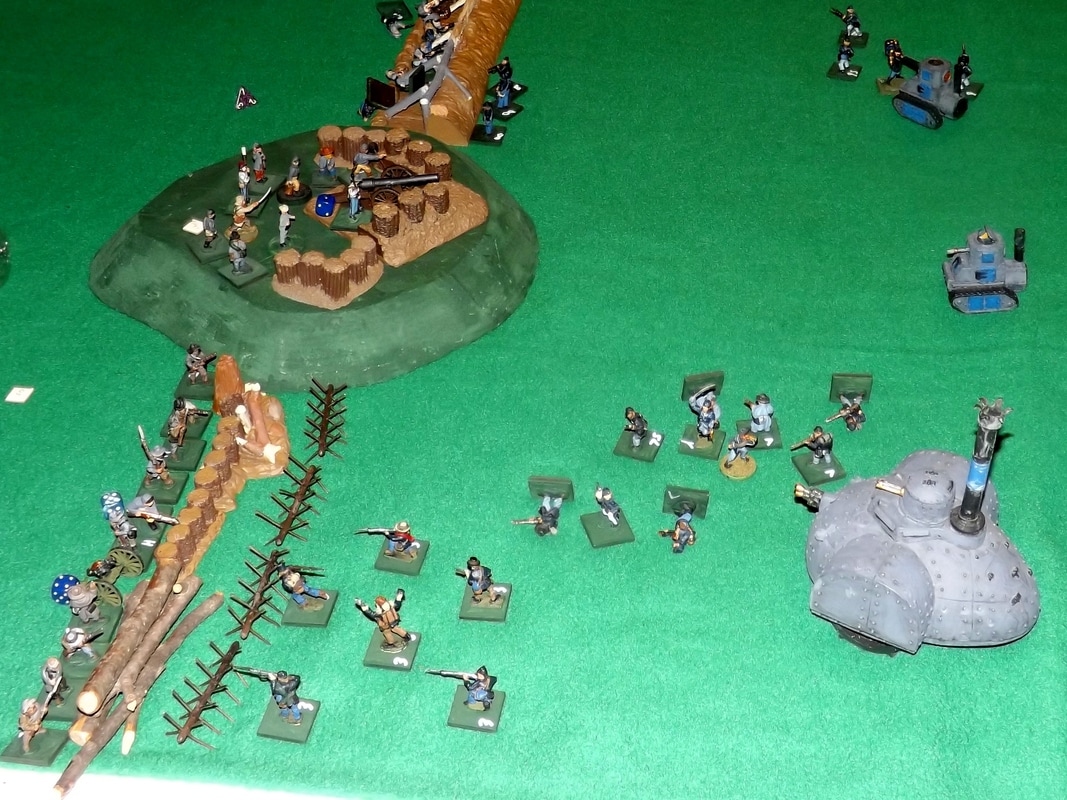
Reinforcements for the Confederates arrive, and prepare to charge into battle.
Picture
On both sides of the battlefield.
Picture
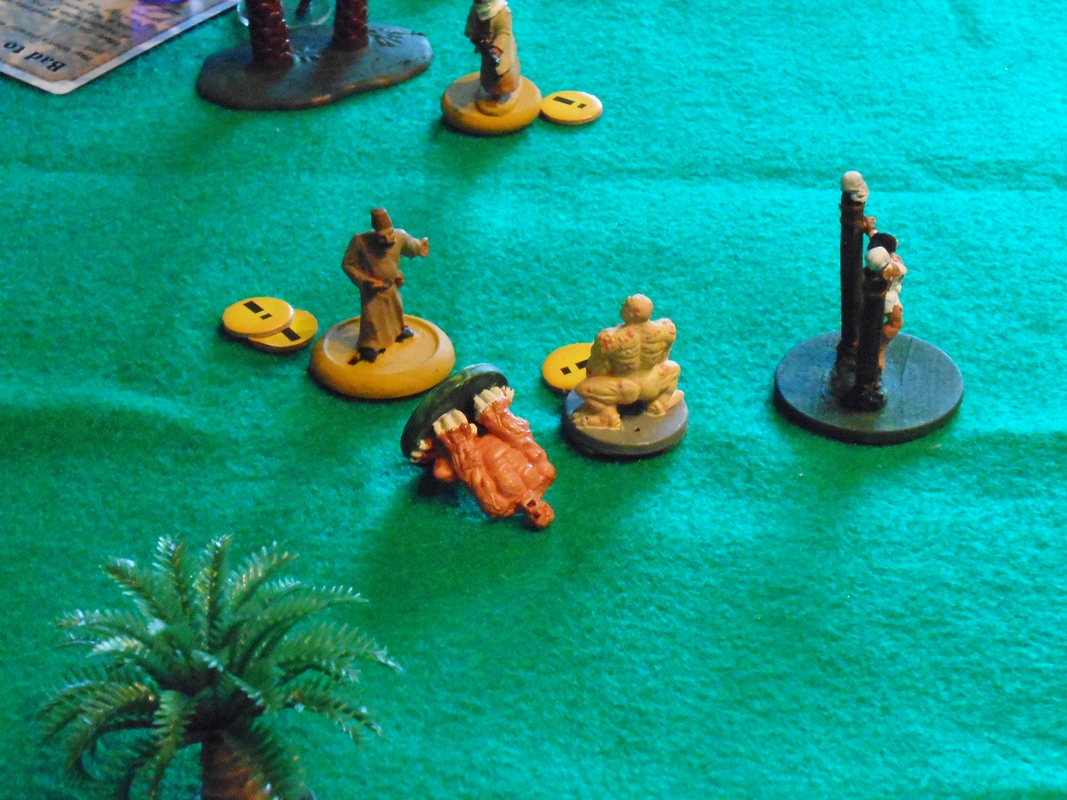
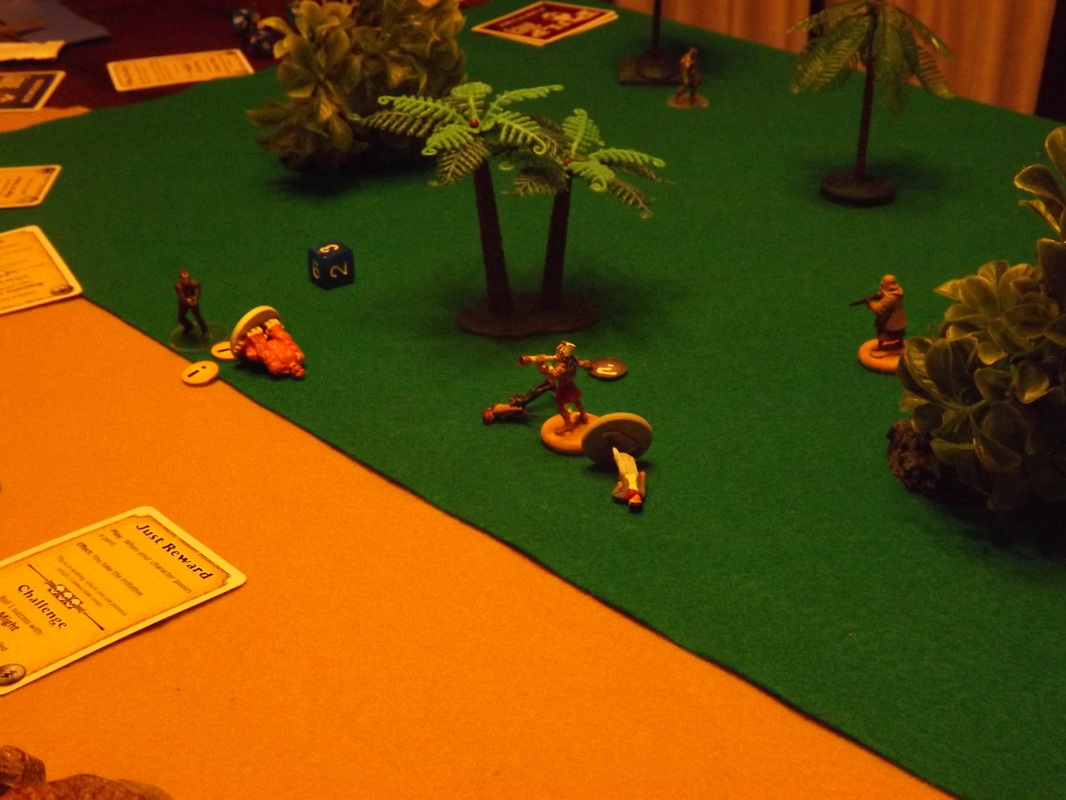
But those facing the Mechanical Horse Cavalrymen are poorly trained new recruits. Despite overwhelming numbers their charge ends in bloody failure.
Picture
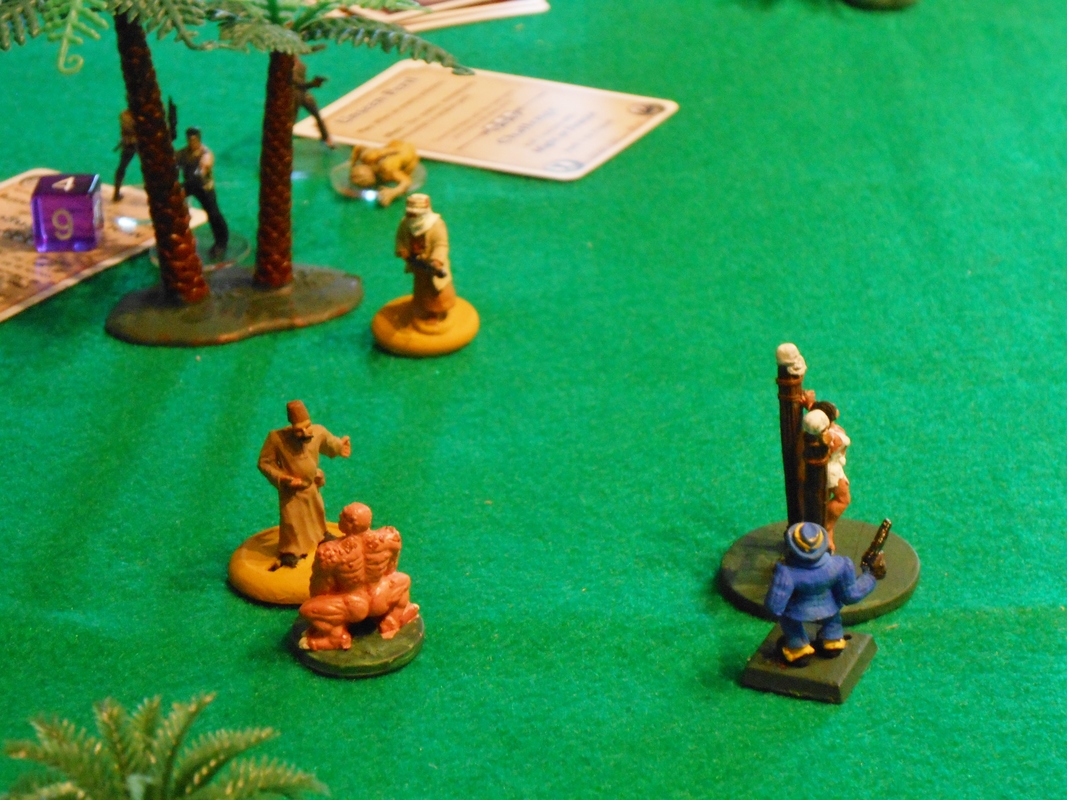
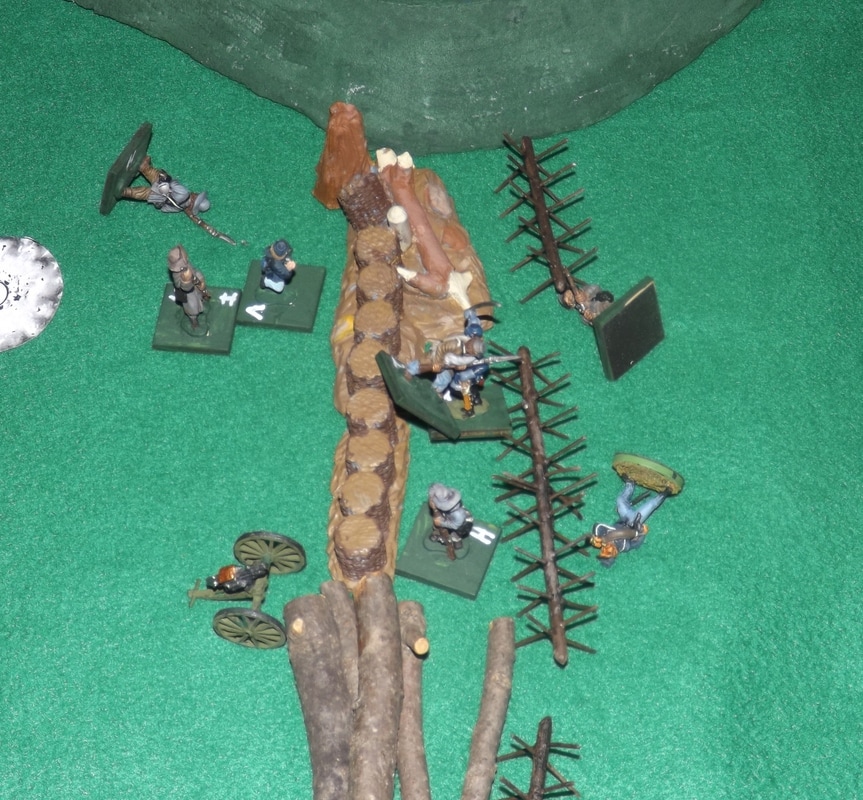
Despite hiding among the artillery men both Lt. Smith and Captain Green manage to engage Dr. E.L. Ectric, but once again he escapes.
Picture
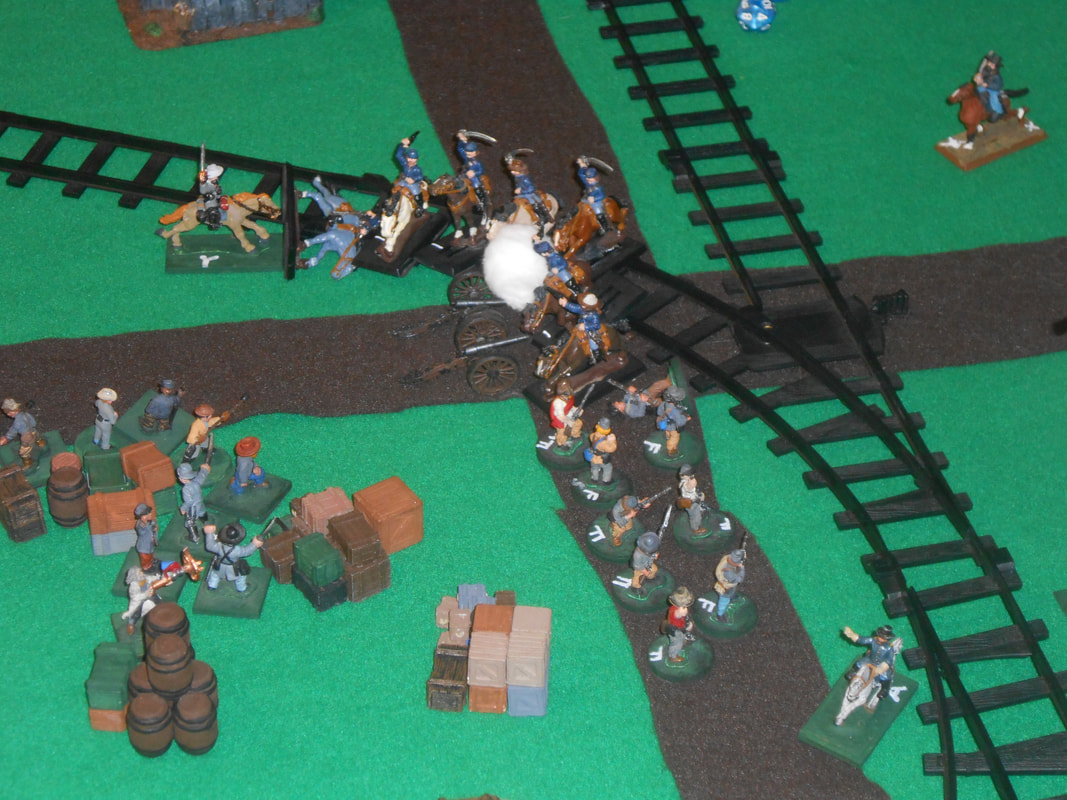
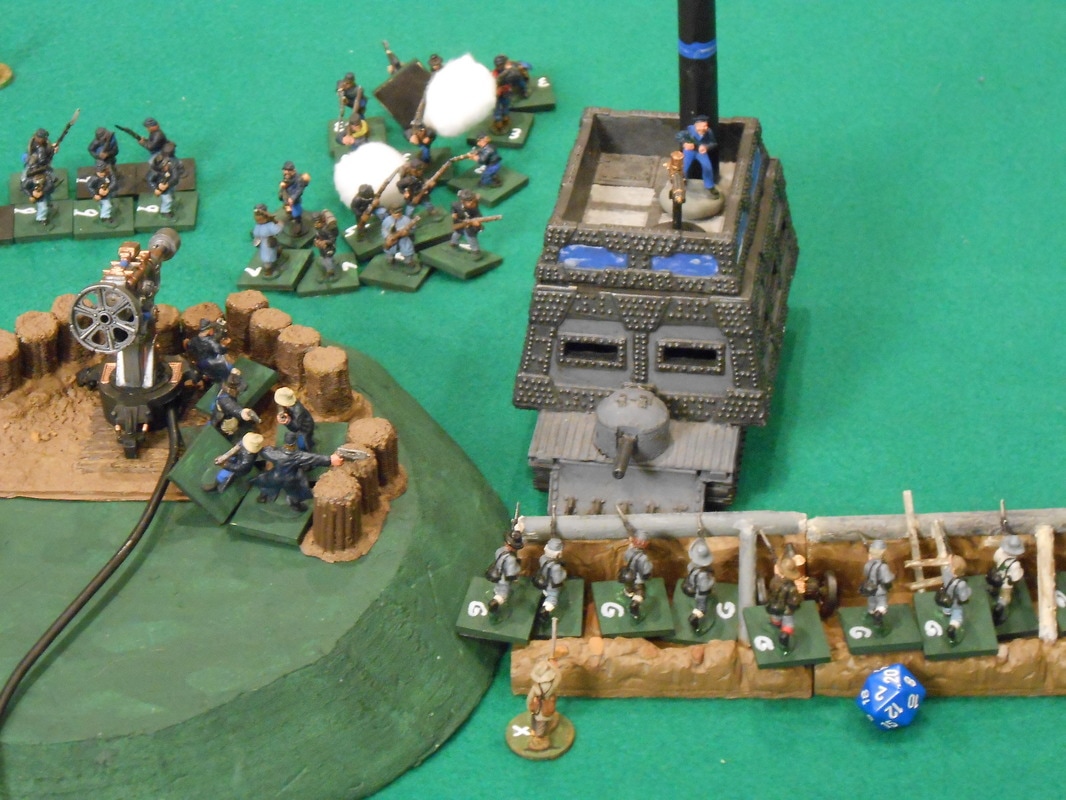
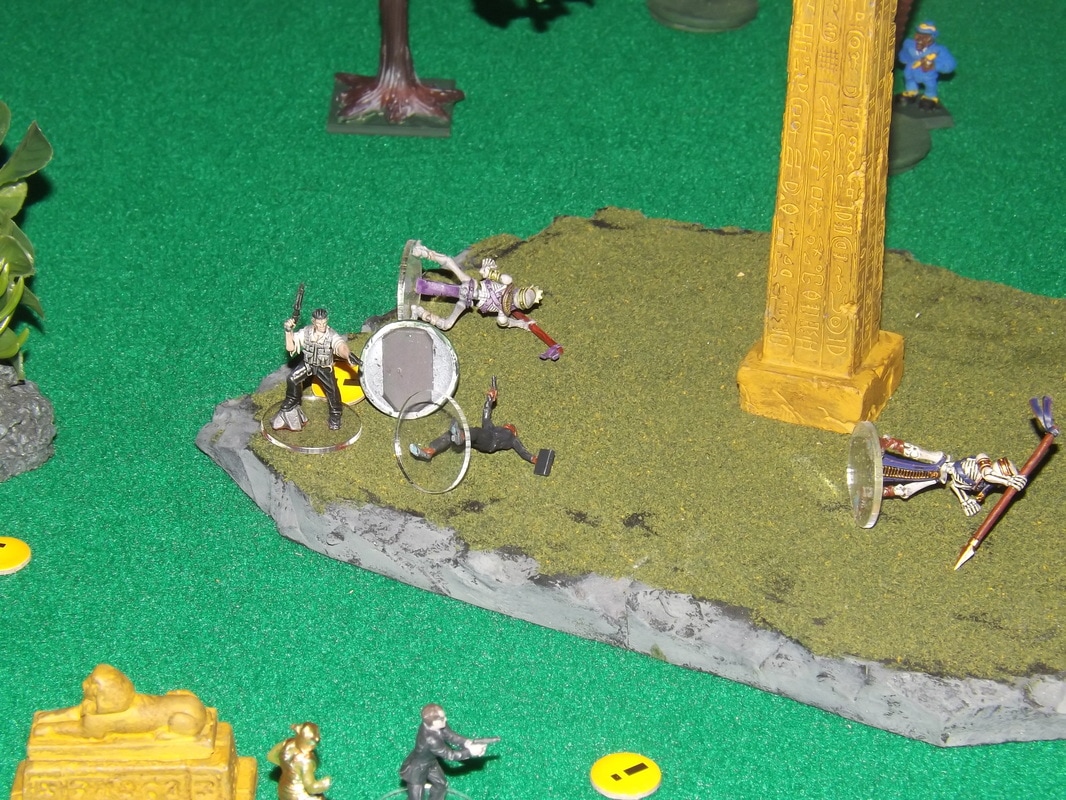
The Confederate cavalry charges the depleted Union unit (depleted by Killer Johnson).
Picture
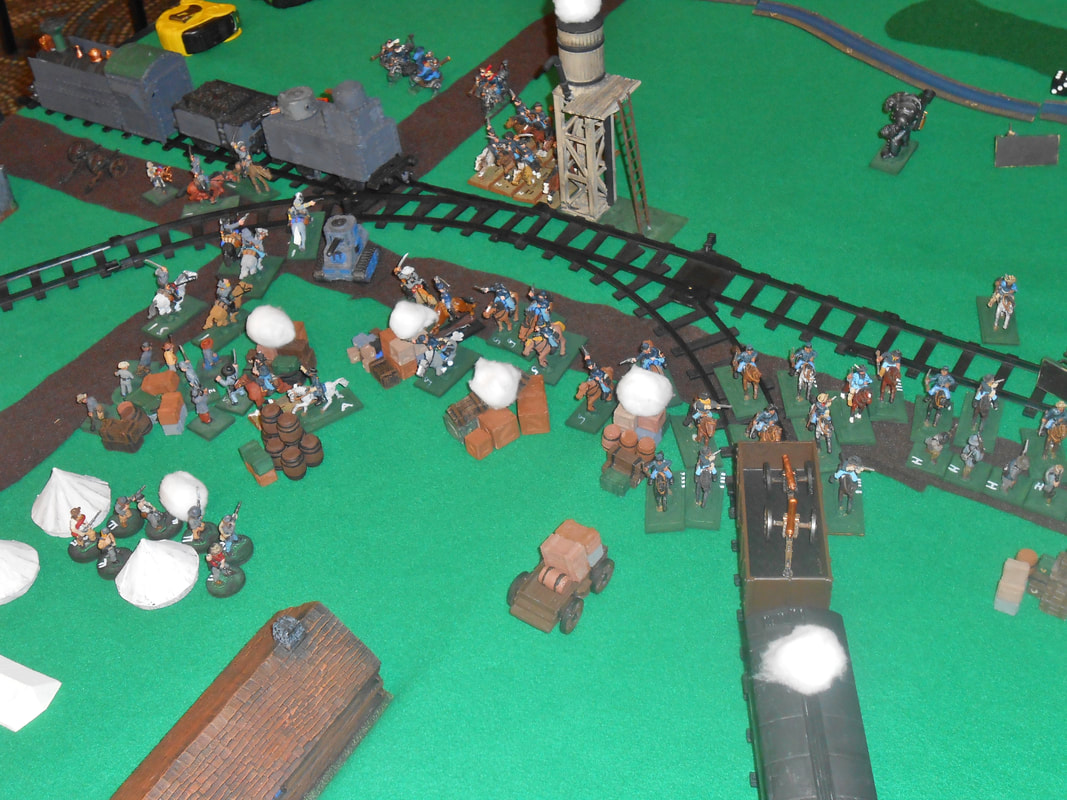
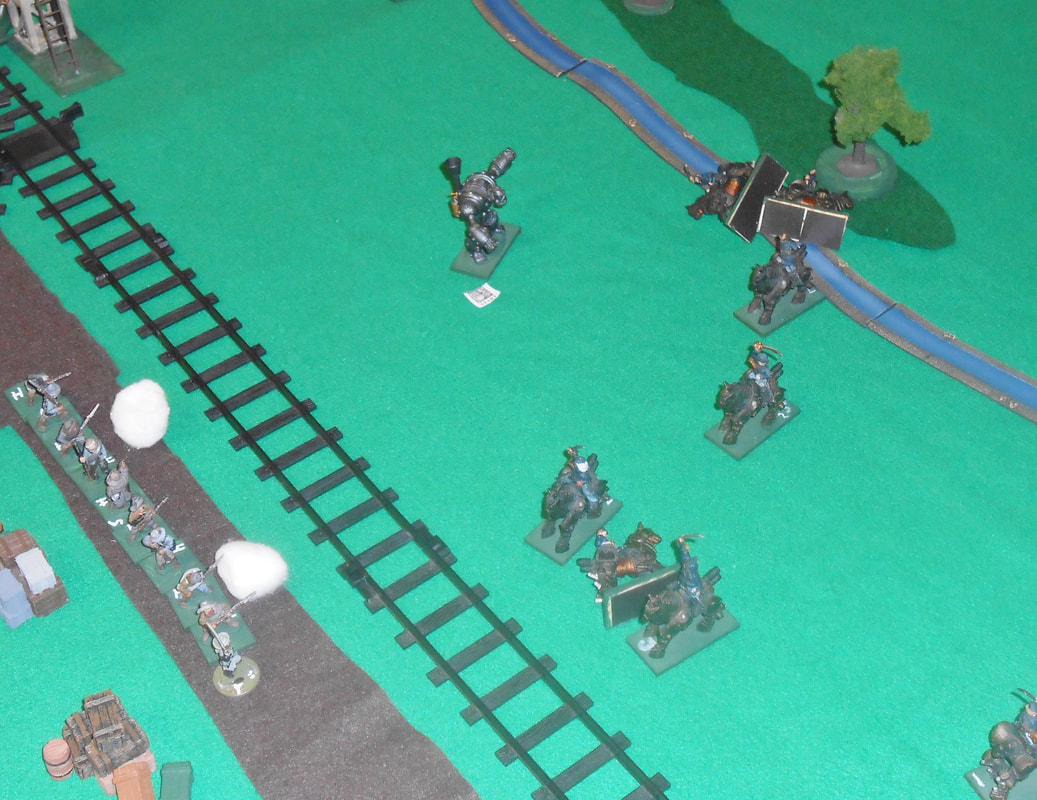
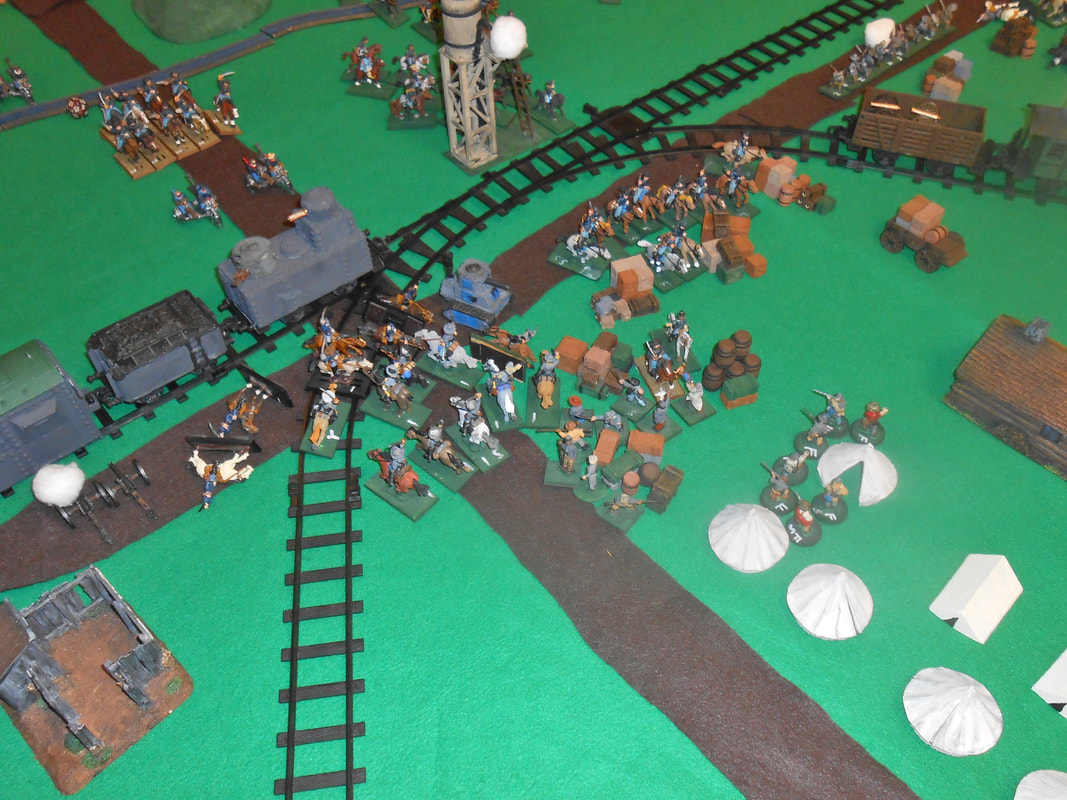
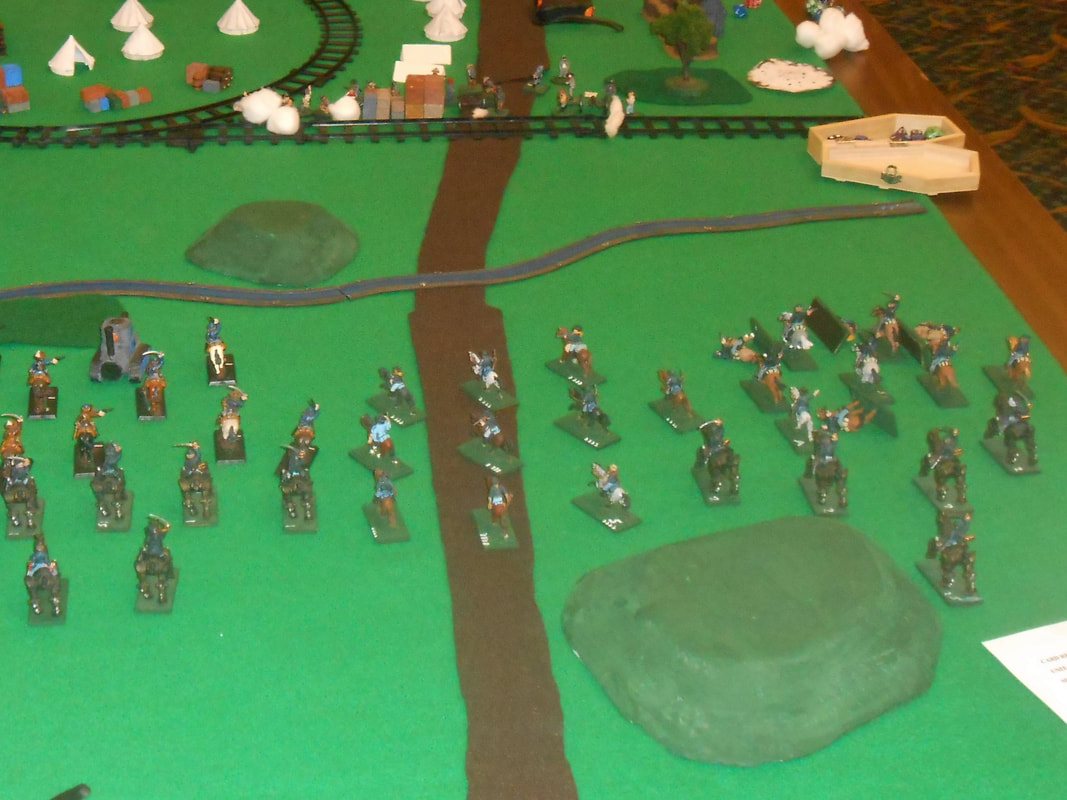
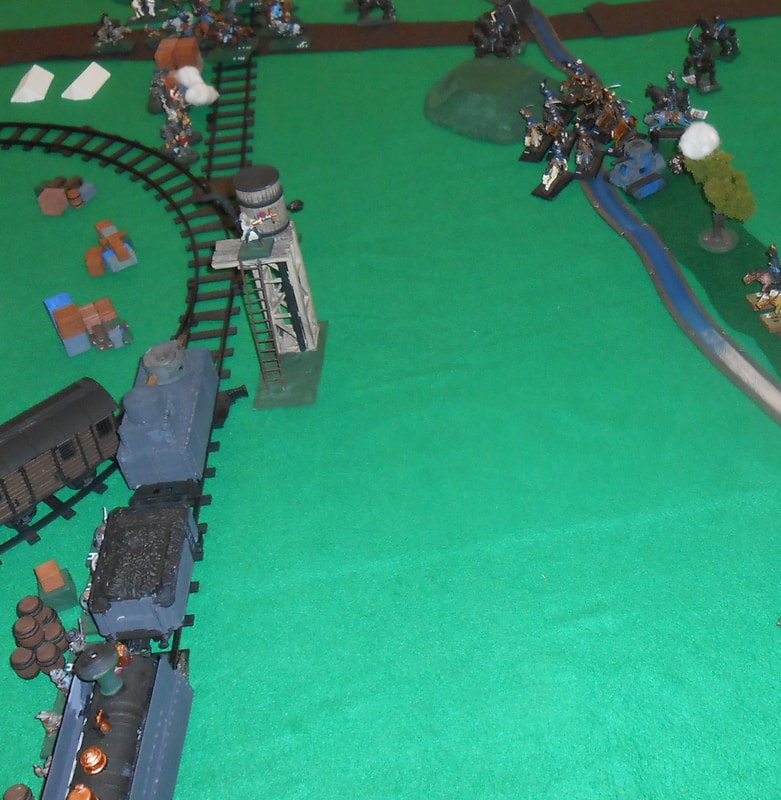
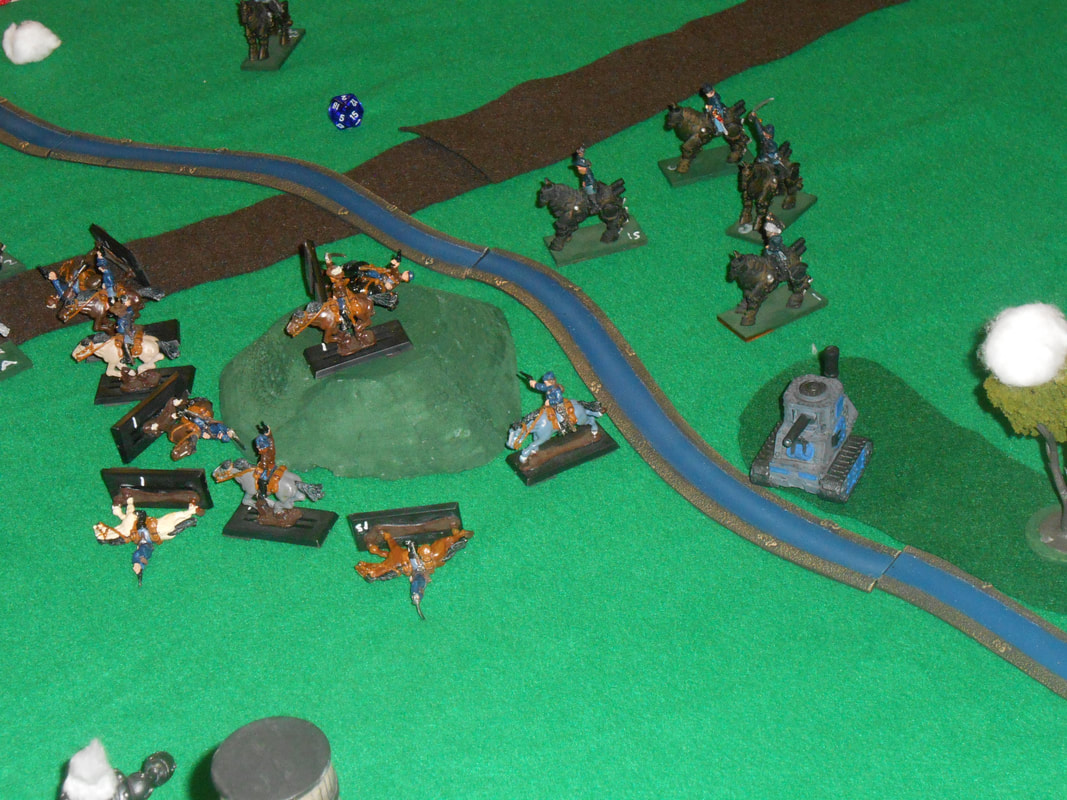
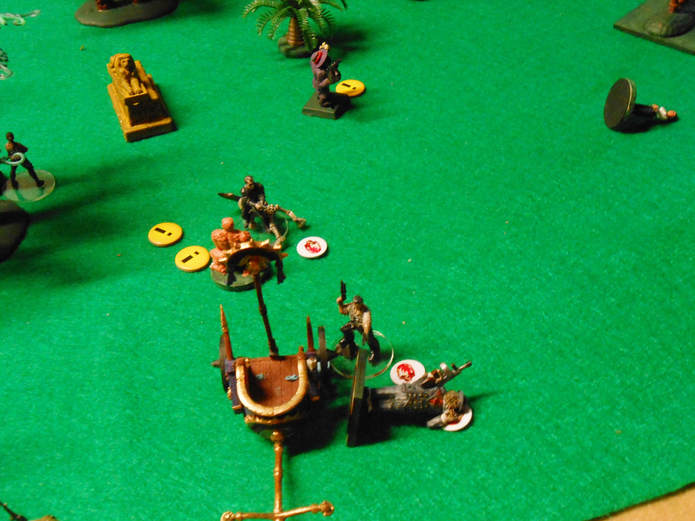
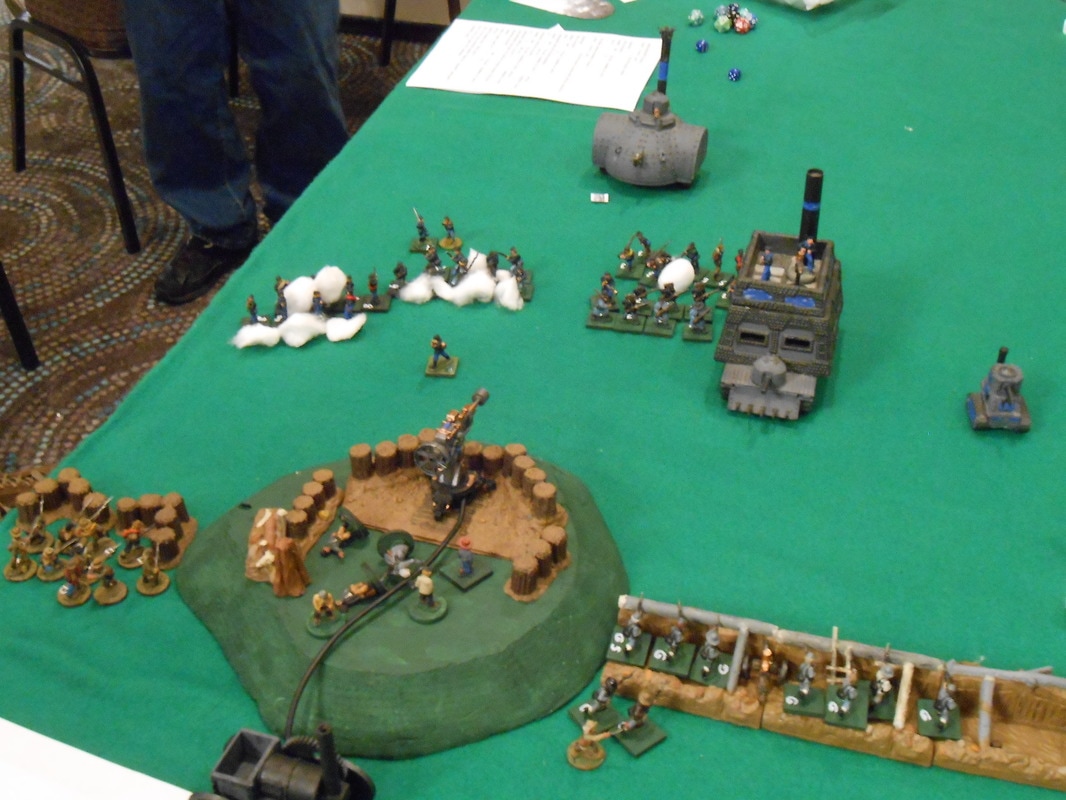
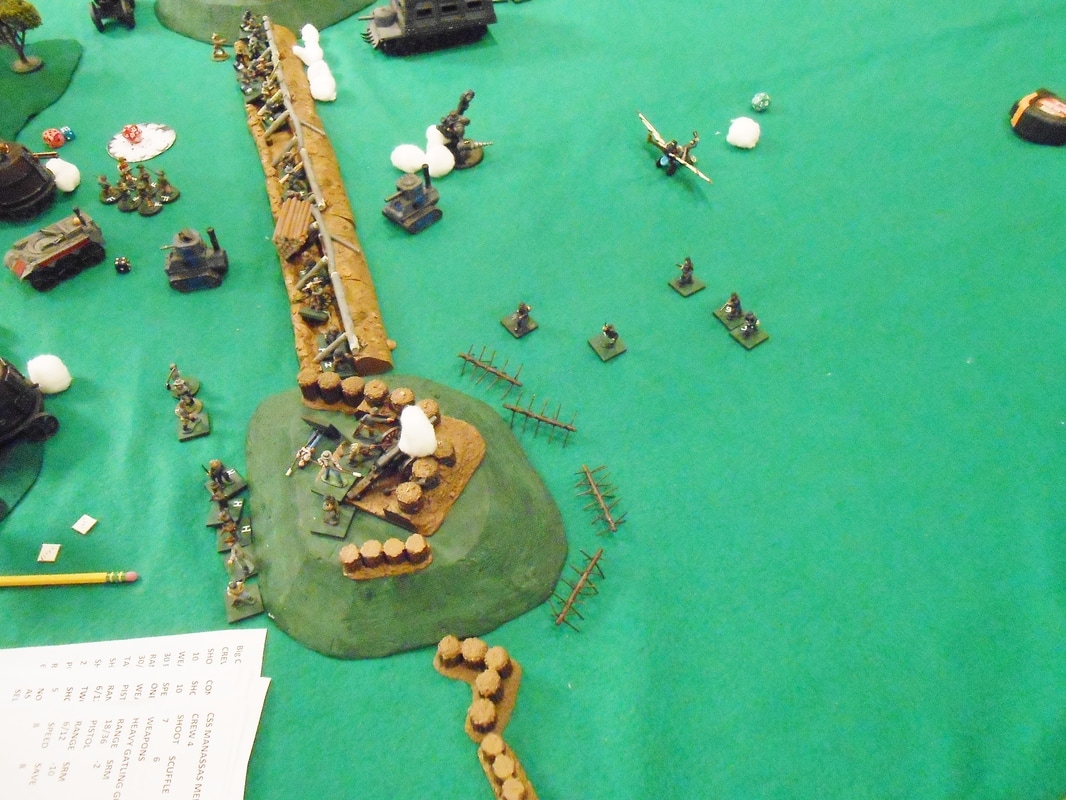
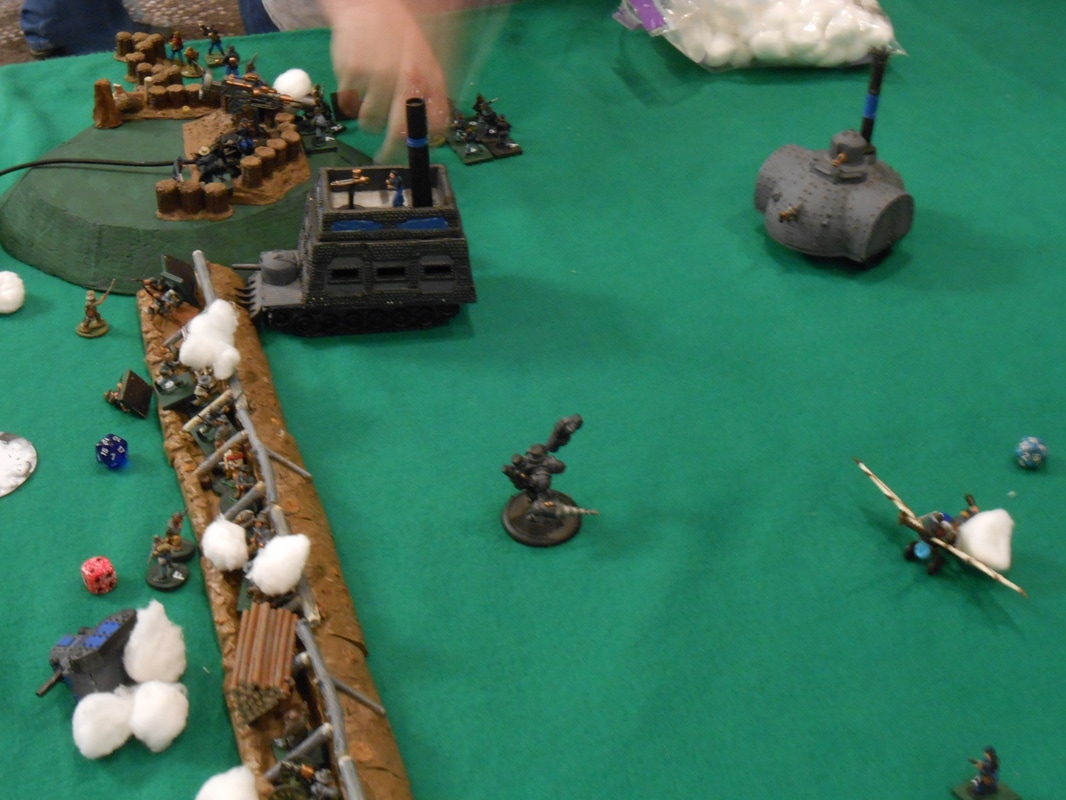
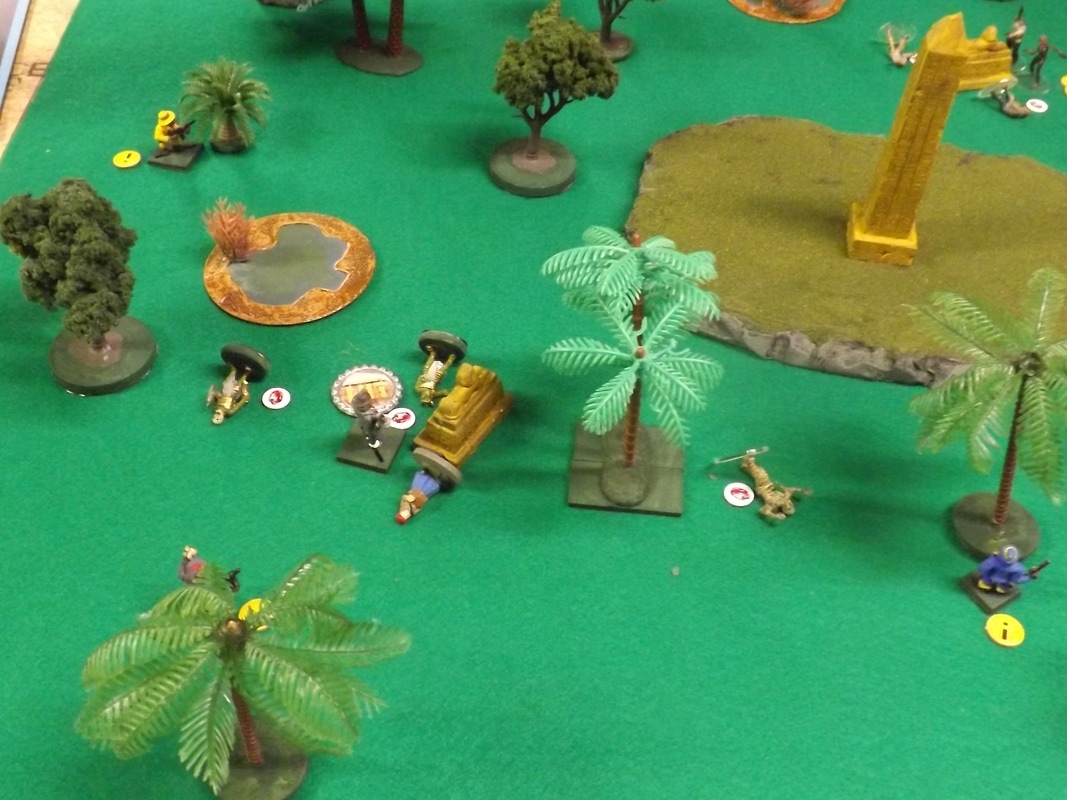
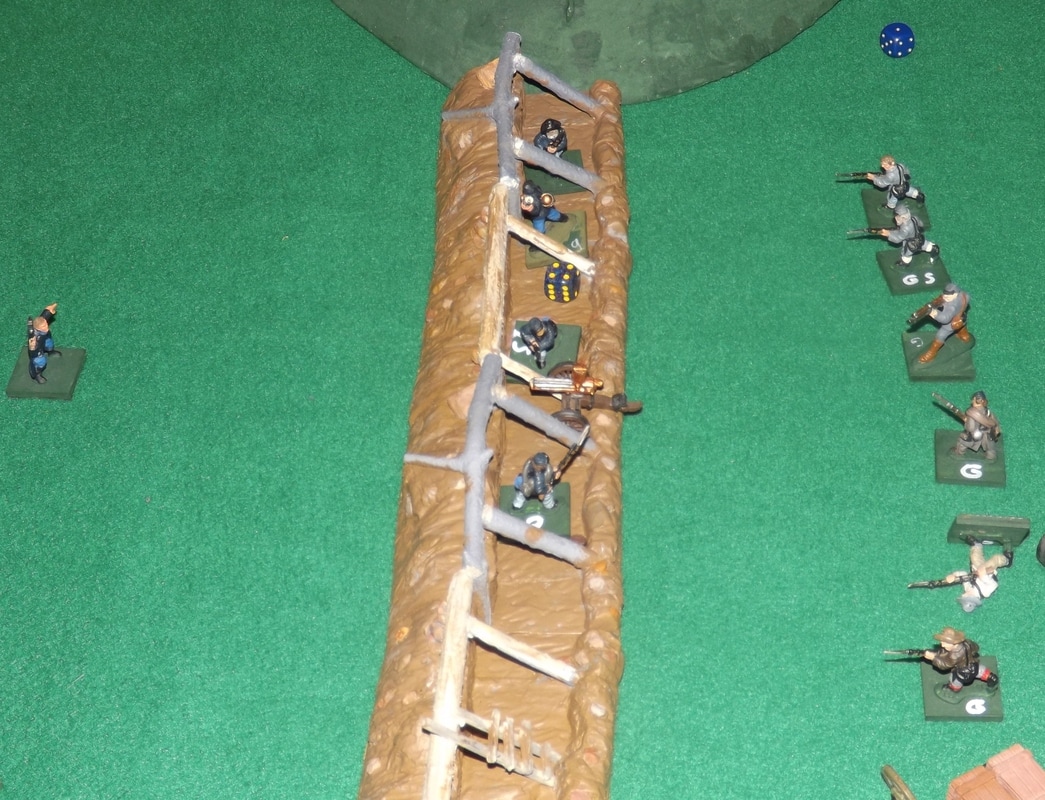
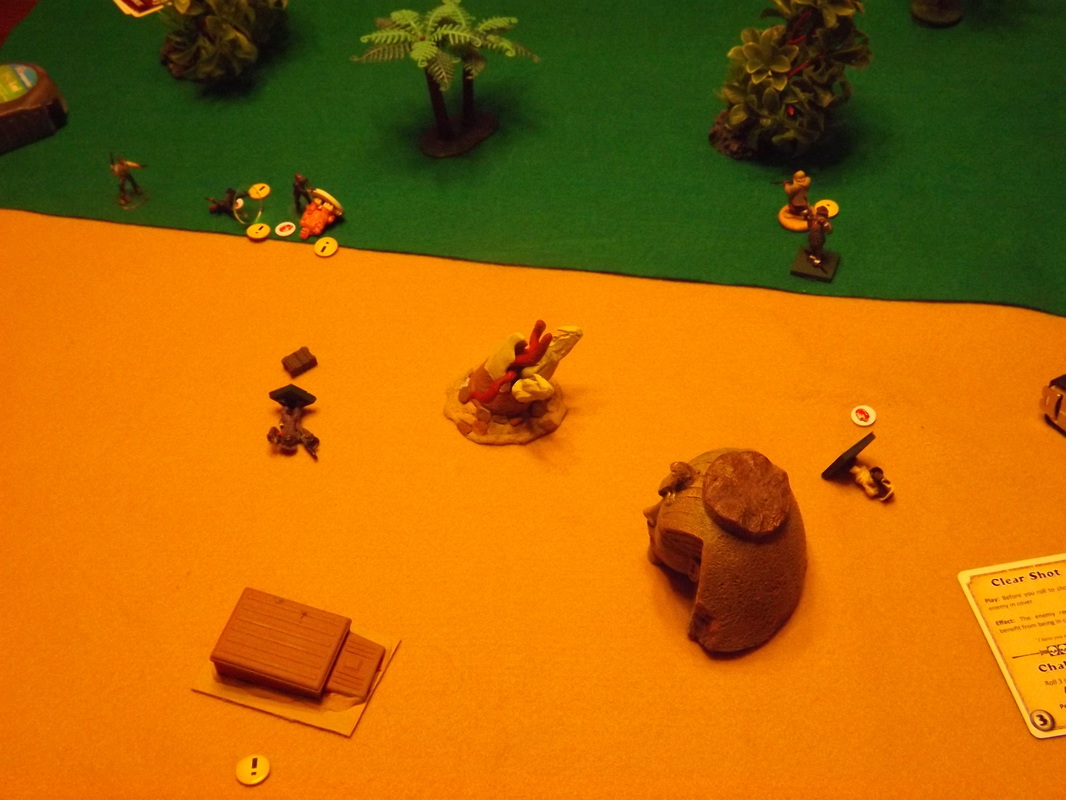
The Union troopers are in among the supplies and begin setting fire tp what they can. The Union cavalry that had to deal with Killer Johnson and a unit of Confederate cavalry flee the board. The armored train arrives and begins to shoot down the Yankees. A Union cavalry unit makes it to the railroad tracks (pay attention to this unit, it will matter in the wrap up).
Picture
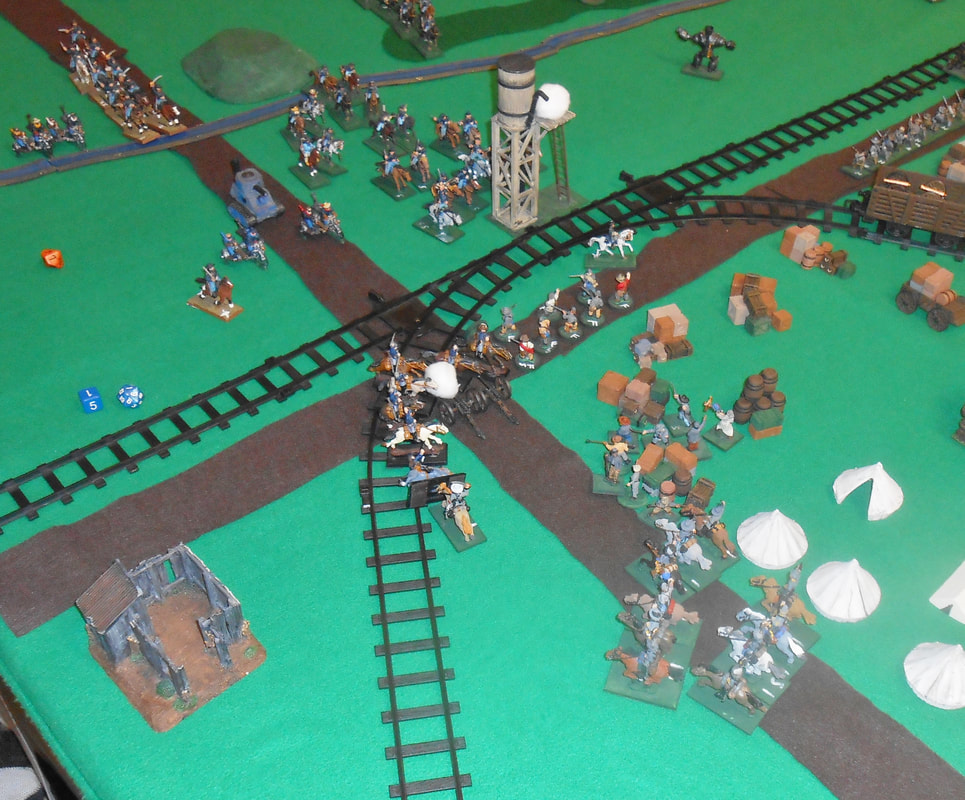
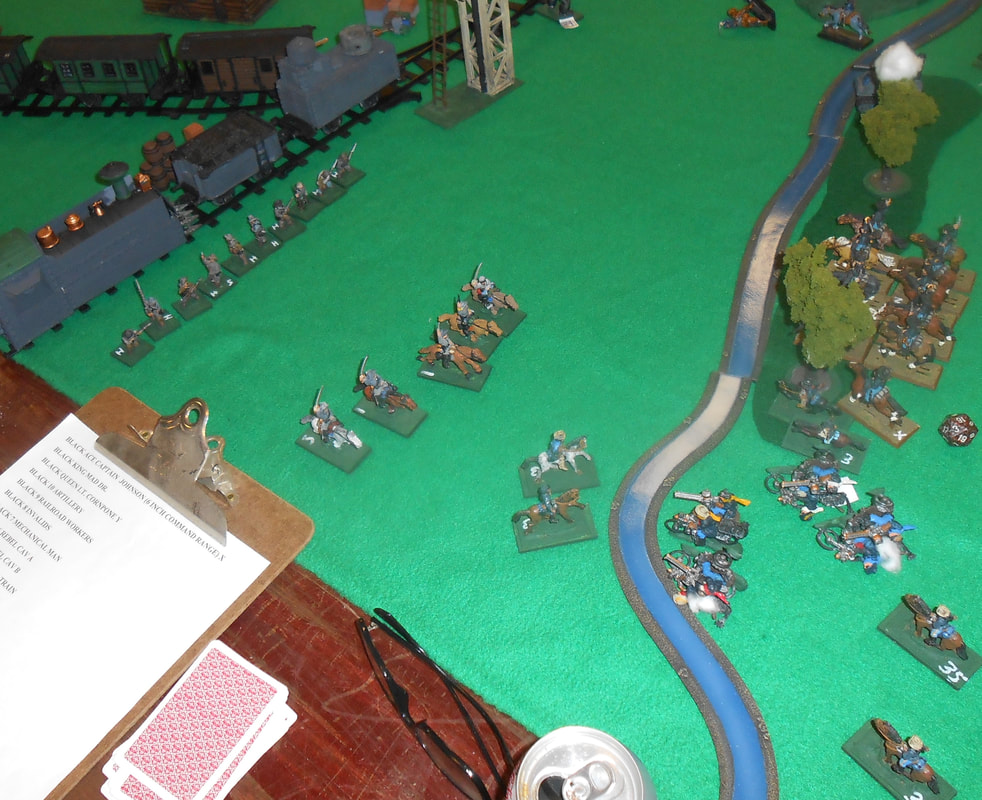
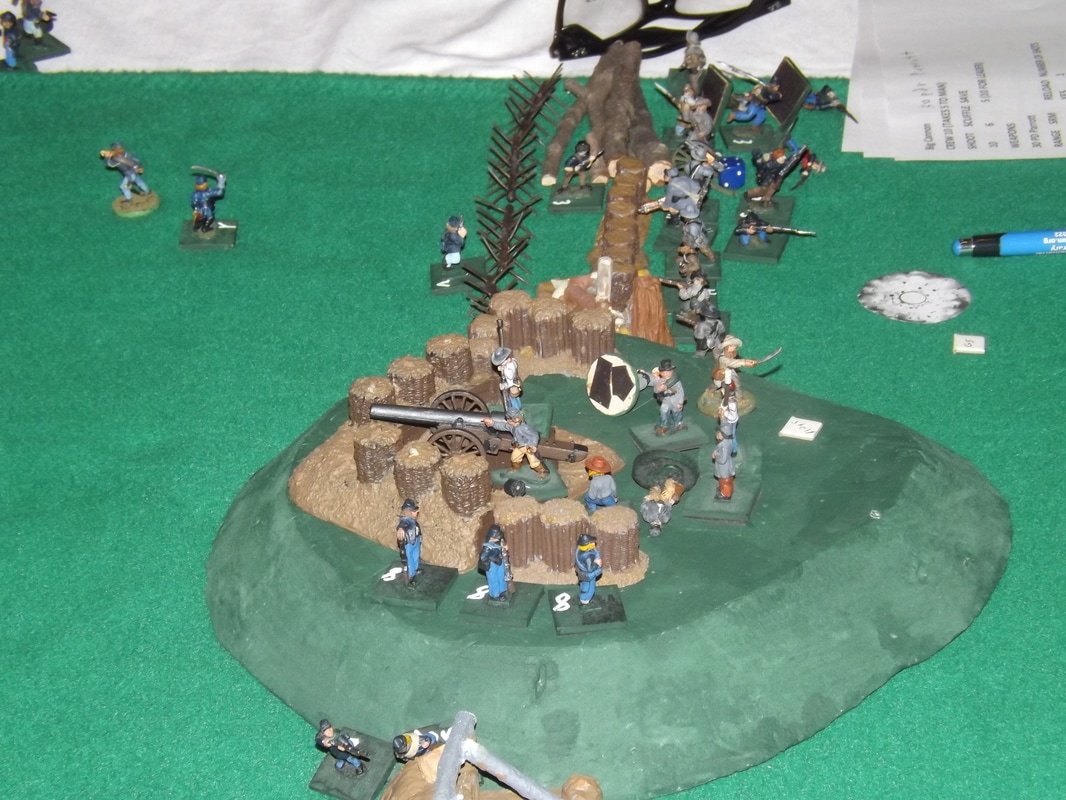
A closeup of the Yankees burning whatever they can before massive Rebel reinforcements arrive (players are out of time). This is where Killer Johnson meets his end, at the hands of a veteran trooper.
ENDGAME
Sorry, but I didn't get a chance to take anymore pictures. We had to go through the last cards before the game was called on account of time.
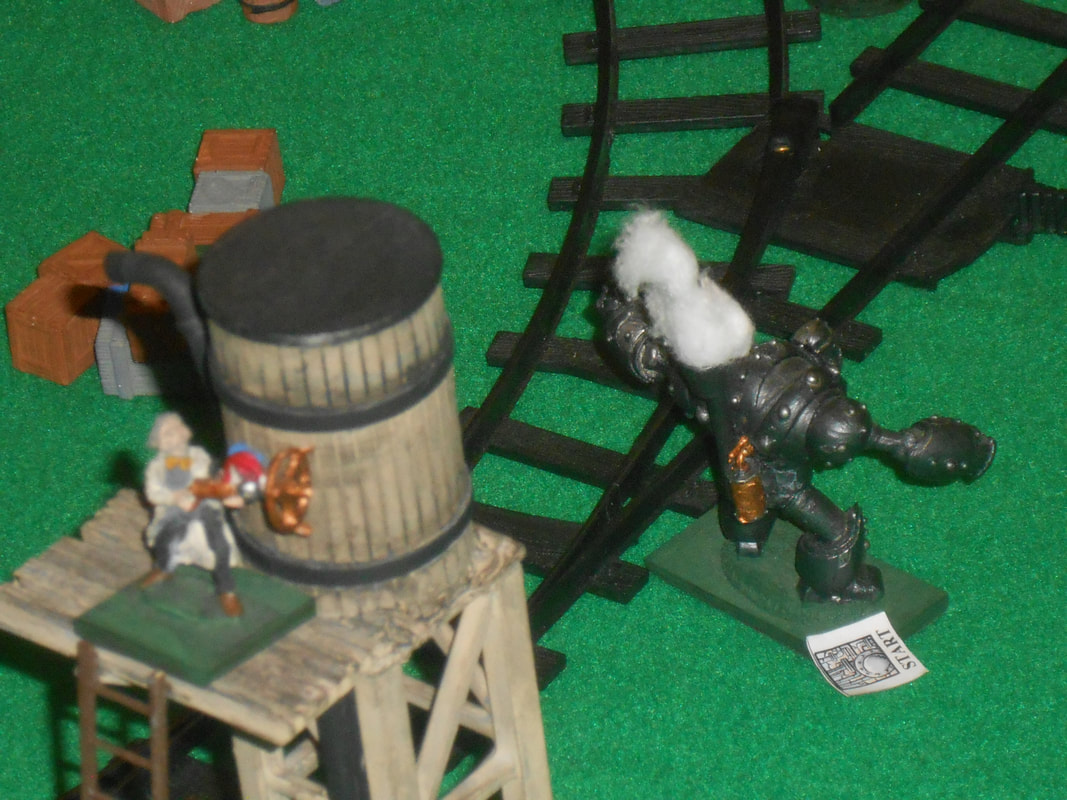
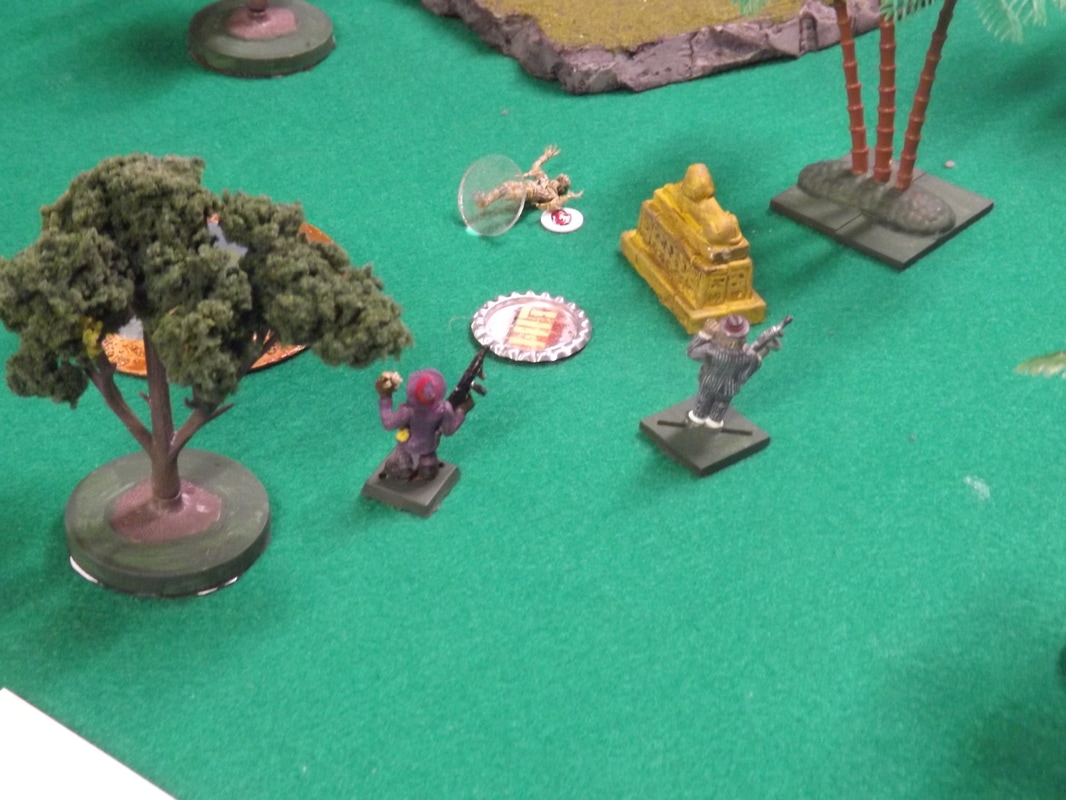
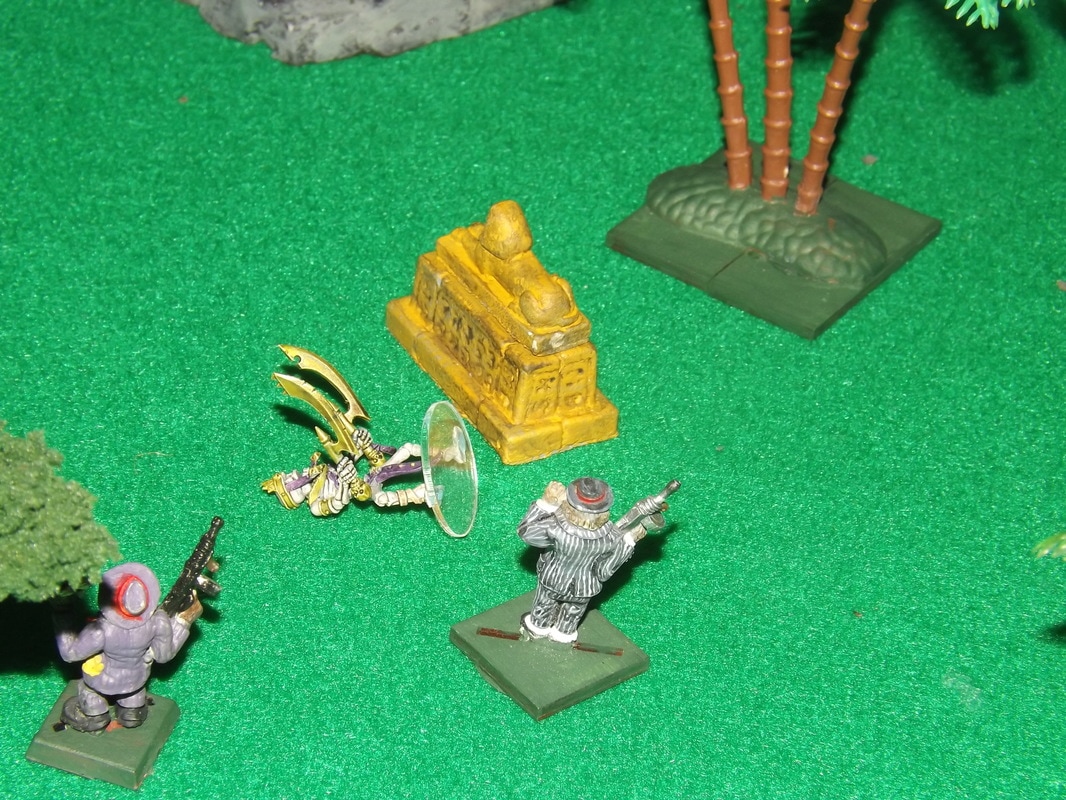
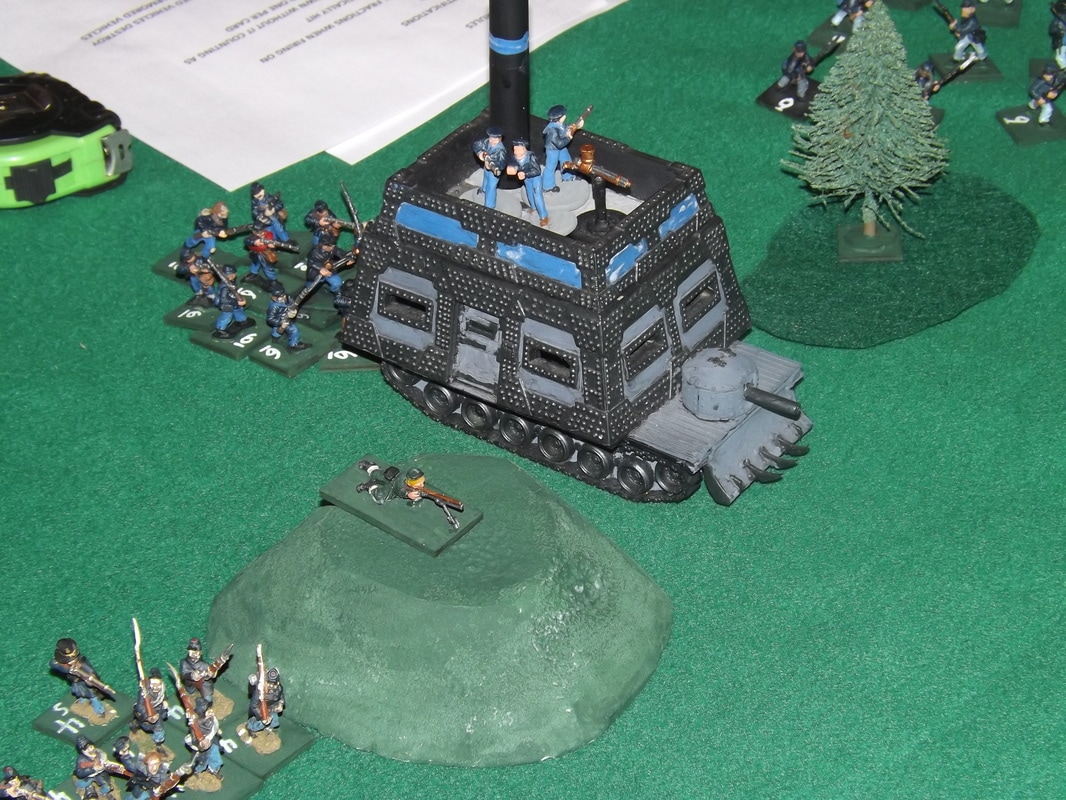
A couple interesting things happened on that last turn. Ectric escaped the officers who had tried to kill him, they being busy setting what they could on fire. He managed to get a bead on the Steam Charger. The first shot knocked off some armor. The second shot was a natural 20 so he got to roll both a penetrating hit and a glancing hit. The penetrating hit sealed the only hatch on the Steam Charger shut. Then the second hit forced the Charger's commander to make a morale check. He failed and was suppose to flee 6 inches. Since the hatch had been welded shut everyone got a small laugh imagining him yelling and pounding on the hatch in terror.
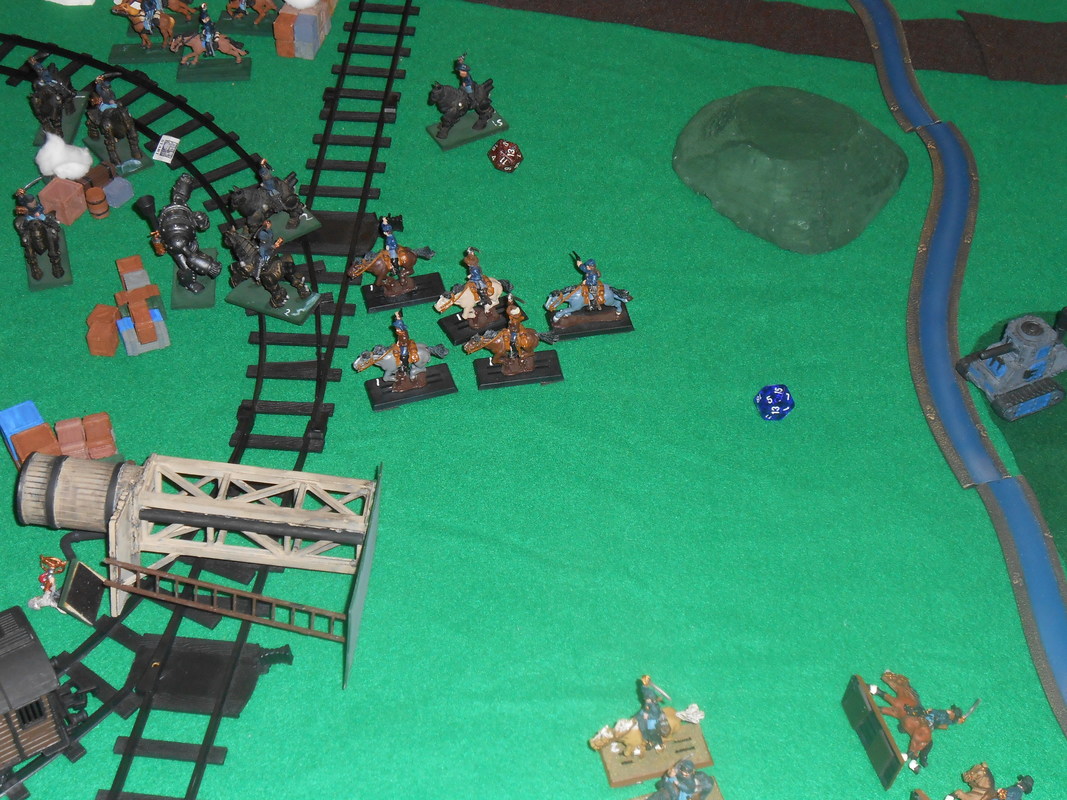
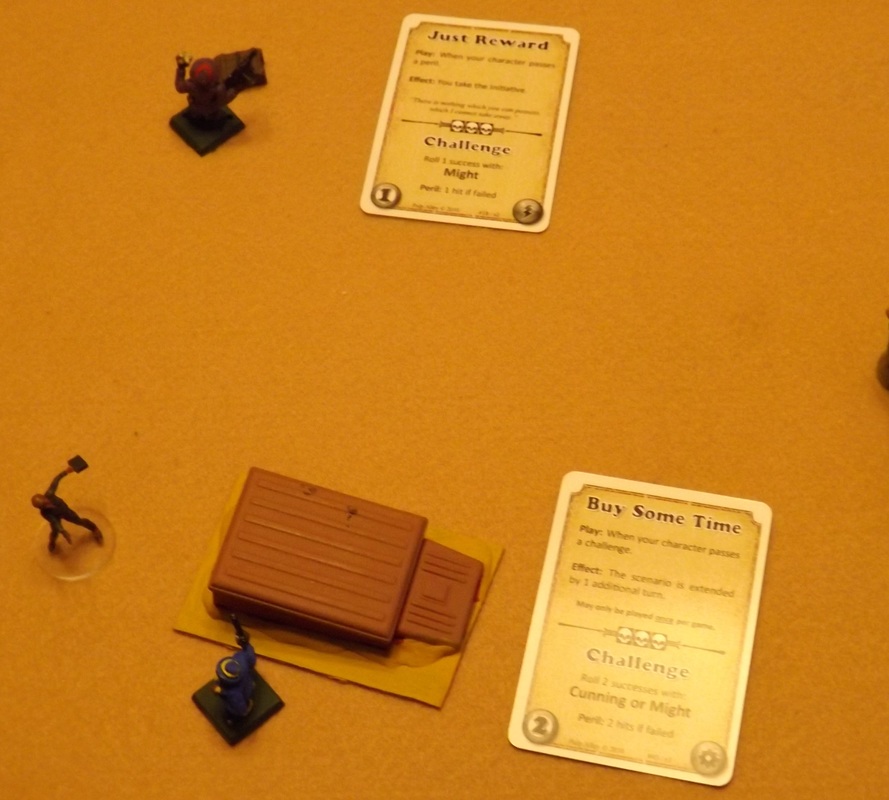
The second thing was the clever use of the armored train. There was one last cavalry squad that still had all it's firebombs. Rather than shooting at them the train moved in their way, blocking them from getting to the supplies. The troopers threw their bombs at the train in frustration and killed a couple soldiers and damaged the train. But it was all for naught.
It was a close game, the Union forces set seven of the ten fires they had to for a win. A good time was had by all.


0 Comments

GASLIGHT at Winter War 2018

2/2/2018

0 Comments


GEARSON'S RAID
THE AMERICAN CIVIL WAR BY GASLIGHT

It's the end of January, so once again I ran a GASLIGHT game at Winter War in Champaign. This year it was Gearson's Raid. The Union had to set fire to most of the freight yard and gathered supplies before a large group of Rebel reinforcements arrived (i.e. we ran out of time to play the game). The Rebs started off badly outnumbered (nine units to four) with several of their units handicapped for one reason or another.
Picture
Rebel start overview.
Picture
On their right was most of the rail yard, supplies, a Mechanical Man, and a unit of infantry. Both had their problems. The Mechanical Man could only attack machines (it lacked the ability to tell friend from foe when it came to squishy living things) and while the unit was veteran, they were at the station trying to recover form the effects of dysentery, minor wounds, and assorted diseases that kept them out of the front line. In game turns they were good shots with a minor save but couldn't charge and had terrible melee numbers. 
Picture
On their left was a unit of hastily armed railway workers (poor morale and mediocre shots) and an artillery section manned by the sick and wounded.
Picture
Overview of Union Side.
Picture
The first turn advance for the Union. In the back Major Smith rued the day he let himself be talked into trading his real horse for a mechanical one. He and his bugler spent much of the game stuck at the back. Their "horses" would breakdown, start, they'd advance, one or both "horses" would breakdown and it would all start all over again.
Picture
The first turn advance for the Union saw a cannon shot land directly on a tightly packed unit of veteran Cavalry on the Union right with five hits scored! One hit killed one man and the other four randomly determined hits all struck the same guy, with neither saving. After that most of the union cavalry quickly spread out before continuing their advance. Despite being mediocre shots (shoot of 6 in game terms) the Railway Worker squad took down a couple more of the only veteran regular cavalry squad the Union had.
Picture
On the Union left, a charge by the Rebel Cavalry reinforcements almost wiped out Steamcycles, but a charge by a nearby Union cavalry badly damaged both units.
Picture
On the Union right, a Cavalry unit slam into the Rebel artillerymen before they can fire their reloaded pieces. Reinforcing Rebel Cavalry charge into the fray. In the end the dysentery weakened artillerymen hold their ground dealing out more damage than they take (in game turns they had a scuffle of 4!) while the Rebel Cavalry gets hammered and reduced down to three troopers.  
Picture
To the great relief of the Rebels the Armored Train arrived. "Dr." Edward L. Ectric rained bolts of lightning from his super-science weapon while perched on top of the water tower at the Union Landship, doing little damage. Meanwhile, having finally made it forward Major Smith's Mechanical Horse breaks down yet again.
Picture
On the Union left both the Rebel and Union Cavalry fail morale. The Rebels fall back in good order, while the Union troopers flee the field! The Steamcycle unit also breaks. The Rebel Infantry unit made up of the sick and wounded advance beyond the tracks.
Picture
The Rebel line stills holds. One unit of Union cavalry takes loses from the guns of the Armored Train and the Railway Workers. The Rebel artillerymen still hold out!! Can the Union even hope to win at this Point?
Picture
But suddenly things change, with one glancing hit from the Landship'S Cannon the Armored Train flees the field. All it had to do to stay was roll a morale check at a +2 to the die. It had a full crew with leader so it could only break on a roll of 19 or 20. A 20 was rolled, then a 2 on the morale chart and the train fled in the direction it had arrived.
Picture
The Mechanical Man breaks down again, but Dr. Ectric continues to rain lightning down from his perch.
Picture
Then the Landship hits one of the legs of the tower, causing it to crash to the ground, taking it and Dr. E.L. Ectric out. The Union Cavalry on the right finally destroys the artillerymen and runs the Railway Workers off the table. But it is too late. The Union sets many fires but is forced to flee when more Rebels arrive in pursuit (in other words we ran out of time). Just three more fires and the Union could have won but the Rebels win the battle by saving enough of the depot from the Union marauders.

There should be more pictures. I never took any of the destruction of the last Union Cavalry unit on the Union left. With the time to stop rapidly approaching, I was too busy running to stop to take shots.

0 Comments

THE GATE a Pulp Alley AAR

8/22/2017

0 Comments

 
With Buck's gang having four pages of the journal we finally were ready to do The Gate scenario. It's getting so we just want to finish the campaign so we can go play This is Not a Test.
Picture
Buck's gang was really beefed up with 2 natives, a mook from the camp, and Lady Elaine.
Picture
The Gorillas were joined by one of the Jackal-headed Children of the Gods (also just a mook). Experiment 13 (or is it 7) neared the Gate and attracted the attention of the giant skeleton (Golden Guardian) guarding it. That's OK, that's what he is there for.
Picture
Buck approached the first altar while the rest of his team fanned out.
Picture
Experiment 13, surprisingly, survived the first turn.
Picture
But not the second, well time for Experiment 7 to get to work.
Picture
Da Boss and Buck each succeed in activating their altars.
Picture
Lady Elaine, Mr. Purple, and Bananas try activating the third altar (obelisk), with Mr. Purple succeeding.  Leaving Experiment 13 behind the Giant Skeleton couldn't reach the person? nearest the Gate. When it went to shoot it got a Can't Shoot card played on it.
Picture
Buck sent one of his brave men (mook extra) to distract the Giant Skeleton. With the Gate open Adam (Buck's gang) threw two peril cards (remember Da Boss is within 3 inches of the Altar, a perilous area) on Da Boss and a Can Only Move 3 Inches Card. Da Boss survived both perils and still made his way closer to the gate.
Picture
While the Giant Skeleton was distracted by the Natives and other extras everyone in both gangs made it through the Gate.
A short easy game. We were both too concerned about getting through the Gate to bother with trying to down the Giant Skeleton or fight amongst ourselves. The next scenario things will be different.

0 Comments

BACK TO SANDS- Another Pulp Alley AAR

7/26/2017

0 Comments

 
With only three pages from the Journal, we decided to go back to the truck buried in the sands around the Lost Oasis and try to get a fourth. This time it didn't go so well for I was stabbed in the back by my own man(ape).
Picture
Have won a vehicle to hide behind, I started Da Boss close to the truck, accompanied by Experiments 7 and 13. Buck, Saddler and another of Buck's men started close by, hiding in the underbrush.
Picture
Lady Elaine and Mr. Yellow set up to back shoot Agent Carsk and some mook of Buck's.
Picture
Then came the inevitable unexpected betrayal as Mr. Purple turned on Bananas. Damn that gorilla, bought off with some peanuts and bananas (the old Double-Cross bought with the results of good Network of Supporters rolls). Maybe I need to rethink my choices of League Perks for my next team.
Picture
Despite the betrayal, Da Boss and Experiment 7 moved out onto the sands with 7 bravely (yeah right, he was too dumb to know better) serving as a human(?) shield. Experiment 13 decided to have a lie down after being shot by Agent Saddler and didn't get up.
Picture
Bananas dealt with Mr. Purple after his betrayal of the Gorilla Gang (at least temporarily). Such is the wages of treason.
Picture
Agent Saddler tried to bring down Da Boss, but failed. Still, the effort gave Buck a chance to get the missing journal page.
Picture
Then came the Beast of the Sands. Buck ran like a frightened little girl, while Da Boss grabbed the journal page.
Picture
Vasquez convinced the native to come with her, while Agent Carsk looted the Mysterious Remains.
Picture
Where was Bananas while this was going on? Still dealing with that traitor Mr. Purple.
Picture
Mr. Yellow moved out to deal with Agent Carsk, but was gunned down. Da Boss engaged in a gun battle with Buck and several of his men, but fell wounded.
Picture
With a final effort Buck stole the page from Da Boss. Experiment 13 failed to make Agent Carsk drop his plot point, Vasquez regained control of the native, and Mr. Purple, in a final traitorous act gunned down Lady Elaine!!!
So ended the game with no plot points for the Gorilla Gang, while Buck had the journal page and two other plot points.

0 Comments

THE SACRIFICE A PULP ALLEY AAR

7/6/2017

49 Comments

 
After far to long we are back to the Perilous Island Campaign. This time it is the Sacrifice!! Rather than randomly rolling we went with Lady Elaine as the sacrifice and the Great Gorgonzola as the threat.
Picture
The board with Lady Elaine tied to posts in the center.
Picture
The Basti Sorcerer surrounded by loyal guards.
Picture
Buck and company hiding in the underbrush.
Picture
Agent Carsk quickly grabs one plot point (the Tears of Ra alias Perilium) from beneath the statue.
Picture
While Agent Sadler finds one plot point in the remains.
Picture
Bananas heads towards the ring of guards.
Picture
 While Experiments 7 and 13 rush to place themselves between Lady Elaine and Buck's people. Mr. Yellow takes up position to provide covering fire. Hey look at the full moon(s).
Picture
Muhammad, one of the Arab guards that accompanied Buck's expedition, moves forward to take an unsuccessful potshot at Experiment 7 (or was it 13, I can never tell them apart).
Picture
Abdul, the greatest wrestler in his village and a Camel Driver with Buck's expedition, knocks down Experiment 13. Both the Gorilla Gang and Buck's team had journeyed to the Lost Oasis (Perilous Island) accompanied by local guides, guards and camel wranglers (with camels loaded with supplies). This was good in that you could occasionally bribe/talk one into accompanying you into the heart of the Oasis. It was not so good when it came to raiding the campsite of the other team, because the guides, guards and camel wranglers working for the other team were related to those in your employee. It was hard enough to keep your hirelings in line, what with all the expeditions to the Lost Oasis that failed to return. But attacking and maybe killing their relatives would be the straw that broke the camel's back (sorry about the bad joke).
Picture
The Experiments proved their worth by serving as a distraction while Bananas tried to free Lady Elaine.
Picture
Which he does successfully. It was nice of him to bring her some proper clothes and her gun ;) .
Picture
Buck makes his move towards the Basti Socerer, who is quite upset about the sacrifice escaping. Now who is the Great Gorgonzola going to have for lunch. Poor Gorgonzola.
Picture
Just in time for the Great Gorgonzola to appear. By careful maneuvering (run away, run away!!!!) Buck was left as the closest character figure.
Picture
Fortunately, the fleeing in terror left Da Boss next to a plot point, which he promptly solved.
Picture
Closer and closer the Great Gorgonzola came to Buck.
Picture
Da Boss, in a last desperate attempt tries to make Agent Sadler drop her plot point, but fails.

For the first time in far too long I finally won a game!!  Hurrah!!

But I couldn't have done it without help. So thank you Jill (age 5) and Alex (almost 2). Their babysitter couldn't make it so Adam had to watch them and play. Whenever there was a crash in the next room (or worse yet when it was too quiet) he had to run in and see what they were up to.

49 Comments

GASLIGHT at HEROICON

5/25/2017

0 Comments

 
I attended HEROICON a couple weeks a ago In Decatur, Illinois. A new and still small con in its second year Heroicon is mainly RPGs Card Games, and Board Games, with only four miniatures games, one of which was mine. I think there may be more miniatures games next year. I got a couple old time gamers to attend and they are starting to make noises about digging out the Micro-armor (1/285 that is). We'll see if they do.

This year I ran the same game as I did at Winter War, with a few tweeks. I mention Mechanical Men and Ornithopters is my listing for the game and had to add those two things to the scenario. I got rid of the two mines and toned down my modified anti-vehicle rules. Any hit would be a glancing hit with light and medium guns firing solid shot, if it didn't penetrate (2 glancing hits for the big gun). I had been running it as a glancing hit in addition to any penetration, and that was a little too deadly.

Picture
Union starting forces. 6 squads of infantry (regulars and recruits), the USLS Salamander again, the USNLS the Cairo with an Assault Squad, two Steam Chargers, and the marksman that I used at Winter War. But I added two Ornithopters with light bombs, and a Engineering Landship with a pile of poles to use in an attempt to fill in the trenchline, so the lighter landships could cross it.
Picture
The Rebels had the same equipment as the last game, except for the Mechanical Man (Warmachine Warjack). They also had two extra sections of trench, which I made up rules for so that it is better than just heavy cover. The Big Cannon (a 30pounder Parott) and the Electro-Cannon where only in regular heavy cover.
Picture
Since I managed to misplace the Electro Cannon I used last time, I had to quickly paint one up. It was based on a Raygun shaped pencil sharpener (one of those fake bronze pencil sharpeners that look like steam tractors, wagons and other useful items for VSF gaming). I used the same big Parrott gun I used at Winter War, giving it a crack crew (two cards a turn) so it could fire more than a couple times during the game.
Picture
The Construction Mechanical Man was a Warmachine War jack. As usual for my games, it was programmed to only attack vehicles, cannons, and other such things. The official reason was that having a human torn apart was "too cruel even for war". The real reason was the Mechanical Men were stupid. They couldn't tell a Rebel apart from a Yankee, let alone a civilian. They would stride by enemy soldiers without noticing them to get after a Landship or Cannon (it was best not put them too close to friendly vehicles or cannons or they might attack them).
Picture
The Union went for a weighted attack, putting most of their forces against end of the line with the Electro Cannon, while sending some troops, the Steam Chargers, and the Engineering vehicle against the center of the line. The Mechanical Man strode out onto the battlefield, and promptly broke down. 
Picture
The USLS Salamander continued it's long standing history of breaking down on a regular basis. The USNLS Cairo faired better, losing just one man on top to rifle fire. Once a glancing hit filled the vehicle with smoke driving out all the crew, but they passed their morale and got back in the next turn.
Picture
The Ornithopters moved forward quickly being careful to stay at a height out of range of gunfire (and out of range of dropping bombs successfully). While the Cairo and Salamander hung back (for a variety of mechanical and personnel reasons) the Steam Chargers and the Engineering Landship moved forward, under a constant bombardment from the Rebel Big Cannon, losing movement, armor, and taking other minor damage (a stuck hatch, a bent Gatling barrel, and worst of all a dead driver in the Landship with the Cannon).
Picture
Then thernithopyers dove and attacked (OK dropped down, hovered and tossed down a couple bombs). The one attacking the center of the line was shot down in flames, hitting a Steam Charger with a glancing blow that cost it more movement. The other successfully bombed the Electro Cannon, killing some men and damaging the fragile Electro Cannon. Its second bomb missed (probably a dud) and it then flew safely off the field.
Picture
Rebel reinforcements arrived, in the form of two green squads of infantry and two Timberclads.
Picture
The Engineering Landship successfully dropped its load of poles filling in part of the trench, while the Mechanical Man finally restarted. It then took a shot from the cannon armed Steam Charger that cut a steam line, leaving it immobile for five turns (the player running it refused to call it dead and out of action, and it did last those five turns, being able to restart on the last turn of the game).
Picture
The main Union attack moved steadily forward (except for the Salamander of course). Fire from the Infantry and the roof mounted Gatling on the Cairo dropped so many of the Electro Cannon crew that the survivors (the guys who had been shoveling coal into the steam tractor powering the cannon) fled. A flamethrower armed soldier from on of the squads of regulars moved forward to get in range.
Picture
The Engineering Landship successfully crossed the trench line while the Steam Chargers prepared to cross while Colonel Cornpone (on the right) looked helplessly on it's crossing. Hurrah for Colonel jubilation T Cornpone, he really saved the day (look it up yourself).
Picture
Since it had no weapons and the crew was trapped inside the vehicle by a jammed watch the only thing it could do was run over the reinforcements. RAMMING SPEED!!! Since the reinforcements lacked any anti-vehicle weapons, they had no way of striking back and several died. They then fled to the woods where the Landship couldn't go (without risking being hung up on a stump).
Picture
While one Union squad fled the field after taking shots from the Rebs, Colonel Smith and his trusty (or is that rusty) Bugler rallied the rest. From out of the Cairo came the assault squad, throwing grenades and shooting their rapid-fire super pistols. They drove the last of the Electro Cannon crew off the hill.
Picture
After a short, futile battle with the shovel wielding remnants of Electro Cannon crew (they bravely charged to their deaths) the Assault Squad began chucking grenades and firing down at the now exposed Rebel regulars. 
Picture
 After taking a couple of casualties from rifle fire the green Rebel troops did what any sensible soldiers would do, they charged the enemy. They did kill the man with the flamethrower that had been moving into position to use his weapon. They killed a couple other soldiers, but were gunned down to a man. One squad made it up the hill further securing it for the Union and flanking the trenches.
Picture
The two squads on the extreme left who were going after the Big Cannon took a beating from the Rebels in the trenches. One squad fled the field, while the other dropped a couple men manning the Big Cannon.
Picture
Which took umbrage at this and dropped a shell on the squad. Leaving a pitiful few survivors that with the help of Lt. Smedley stood their ground and stayed on the field. Smedley and the flamethrower man move up the edge of the  trench, in perfect position to burn a bunch of Rebs. Smedley and Colonel Cornpone exchanged a couple shots, both surviving with one shot stopped by Smedley's bible and one stopped by Cornpones pocketwatch. Then the Colonel realized the flamethrower was far too close to his men and shot him down. 
Picture
The Steam Charger with the Gatling safely crossed the trench at the poles.
Picture
But the one with the cannon fell to a shot in the rear by a revolver canon and in that most rare occurrence in GASLIGHT, brewed up.
Picture
The game was called and I judged it a minor Union victory. The Union had taken the hill on the right, captured the Electro Cannon, and was slowly rolling up the trenchline. The Union left was almost wiped out. The Union center made it across the trenches but was unsupported by infantry and surrounded by Rebels. Hopefully the other attacks at other points of the line were more successful.

Once again the flamethrowers turned out to be of little use. The Salamander never got into position to use its large flamethrower, two of the men with flamethrowers got into position but died before they could use theirs, and I think the third soldier with a flamethrower fled the battlefield with his squad. So much potential for destruction, with no results.

Picture
THE HAND, THE GIANT HAND!!!!!!
0 Comments

SINISTER SWAMP A PULP ALLEY AAR

3/9/2017

2 Comments

 
After far too many months, Buck's Team (Adam) and my team (the Gorilla Gang) once again find themselves at the Lost Oasis, chasing after pages of the Professors journal.
Picture

The set up, from my gang's entry point. The zombie spawning/plot points are the two small Spinx statues and the obelisk. Oh look, a zombie is already up to greet us! Adam and I were afraid we wouldn't have enough undead to run this scenario (he had a dozen) so I converted a broken pilot figure and two Sherden guards. Turns out it was unnecessary, we never had more than four on the table at a time and only once did a couple survive to the next round (because we targeted them instead of the other team as soon as they appeared). That extra die for short range really helps in taking them out, which we would get since we could move and shoot before they could activate.
Picture
So Much for the first Zombie/Mummy.
Picture
Mary, the Mad Doctor's daughter, rushed up to try solve the plot point, but fell too the extreme peril of the area. Poor Mary, she never did get up again. Next game I think I'll leave her back at camp and substitute Experiment 13. Mean while Mr. Purple, the Boss and at the top of the photo, Bananas, all dropped their undead targets.
Picture
Mr. Yellow began long distance snipping at Buck and company, while Da Boss worked on the plot point.
Picture
Another Mummy bites the dust, as Da Boss solves a plot point.
Picture
Meanwhile, Experiment 7 tries to  rush one of Buck's allies (unsuccessfully) while Buck drops a mummy and Natalia solves a plot point.
Picture
Natalia, with plot point, heads towards the obelisk. Experiment 7 quickly moves around the rock to avoid the shots from Buck's team. Two Egyptian skeletons claw their way out of the ground to defend the obelisk.
Picture
An ally of Buck falls to the spear of a skeleton while the other moves towards Experiment 7. This is the only casualty caused by the undead the whole game.
Picture
Experiment 7 (sorry I took this from an angle where you can't see him/it) rushes Natalia. Using the card that lets you take the plot point at the same time you defeat someone in hand to hand, he grabs the plot point. Then Buck's team activated and shoots Experiment 7 down and Buck moves up to grab the plot point. I should have thrown Bananas, the ape in blue beyond the obelisk, at Natalia instead. As a sidekick he had a better chance of surviving and keeping the plot point. I really didn't play this round right and it cost me.
Picture
Another Egyptian skeleton falls to the tune of the Chicago Piano.
Picture
Buck fled to get out of sight while carrying three plot points, while Natalia stood up a dropped a Egyptian Zombie. I could have moved t0 get two shots at him, but as a leader it would have taken three hits to cause him to drop the plot points he carried. Since we all knew the last card would put a zombie/mummy/skeleton  in contact with someone and everyone with plot points (Da Boss and Buck) would have taken 3 hits to cause them to drop the plot points we called the game. Buck's team scored three plot points, including a page from the Professor's journal (a major plot point). The Gorilla Gang ended up with two Plot Points, one was gear so Da Boss tried his luck on the Blood of Ra (Perilium) table. Next game he will get to roll d12s in hand to hand! Since we were both Friends of the Egyptians(Nghai) we finally took a look at that table and both saw we Ritual of the Dreamers. For any three resources we could draw a Fortune Card each time an specific enemy character activates (very nice). Next time we must deal with the Children of the Gods (Jungle Trail)!!
2 Comments

Gaslight at Winter War 2017

2/7/2017

2 Comments

 
ASSAULT ON BATTERY JACKSON
MORE ACW BY GASLIGHT
It seems that most of the wargames I have played or seen are meeting engagements. Battles with one side the defender and the other the attacker are pretty rare, despite being very common in the real world. And attacks on prepared defensive works, after 30 plus year of gaming I've only seen a handful at best. So I decided to go with an attack on the lines (Petersburg maybe, certainly some late ACW battle).

The Trenchworks and other Field Fortifications gave special bonuses to the defenders. Heavy cover of course, no automatic hits on ones,  standing up and going into full cover doesn't count as moving (only for handheld weapons like rifles), and most importantly round all fractions down. In GASLIGHT fractions matter. A Shoot of 7, goes to a Shoot of 3.5 at long range. Since you have to roll under the Shoot to hit, you would have to roll a 3 or less. With this rule the shoot would go to a 3, which means you would have to roll a 1 or a 2 to hit.

To balance these bonuses I gave the attackers triple the manpower (6 squads to 2) and four Landships to two "cannons". Three to one is usually considered the minimum odds for attacking a prepared defensive position.
 

Picture
Union starting position, 24 inches from the Confederate line.
Picture
Confederate starting line (sorry the pictures a bit fuzzy).
Picture
A bit of fluff on my part. The USNLS (United States Navy Land Ship) Cairo. Manned by sailors and part of the navy (the Navy having created the first Union Armored Landships because of their experience with steam power and armored ships). Note the Sharpshooter next to it, which despite being able to ignore cover and having a good Shoot managed to kill no one all game.
Picture
Electrocannon (+1d6 to hit armored targets +1d6 SRM).
Picture
 After some desultory long range fire, things heated up on turn 3, when a hidden Dynamite bomb killed several soldiers and knocked out one of the steam Chargers. A glancing hit burst a steam pipe, scalding the crew to death.
Picture
The general advance of the Union on Turn 3. Note the Assault Squad abandoning the Cairo because a hit from the Electrocannon killed it's driver. They decided to advance on foot rather than waiting for a new driver (and at 2 cards a turn they were faster than the Cairo anyhow).
Picture
After wading through some rifle fire, which they survived because of their good save (body armor) they stormed the Electrocannon and it's crew.
Picture
Things didn't go so good for the Union at the other end of the battlefield. A shot from the 30 pounder Parrot rifle penetrated. The penetrating round rattled around the inside and passed out of the other without doing any damage. But I had made a modification to the rules that any hit (from certain weapons) also did a glancing hit. That burst a steam pipe, killing four members of the crew (they got lucky 8 hits on the crew and four ended up being hit twice). Still they failed their morale roll and fled six inches. Since the range had closed, rifle fire started picking off the regular soldiers.
Picture
Confederate reinforcements arrived in the form of a couple green squads of Infantry and two Timberclads. The Rebs brought them in near the Electrocannon, where there was a unmanned section of the line.
Picture
Despite, or maybe because of, being green troops a squad charged the Rebel line,  and gained a toehold in the trenches.
Picture
With orders from Lt. Jackson, the Electrocannon crew who had been tending the generator, charged up the hill and engaged the Assault Squad. The even killed one!!! (not easy when the Assault Squad had a save of 14).
Picture
But to no avail. Running out of enemy to fight (but forgetting to damage the Electrocannon first) the Assault Squad threw themselves at the Rebels in the nearby trenches.
Picture
With the Assault Squad in the trenches the green troops that had first taken them headed up the hill to attack the 30 Pdr Parrott.
Picture
On the far end of the trench line the Union troops were taking steady casualties, but urged on by both Lt. Smedley and Colonel Smith they advanced into the hail of gunfire. To make matters worse a penetrating hit blew the wheels off the USLS Salamander, keeping its deadly firethrower out of range of the enemy (because the Salamander was full of fuel for the firethrower I ruled that any penetrating hit went to the Catastrophic Hit Table).
Picture
The Infantry at the far end of the line, urge on by Lt. Smedley and Colonel Smith struggled across the abatis and engaged the Rebs in Hand to Hand combat. Things looked grim for them as green Union soldiers struggled with Veteran Rebs. Lucky shots from the Gatlings on the Salamander and a Steam Charger and close range fire from the Union Infantry whittled down the cannon crew and Colonel Cornpone was forced to assign his runners to keep the gun in operation. Col. Cornpone's Runners and Colonel Smith's Bugler allowed them to have a command radius of 12 inches instead of the usual 6.
Picture
The Rebels tried to drive the remaining soldiers of the Assault Squad out of the trenches with rifle fire, but they gave as good as they got (nothing like weapons that fire twice a turn without reloading to even things up).
Picture
Finally, the green Rebel troops mustered the courage to charge the trenches, forcing the squad that had gone up the hill after the cannon to charge back down into the melee. They and what was left of the Assault Squad threw the Rebels out of the trench.
Picture
A Union squad charged the Electrocannon, but just fell short. The cannon fired it's last shot of the game, which sizzled harmlessly over the USNLS Cairo. Don't you just hate it when your figures get stuck on a slope so they can't stand.
Picture
Lt. Smedley and Col. Smith joined the faltering Union squad by the abatis. The squad was quickly wiped out, leave Smedley and Smith to fight on alone (even the Bugler was killed). The Smedley, with pistols in both hands and evil grin on his face, went wild, singled handedly slaughter a third of the Rebel squad.

Picture
Down to one man, the Assault Squad fled the trenches, but was quickly replaced by the remains of another squad (complete with firethrower!!),
Picture
Which allowed the Infantry squad that had been in the trenches with the Assault squad to attack the cannon emplacement.
Picture
The game ended as time ran out and people hurried to the convention auction.

On the Union side they had a section of trench, a nearly complete squad was about to overrun the Electrocannon, more troops were coming up, and a fight was going on at the heavy cannon emplacement.

On the Rebel side Colonel Cornpone was dead, Lt. Jackson was dead, they were down to two units of green troops, and both timberclad landships had broken down (but could still shoot)'[

A minor Union Victory

2 Comments

GASLIGHT Leviathans and Goliaths

5/22/2016

1 Comment

 
Picture
While I like the rules for Leviathans in GASLIGHT, I find them a bit off when it comes to using Leviathans in the 25/28mm scale. A vehicle big enough for 30 or more men would be more of a piece of terrain in that scale, than a vehicle.
Go to this link for more information

http://captainbill.weebly.com/leviathans.html
1 Comment

THE OASIS OF THE LOST

5/9/2016

0 Comments

 
Once again we found ourselves in the desert (Sahara this time) and we came to the famous Lost Oasis. It was a patch of jungle in the middle of nowhere, exactly five miles by five miles in size. The lines ran straight as any arrow, in a most unnatural way.
Picture
Abdul the Sniper was well worth the three points I spent on him. He started by whittling down Buck and Company.
Picture
Da Boss finds the Perilium.
Picture
While Buck loots the dead. Since we used sand instead of a lagoon we placed two of the minor plot points on the desert sands.
Picture
Neither Mr. Purple or Bananas could solve they're plot points which gave Agent Saddler time to make her way to the truck, which was strangely sunk in the sands.
Picture
Bananas battled with Agent while Buck took down Mr. Purple. Worst of all the Graboid surfaced (on the first turn it could, of course) making all the sand area extremely dangerous.
Picture
Agent Crask was charged by Experiment 13, while Agent Saddler shot it out with Bananas. Saddler then secured a page of the journal from the truck and fled to safety off the sand. Meanwhile the Great Worm stalks it's prey.
Picture
While she got away, Bananas, Mr. Yellow and Mr. Purple all go down from a combination of shots and perils.
Picture
Mary tries to befriend the Egyptian, who was sounding a horn to warn of strangers in the oasis. Mary falls to a peril. Vasquez also tries to talk to the Egyptian, but Abdul puts her down (Yeah!! Abdul strikes again). Neither recover.
Picture
Abdul secures the Egyptian and then wounds Agent Saddler. Da Boss puts a wound on Agent Crask (or maybe it was the other way around). Experiment 13 decides it is time for a lie down, after getting shot.
Picture
Rather than going after the box (which contained the paste that would have kept the Sand Worm away) Buck decides that discretion is the better part of Valor and quickly gets off the sand. Good thing to because Agent Saddler had been dropped by gunfire (Abdul again if I remember rightly, maybe Da Boss, they were the only ones hitting anything) and lost the page from the journal. Good ol' 13 got up and grabbed the page, just in time to be shot by Buck. Agent Crask grabs the page.
Picture
End game Buck's group have secured the page from the Journal (major Plot Point) and successfully looted the dead (damn grave-robbers). Da Boss and Abdul (the last men?) standing for the Gorilla Gang have the Egyptian and the
0 Comments
<<Previous

    Mysterious Bill

    I've been gaming since the 1970's and even wrote some RPG adventures in the 80's for the Judges Guild. It seems that I can only get in miniatures is gaming at cons, but I do regularly play boardgames and RPGs.

    Archives

    February 2018
    August 2017
    July 2017
    May 2017
    March 2017
    February 2017
    May 2016
    April 2016
    March 2016
    October 2015
    September 2015
    June 2015
    May 2015
    March 2015
    February 2015
    March 2014
    February 2014
    January 2014
    December 2013
    October 2013
    September 2013
    August 2013
    July 2013
    March 2013
    February 2013
    January 2013
    December 2012
    November 2012
    October 2012
    September 2012
    August 2012
    June 2012
    May 2012
    April 2012
    February 2012
    January 2012
    December 2011
    November 2011
    October 2011
    September 2011
    August 2011
    July 2011
    May 2011
    April 2011
    March 2011
    February 2011
    January 2011
    December 2010
    November 2010
    October 2010
    September 2010
    August 2010

    Categories

    All
    Airplanes
    Aliens
    American Civil War
    Betrayal At The House On The Hill
    Boardgames
    Books
    Cheapness
    Conventions
    Decatur Campaign
    Desperado
    Furniture
    Gaming At The Library
    Gamma World
    Gaslight
    Historical Wargames
    Horror
    Interwar
    Ironclads
    Movies
    Mutants
    Napoleonic
    Naval Wargames
    Pirates
    Pulp
    Pulp Alley
    Real History
    Robots
    Rpg
    Science Fiction
    Ships And Boats
    Skirmish
    Terrain
    The Shadow
    Very American Civil War
    Vsf
    Weird Vehicles
    Weird World War Ii
    Westerns
    Where Heroes Dare
    Wings Of War
    Zeppelins

    RSS Feed

    Links

    http://bunkermeister.blogspot.com/
    http://doctormerkury.blogspot.com/
Powered by Create your own unique website with customizable templates.